
Dreamy Mini Red Velvet Oreo Cheesecakes Recipe for Sweet Treats
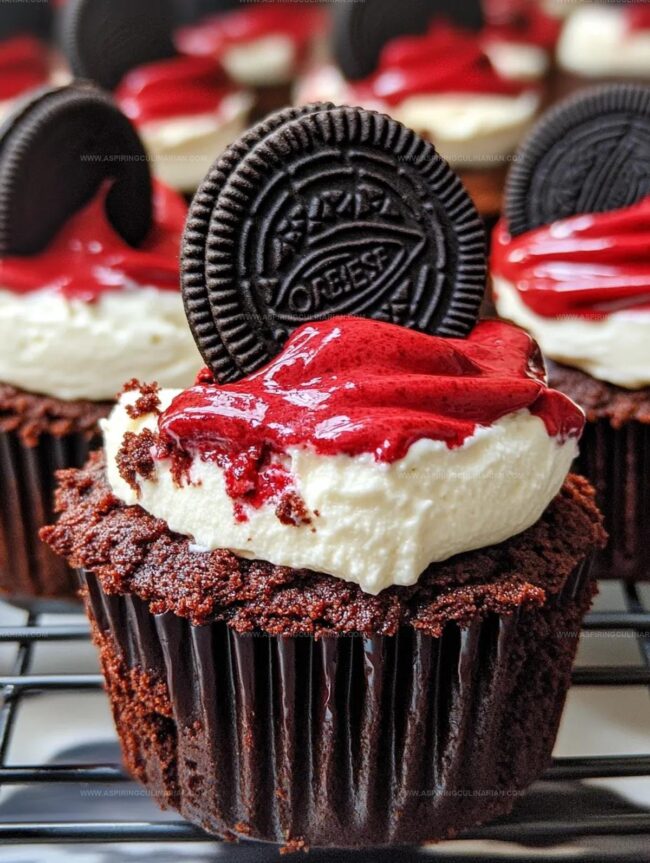
Sweet, creamy, and utterly irresistible, these mini red velvet Oreo cheesecakes combine decadent flavors in every delightful bite.
Chocolate cookie crusts provide the perfect foundation for these miniature desserts.
Rich cream cheese blends seamlessly with classic red velvet notes, creating a stunning visual and taste experience.
Oreo cookies add a delicious crunch that elevates each small cheesecake to new heights of deliciousness.
Each perfectly portioned treat promises a luxurious dessert that looks as amazing as it tastes.
Simple to prepare and impossible to resist, these mini cheesecakes will become your new favorite indulgence.
Serve them at your next gathering and watch everyone’s eyes light up with pure dessert excitement.
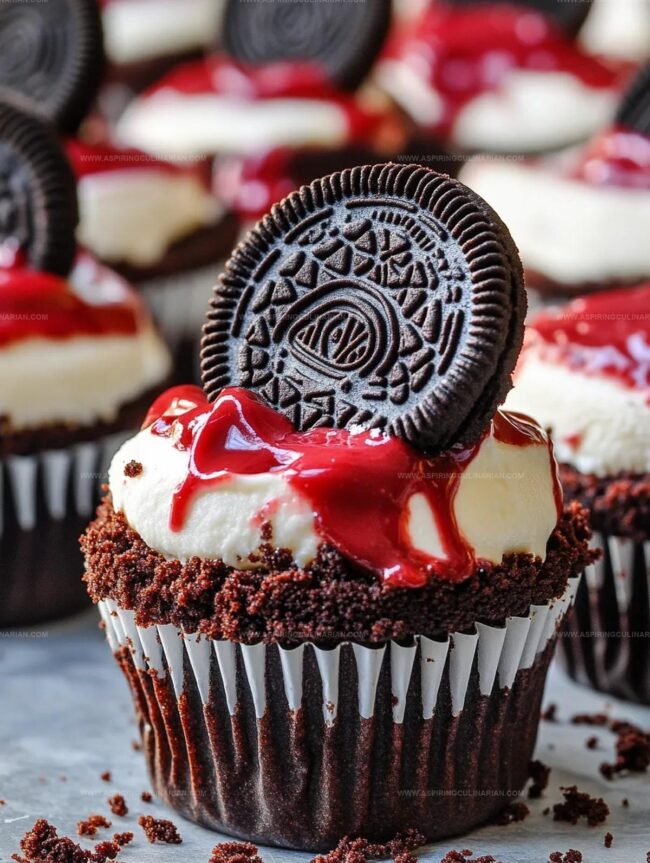
Mini Red Velvet Oreo Cheesecakes Always Steal The Show
Indulge in Decadence: Savor Layered Delights
Mini Red Velvet Oreo Cheesecakes Must-Have Ingredient List
Base Ingredients:Cheesecake Layer Ingredients:Cookie and Topping Ingredients:Create Mini Red Velvet Oreo Cheesecakes In Minutes
Step 1: Prep the Oven
Preheat the oven to 350F (175C).
Line a standard cupcake tin with paper liners, creating the perfect stage for your delightful dessert.
Step 2: Create Brownie Base
Whisk together flour, cocoa powder, and salt in a medium bowl.
In a large bowl, whisk sugar and egg until they become pale and creamy.
Stir in melted butter and vanilla extract, then gently fold in the dry ingredients until everything blends beautifully.
Step 3: Shape the Brownie Foundation
Distribute the brownie batter evenly across the cupcake liners.
Use a spoon to smooth out each layer, creating a perfect base for your mini cheesecakes.
Step 4: Quick Brownie Bake
Bake the brownie crust for 5 minutes.
Carefully remove from the oven and lower the temperature to 325F, setting the stage for the next delicious layer.
Step 5: Add Oreo Magic
After the brownie bases cool slightly, gently press an Oreo cookie into the center of each cup, creating a surprise treat within.
Step 6: Whip Up Red Velvet Cheesecake Mixture
In a large bowl, beat cream cheese and sugar until smooth and fluffy.
Add:Mix thoroughly.
Incorporate cocoa powder, then add red gel food coloring, mixing until you achieve that perfect red velvet hue.
Step 7: Layer the Cheesecake
Scoop the red velvet cheesecake mixture over the brownie and Oreo base, filling each cup almost to the top.
Tap the pan gently to level the mixture and remove any air bubbles.
Step 8: Bake to Perfection
Bake for 15-18 minutes at 325F.
Look for set edges with a slight jiggle in the center – the hallmark of a perfect cheesecake.
Step 9: Cool and Chill
Let the cheesecakes cool completely at room temperature.
Transfer to the refrigerator and chill for at least an hour to set.
Step 10: Decorate and Serve
Pipe Cool Whip on top of each mini cheesecake using a decorative nozzle.
Sprinkle with chocolate shavings for a final touch of elegance.
Mini Red Velvet Oreo Cheesecakes Baking Tips For Beginners
Unique Styles For Mini Red Velvet Oreo Cheesecakes Now
Serve Mini Red Velvet Oreo Cheesecakes Like A Pro
Storage Wisdom For Mini Red Velvet Oreo Cheesecakes Fans
FAQs
The cocoa powder and red gel food coloring create the classic red velvet taste and signature vibrant color in the cheesecake mixture.
Regular Oreo cookies work perfectly fine for this recipe. You can use classic, double-stuffed, or any variety you prefer.
Look for set edges with a slight jiggle in the center. The cheesecakes should not be completely firm when you remove them from the oven, as they will continue to set while cooling.
Print
Mini Red Velvet Oreo Cheesecakes Recipe
- Total Time: 45 minutes
- Yield: 12 1x
Description
Indulgent mini red velvet oreo cheesecakes combine classic dessert magic with delightful cookie crunch. Rich cream cheese and velvety chocolate layers create a perfectly portioned treat you’ll crave again and again.
Ingredients
Main Ingredients:
- 8 ounces (226 grams) cream cheese, room temperature
- 8 ounces (226 grams) Cool Whip, thawed
- 1/2 cup (100 grams) granulated sugar
- 12 Oreo cookies
Dry Ingredients:
- 1/2 cup (50 grams) cocoa powder
- 3 tablespoons (23 grams) all-purpose flour
- 1 tablespoon (5 grams) cocoa powder
- Pinch of salt
Wet Ingredients:
- 1/4 cup (57 grams) unsalted butter, melted
- 1/4 cup (60 milliliters) sour cream, room temperature
- 2 eggs, room temperature
- 1/2 teaspoon vanilla extract
- Red gel food coloring
- Chocolate shavings
Instructions
- Prepare the baking workspace by heating the oven to 350F (175C) and arranging paper liners in a standard 12-cup cupcake tin.
- Create the brownie base by whisking flour, cocoa powder, and salt in one bowl. In another bowl, blend sugar and egg until pale, then incorporate melted butter and vanilla extract. Combine wet and dry ingredients thoroughly.
- Distribute brownie batter evenly across cupcake liners, using a spoon to spread into a uniform bottom layer.
- Briefly bake the brownie crust for 5 minutes, then lower oven temperature to 325F.
- After slight cooling, gently press an Oreo cookie into the center of each brownie base.
- Craft the red velvet cheesecake mixture by beating cream cheese and sugar until smooth. Gradually integrate egg, sour cream, vanilla extract, cocoa powder, and red gel food coloring, ensuring complete incorporation.
- Carefully spoon cheesecake mixture over the brownie and Oreo base, filling each cup nearly to the top. Tap the pan to eliminate air bubbles and level the surface.
- Bake for 15-18 minutes at 325F, watching for set edges with a slight center jiggle.
- Allow cheesecakes to cool completely at room temperature, then refrigerate for a minimum of 1 hour.
- Garnish by piping Cool Whip using a decorative nozzle and sprinkle with chocolate shavings before serving.
Notes
- Ensure cream cheese is at room temperature for smooth, lump-free mixing and better texture.
- Gently press Oreo cookies to avoid breaking them, creating a perfect base layer for the cheesecake.
- Use gel food coloring for vibrant red color without altering the cheesecake’s consistency.
- Cool cheesecakes gradually to prevent cracking and maintain a creamy, delicate texture.
- Prep Time: 25 minutes
- Cook Time: 20 minutes
- Category: Desserts, Snacks
- Method: Baking
- Cuisine: American
Nutrition
- Serving Size: 12
- Calories: 280
- Sugar: 20 g
- Sodium: 150 mg
- Fat: 15 g
- Saturated Fat: 9 g
- Unsaturated Fat: 4 g
- Trans Fat: 0 g
- Carbohydrates: 32 g
- Fiber: 1 g
- Protein: 3 g
- Cholesterol: 40 mg
Lena Martinez
Contributing Writer & Culinary Educator
Expertise
Southwestern and Latin American cuisines, Vegetarian and plant-based recipe development, Culinary education and community outreach
Education
Santa Fe Community College, Santa Fe, NM
Certificate in Culinary Arts
Emphasized Southwestern cuisine and sustainable cooking practices
Lena grew up surrounded by the colors, spices, and traditions of the Southwest – flavors that sparked her love for bold, honest cooking. After earning her Culinary Arts certificate at Santa Fe Community College, she made it her mission to teach home cooks how to create flavorful, plant-powered meals without the fuss.
Her recipes are packed with vibrant ingredients, simple steps, and the kind of heart that turns a regular meal into something you’ll want to share. Outside the kitchen, Lena spends her time wandering farmers’ markets, trading family recipes, and helping young chefs find their voice through food.