
Irresistible Monster Cookies Recipe: Sweet & Chewy Delights
Chocolate chips, peanut butter, and oats come together in this irresistible monster cookies recipe that packs a delightful punch of flavor.
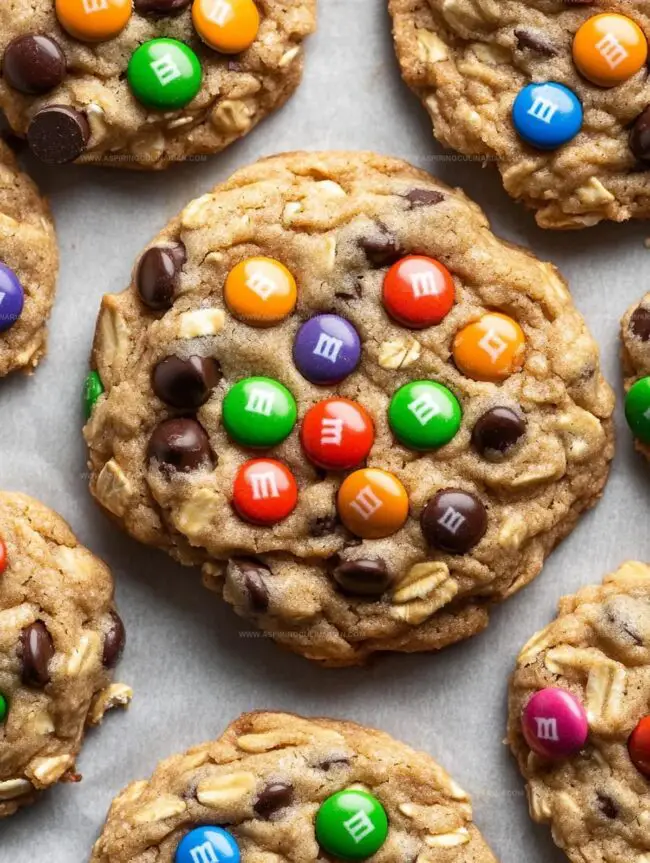
Packed with colorful candies and hearty mix-ins, these cookies deliver a satisfying crunch in every bite.
The sweet and chewy texture makes them an instant crowd-pleaser for kids and adults alike.
No ordinary cookie could compete with these robust treats bursting with personality.
Each batch promises a delectable adventure that combines classic comfort with playful indulgence.
The secret lies in the perfect balance of ingredients that create a memorable dessert experience.
You’ll be amazed at how quickly these monster cookies disappear from the cookie plate.
Monster Cookies: Batch Highlights
Everything Needed for Chewy Monster Cookies
Base Ingredients:Flavor Enhancers:Dry Ingredients:Mix-Ins:Step-by-Step for Monster Cookie Baking

Step 1: Warm Up The Oven
Crank the oven to a toasty 350°F.
Grab a large baking sheet and line it with parchment paper for easy cleanup.
Step 2: Create The Creamy Base
In a spacious mixing bowl, whip together butter and sugars until they transform into a fluffy cloud.
Blend in peanut butter until silky smooth.
Crack in the eggs, then splash in vanilla and maple syrup.
Mix until everything becomes best friends.
Step 3: Combine Dry Ingredients
In a separate bowl, dance together:Gently fold this dry mixture into the wet ingredients.
Stir just until they’re perfectly combined – no overmixing allowed!
Step 4: Load Up With Goodies
Toss in your fun mix-ins:Stir until they’re evenly scattered throughout the dough like delicious confetti.
Step 5: Shape The Cookies
Scoop out generous dollops of dough, spacing them about 3 inches apart on the baking sheet.
Give each cookie a gentle press to flatten slightly.
For extra pizzazz, sprinkle some additional chocolate chips and M&Ms on top.
Step 6: Bake To Perfection
Slide the baking sheet into the oven.
Bake for 9-11 minutes until the edges look set but the centers remain slightly soft and dreamy.
Let the cookies cool completely on a wire rack, resisting the temptation to devour them immediately.
Tips for Baking Soft, Loaded Monster Cookies

Mix-In Ideas for Monster Cookie Variety

Fun Ways to Serve Monster Cookies
Best Methods for Storing Monster Cookies
FAQs
No, they’re surprisingly easy! You just need basic baking skills and follow simple mixing steps with standard kitchen equipment.
Not recommended. Peanut butter is crucial for the classic Monster Cookie flavor and helps bind ingredients together.
They’re called “Monster” because they’re large, packed with multiple mix-ins like chocolate chips and M&Ms, creating a big, colorful, overloaded cookie.
Just standard baking tools like a mixer, baking sheet, parchment paper, and measuring cups will work perfectly.
Print
Monster Cookies Recipe
- Total Time: 30 minutes
- Yield: 24 1x
Description
Irresistible Monster Cookies pack a playful punch of chocolate chips, peanut butter, and oats into one epic treat. Sweet childhood memories merge with grown-up cravings in this delightful dessert you’ll want to share with everyone at the table.
Ingredients
Base Ingredients:
- 1/2 cup (113g) unsalted butter, room temperature
- 1 cup (200g) light brown sugar, packed
- 1/4 cup (50g) granulated sugar
- 1/3 cup smooth peanut butter, room temperature
- 1 large egg plus 1 egg yolk, room temperature
- 2 teaspoons vanilla extract
- 2 teaspoons maple syrup
Dry Ingredients:
- 1 cup (115g) old-fashioned rolled oats
- 1 1/4 cups (155g) all-purpose flour, spooned and leveled
- 1 teaspoon baking soda
- 1/2 teaspoon baking powder
- 1/2 teaspoon kosher salt
Mix-ins:
- 3/4 cup semi-sweet chocolate chips, plus more for top
- 3/4 cup M&M candies, plus more for top
Instructions
- Preheat the oven to 350°F and prepare a large baking sheet with parchment paper for optimal cookie performance.
- Create a creamy base by thoroughly blending butter and sugars until light and airy. Incorporate peanut butter until completely smooth, then integrate eggs, vanilla, and maple syrup for rich flavor depth.
- Combine dry ingredients by whisking flour, leavening agents, salt, and oats together in a separate bowl. Gently fold the dry mixture into the wet ingredients, mixing in two stages to ensure even distribution without overmixing.
- Introduce chocolate chips and M&Ms into the dough, stirring carefully to guarantee a uniform spread of colorful mix-ins throughout the cookie batter.
- Using a portioning scoop, place 2-ounce dough mounds on the prepared baking sheet, spacing them 3 inches apart. Softly flatten the tops and strategically place additional chocolate chips and M&Ms on the surface for enhanced visual appeal.
- Bake for 9-11 minutes, watching for set edges and slightly underbaked centers – the hallmark of a perfectly textured monster cookie. Transfer to a wire rack and allow cookies to cool completely, enabling them to achieve their ideal chewy consistency.
Notes
- Customize chocolate chips and M&Ms for vibrant, personalized cookie appearance.
- Ensure room temperature ingredients blend smoothly and create consistent cookie texture.
- Chilling dough for 30 minutes helps prevent excessive spreading during baking.
- Use parchment paper or silicone mat for easy cookie removal and consistent browning.
- Prep Time: 20 minutes
- Cook Time: 10 minutes
- Category: Snacks, Desserts
- Method: Baking
- Cuisine: American
Nutrition
- Serving Size: 24
- Calories: 210
- Sugar: 12g
- Sodium: 105mg
- Fat: 10g
- Saturated Fat: 4g
- Unsaturated Fat: 6g
- Trans Fat: 0g
- Carbohydrates: 29g
- Fiber: 1g
- Protein: 3g
- Cholesterol: 25mg
Lena Martinez
Contributing Writer & Culinary Educator
Expertise
Southwestern and Latin American cuisines, Vegetarian and plant-based recipe development, Culinary education and community outreach
Education
Santa Fe Community College, Santa Fe, NM
Certificate in Culinary Arts
Emphasized Southwestern cuisine and sustainable cooking practices
Lena grew up surrounded by the colors, spices, and traditions of the Southwest – flavors that sparked her love for bold, honest cooking. After earning her Culinary Arts certificate at Santa Fe Community College, she made it her mission to teach home cooks how to create flavorful, plant-powered meals without the fuss.
Her recipes are packed with vibrant ingredients, simple steps, and the kind of heart that turns a regular meal into something you’ll want to share. Outside the kitchen, Lena spends her time wandering farmers’ markets, trading family recipes, and helping young chefs find their voice through food.