
The Famous New York Times Chocolate Chip Cookies Recipe Perfected
Chocolate chip cookies from the New York Times recipe have sparked countless kitchen adventures.
Bakers around the world whisper about these legendary treats.
This iconic cookie brings together simple ingredients with extraordinary technique.
Professional and home bakers alike have celebrated its remarkable depth of flavor.
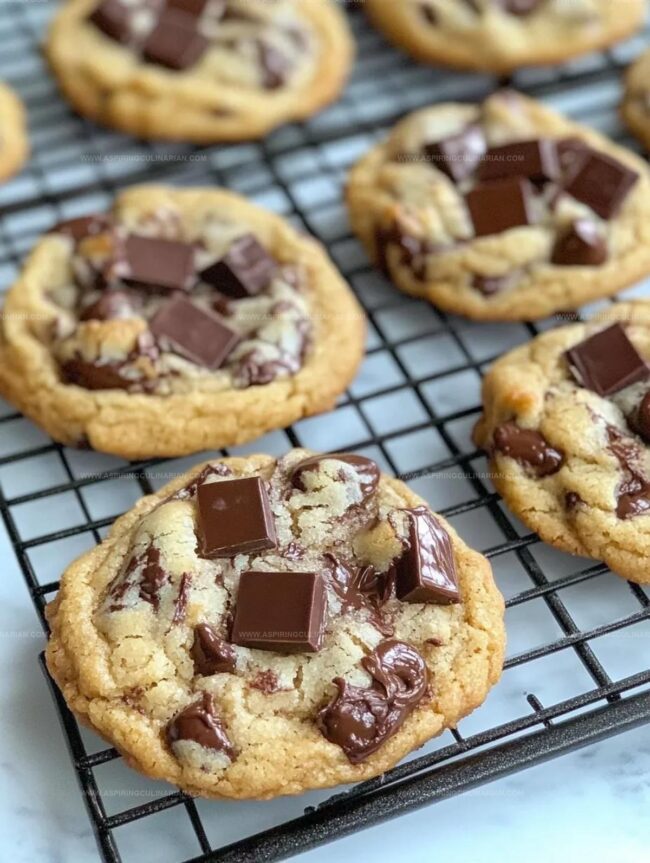
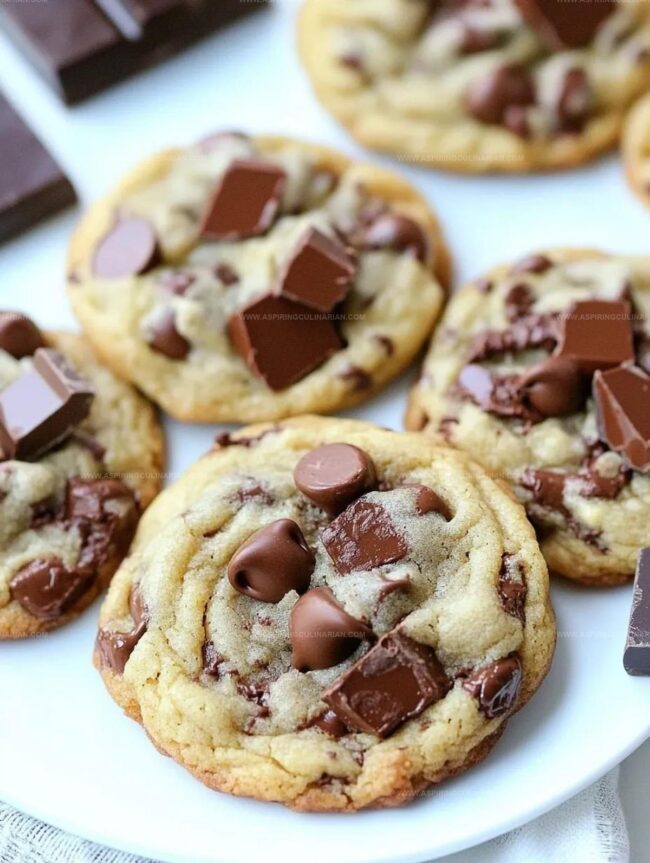
The delicate balance of ingredients creates a cookie that’s crisp on the edges and wonderfully soft in the center.
Each bite promises a rich, buttery experience that melts in your mouth.
Prepare to savor a classic that has captured the hearts of dessert enthusiasts everywhere.
New York Times Chocolate Chip Cookie Buzz
All The Cookie Ingredients You’ll Need
Dry Ingredients:Wet Ingredients:Chocolate Ingredients:New York Times Cookie Steps To Follow
Step 1: Whisk Dry Ingredients
Grab a medium bowl and whisk flour, cornstarch, baking soda, and salt until perfectly blended.
Set this mixture aside while you prepare the next stage.
Step 2: Blend Wet Ingredients
In a large bowl, mix melted butter that has cooled down with brown and granulated sugars.
Stir until sugars dissolve completely.
Add egg and vanilla extract, mixing gently at low speed until just combined.
Step 3: Marry Wet and Dry Mixtures
Slowly incorporate dry ingredients into wet ingredients at low speed.
Mix carefully to prevent overmixing, stopping when ingredients are just combined.
Step 4: Sprinkle Chocolate Goodness
Fold chocolate chips, chunks, and grated dark chocolate into the dough.
Mix briefly to distribute chocolatey pieces evenly throughout.
Step 5: Chill and Rest
Cover the dough and refrigerate for minimum one hour.
This resting period allows flavors to develop and prevents cookies from spreading too much during baking.
Step 6: Prepare Baking Station
Preheat oven to 350F (175C).
Line baking sheets with parchment paper for easy cookie removal.
Step 7: Shape Cookie Rounds
Roll chilled dough into 1-inch balls.
Place on prepared baking sheets with 2 inches between each cookie.
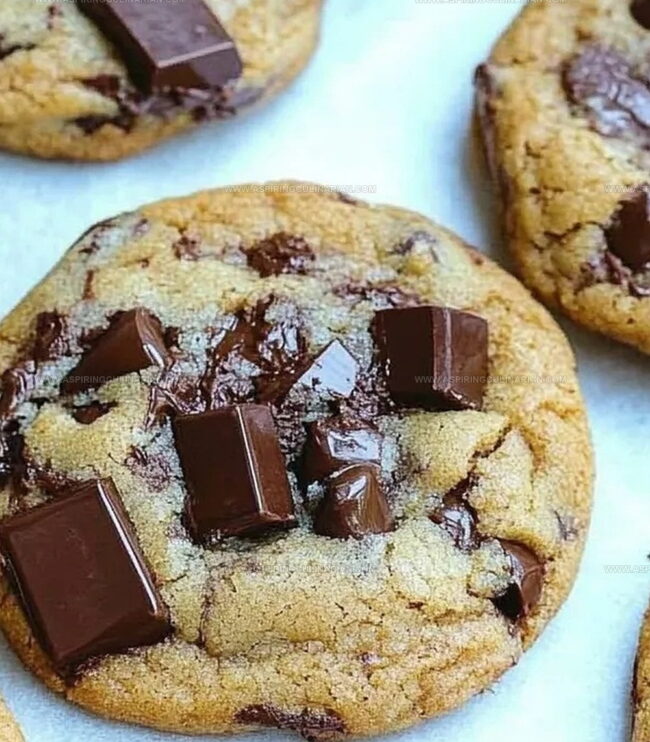
Press extra chocolate chips on top and sides for visual appeal.
Step 8: Bake to Perfection
Bake 8-10 minutes until edges are barely golden.
Centers will look underbaked and soft – this is exactly right for achieving perfect cookie texture.
Step 9: Cool and Set
Let cookies rest on baking sheet for 10 minutes.
They’ll firm up and slightly deflate.
Transfer to wire rack for complete cooling.
Step 10: Store and Enjoy
Place cooled cookies in airtight container.
They’ll stay fresh at room temperature for one week or can be frozen for extended enjoyment.
Tips For New York Times Cookie Magic

Cookie Flavors To Try Next Batch
Best Ways To Serve NYT Cookies
New York Times Cookie Storage Tips
FAQs
Chilling helps develop deeper flavor, prevents excessive spreading, and allows flour to fully hydrate, resulting in a more complex-tasting and better-textured cookie.
Cornstarch creates a softer, more tender cookie texture by interfering with gluten formation, making the cookies less dense and more delicate.
Brown sugar adds moisture and a rich caramel-like flavor, while white sugar helps create crisp edges and overall sweetness, giving the cookie a more complex taste profile.
Overmixing develops too much gluten, which can make cookies tough and dense instead of soft and chewy, so mix just until ingredients are combined.
Print
New York Times Chocolate Chip Cookies Recipe
- Total Time: 30 minutes
- Yield: 24 1x
Description
Indulgent New York Times chocolate chip cookies promise a nostalgic journey through buttery, chocolate-studded perfection. Rich, golden discs deliver crisp edges and gooey centers that melt effortlessly on your palate.
Ingredients
Main Ingredients:
- 1 1/2 cups (360 milliliters) all-purpose flour
- 3 ounces (85 grams) semi-sweet chocolate chips
- 3 ounces (85 grams) semi-sweet chocolate chunks
- 1/2 cup (113 grams) unsalted butter
- 1 egg
Sugars and Sweeteners:
- 1/2 cup (100 grams) light brown sugar
- 1/4 cup (50 grams) granulated sugar
Flavor Enhancers and Stabilizers:
- 1 1/2 teaspoons (7.5 milliliters) cornstarch
- 3/4 teaspoon (3.75 milliliters) baking soda
- 1/4 teaspoon (1.25 milliliters) salt
- 1 1/2 teaspoons (7.5 milliliters) vanilla extract
- 2 ounces (57 grams) dark chocolate, grated
Instructions
- In a medium bowl, whisk flour, cornstarch, baking soda, and salt until thoroughly blended, creating a uniform dry mixture.
- Melt butter and allow to cool slightly, then combine with brown and granulated sugars in a large bowl, stirring until sugar dissolves completely and creates a smooth consistency.
- Incorporate egg and vanilla extract into the butter-sugar mixture, gently mixing at low speed to maintain a cohesive texture.
- Gradually add dry ingredients to wet ingredients, stirring at low speed until just combined, avoiding overmixing to preserve dough’s delicate structure.
- Gently fold chocolate chips, chunks, and grated dark chocolate into the dough, ensuring even distribution with minimal stirring.
- Wrap dough and refrigerate for minimum 1 hour, allowing flavors to develop and preventing excessive spreading during baking.
- Preheat oven to 350F (175C) and line baking sheets with parchment paper for optimal cookie release.
- Form chilled dough into 1-inch balls, placing them 2 inches apart on prepared sheets, and strategically press additional chocolate chips onto surface for enhanced visual appeal.
- Bake 8-10 minutes until edges are barely golden, maintaining soft, slightly underbaked centers for ideal cookie texture.
- Let cookies rest on baking sheet for 10 minutes to firm up, then transfer to wire rack for complete cooling.
- Once cooled, store in airtight container at room temperature for up to 1 week, or freeze for extended preservation.
Notes
- Prevent Spreading by chilling the dough for at least an hour, which helps control cookie shape and intensifies flavor development.
- Customize Chocolate Mix by experimenting with different chocolate types like milk, dark, or even white chocolate chips for unique flavor profiles.
- Achieve Ideal Texture by slightly underbaking the cookies, allowing them to continue cooking on the hot baking sheet and creating a soft, chewy center with crisp edges.
- Elevate Presentation by strategically placing extra chocolate chips on top of each dough ball before baking, ensuring a more professional and appetizing appearance.
- Prep Time: 20 minutes
- Cook Time: 10 minutes
- Category: Desserts, Snacks
- Method: Baking
- Cuisine: American
Nutrition
- Serving Size: 24
- Calories: 180
- Sugar: 10 g
- Sodium: 90 mg
- Fat: 9 g
- Saturated Fat: 5 g
- Unsaturated Fat: 4 g
- Trans Fat: 0 g
- Carbohydrates: 24 g
- Fiber: 1 g
- Protein: 2 g
- Cholesterol: 20 mg
Lena Martinez
Contributing Writer & Culinary Educator
Expertise
Southwestern and Latin American cuisines, Vegetarian and plant-based recipe development, Culinary education and community outreach
Education
Santa Fe Community College, Santa Fe, NM
Certificate in Culinary Arts
Emphasized Southwestern cuisine and sustainable cooking practices
Lena grew up surrounded by the colors, spices, and traditions of the Southwest – flavors that sparked her love for bold, honest cooking. After earning her Culinary Arts certificate at Santa Fe Community College, she made it her mission to teach home cooks how to create flavorful, plant-powered meals without the fuss.
Her recipes are packed with vibrant ingredients, simple steps, and the kind of heart that turns a regular meal into something you’ll want to share. Outside the kitchen, Lena spends her time wandering farmers’ markets, trading family recipes, and helping young chefs find their voice through food.