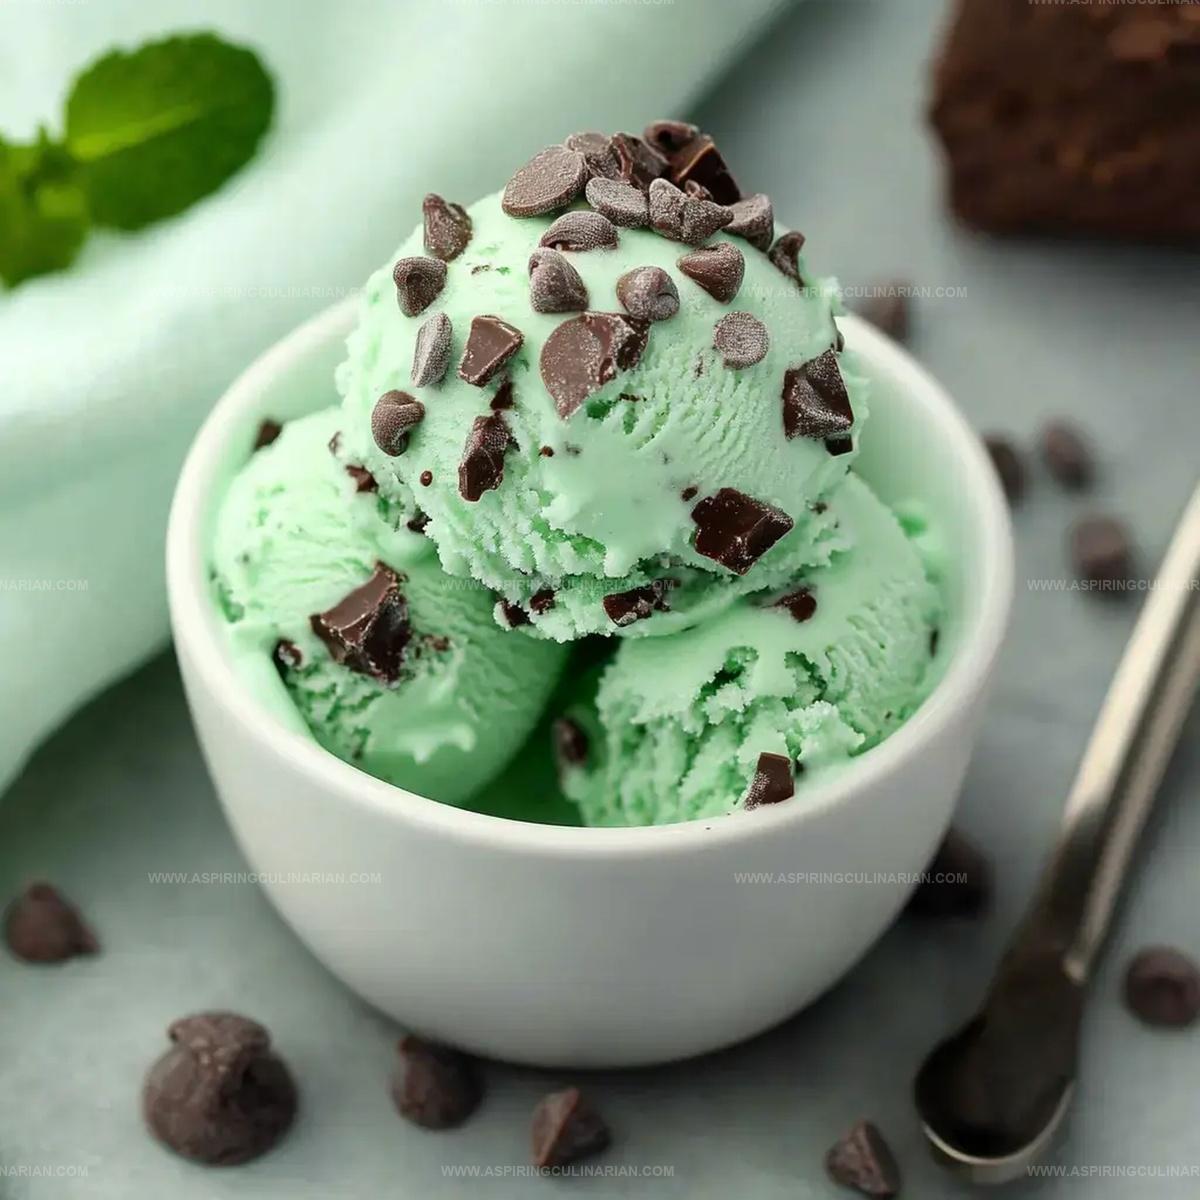
Dreamy Ninja Creami Mint Chocolate Chip Recipe for Sweet Fans
Cool summer days call for a delightful mint chocolate chip treat from the ninja creami that brings instant happiness.
This homemade ice cream promises a creamy, refreshing experience with every spoonful.
chocolate lovers will swoon over the rich, velvety texture and vibrant mint flavor.
The ninja creami works magic, turning simple ingredients into a decadent dessert that rivals any store-bought version.
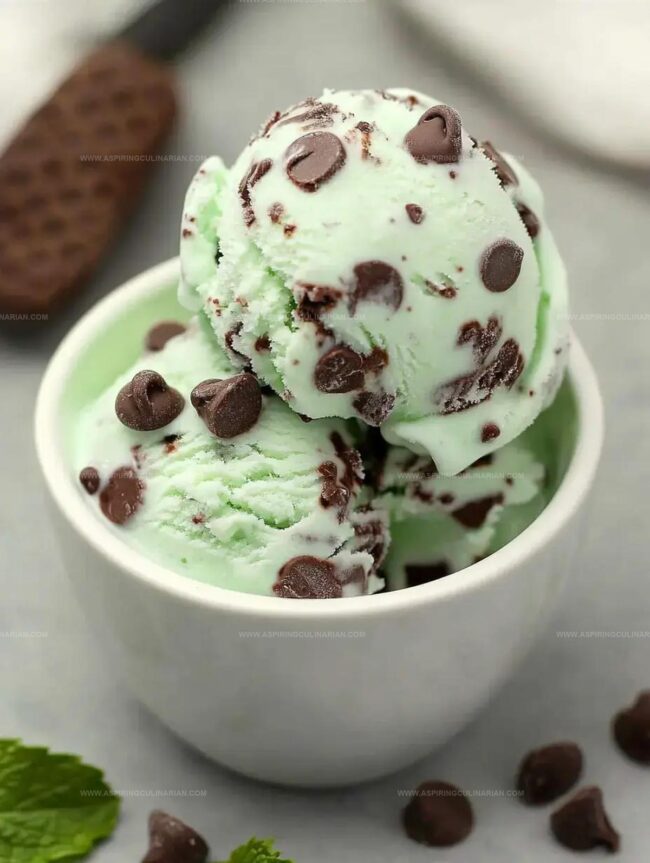
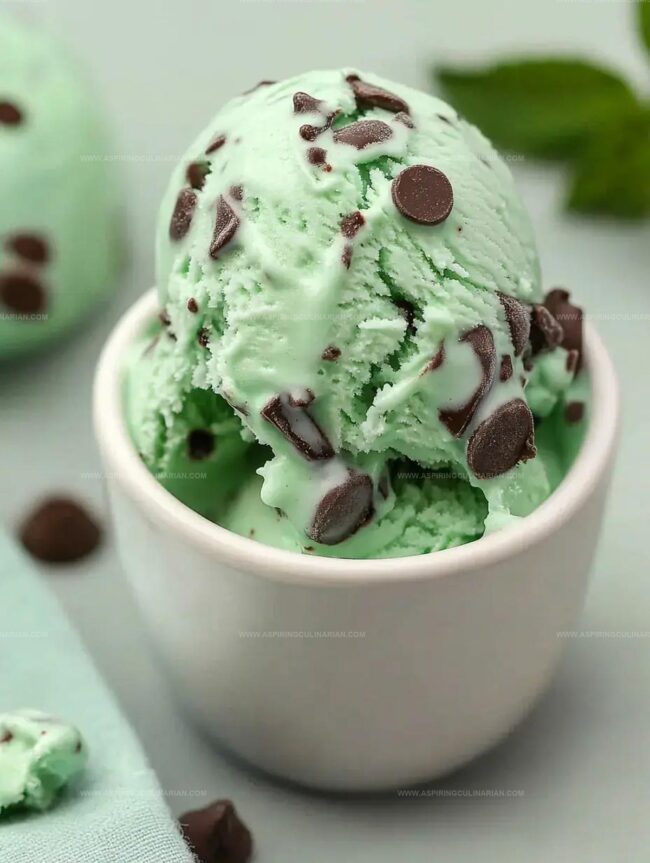
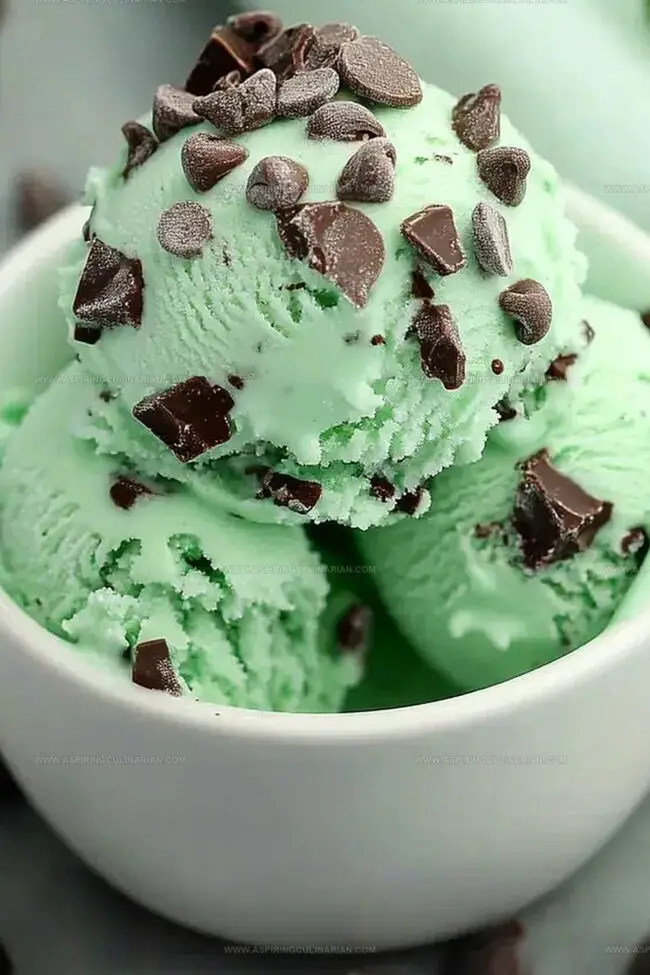
Each batch delivers a perfect balance of cool mint and rich chocolate chips that dance on your taste buds.
The recipe is surprisingly easy, requiring just a few basic ingredients and minimal effort.
You’ll be amazed at how quickly this delicious ice cream comes together, making it an ideal sweet escape for any moment.
Prepare to indulge in a frozen delight that will become your new summer obsession.
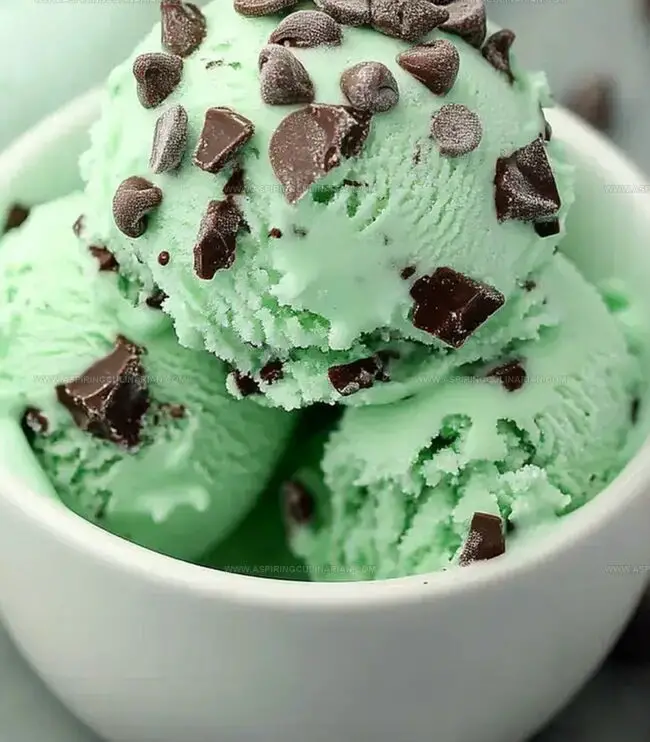
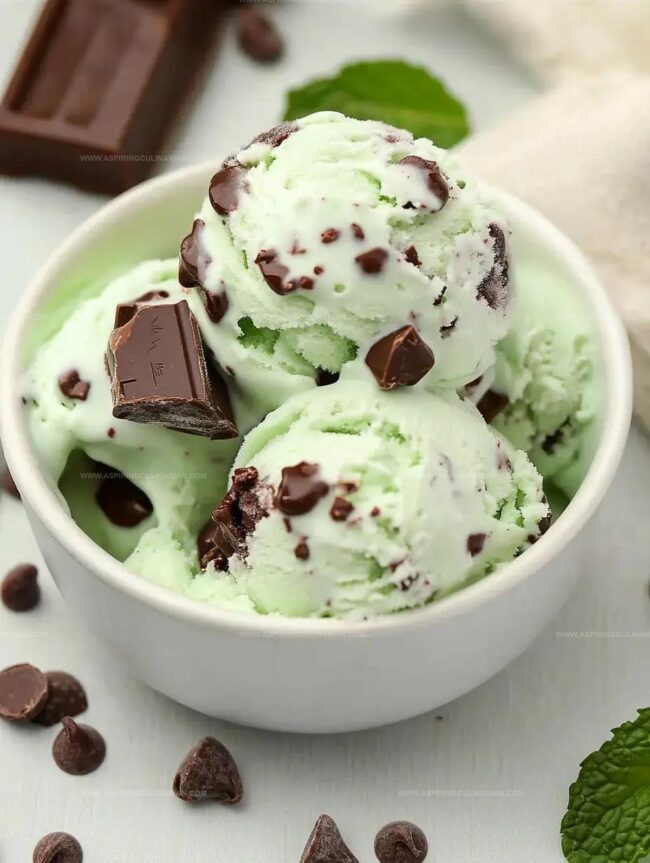
Mint Chocolate Chip Ice Cream Fresh Appeal

What Goes Into Mint Chocolate Chip Ice Cream
Base Ingredients:Dairy Ingredients:Mix-Ins:Optional Ingredient:Steps for Mint Chocolate Chip Ice Cream
Step 1: Prepare Cream Cheese Mixture
Warm cream cheese in microwave for 10 seconds.
Blend cream cheese with sugar and mint extract using a whisk, mixing until the texture resembles smooth frosting.
Step 2: Create Smooth Ice Cream Base
Slowly incorporate the following ingredients:Stir until sugar completely dissolves and mixture becomes uniform.
Step 3: Freeze Mixture
Transfer the liquid base into a Ninja Creami pint container.
Securely cover the container and place in freezer for a full day.
Step 4: Process Frozen Mixture
Remove the frozen pint from freezer and insert directly into Ninja Creami machine.
Select the ICE CREAM setting to transform the frozen mixture into creamy ice cream.
Step 5: Enhance With Chocolate Chips
Create a small opening in the center of processed ice cream.
Sprinkle chocolate chips evenly across the surface.
Run the MIX-IN program to distribute chips throughout the ice cream.
Pro Tips for Creamy Mint Chip Ice Cream
Fun Mint Chocolate Chip Ice Cream Variations
Ways to Serve Mint Chocolate Chip Ice Cream
Storing Mint Chocolate Chip Ice Cream Properly
FAQs
Yes, you can substitute mint extract with vanilla or almond extract for a different flavor profile.
While a Ninja Creami is recommended, you can use a traditional ice cream maker or the no-churn method with a freezer and occasional stirring.
Use low-fat cream cheese, sugar substitute like stevia, and dark chocolate chips to reduce calories and increase nutritional value.
Let cream cheese sit at room temperature for 15-20 minutes before microwaving to ensure smooth, even consistency.
Print
Ninja Creami Mint Chocolate Chip Recipe
- Total Time: 24 hours 5 minutes
- Yield: 4 1x
Description
Cool summer days meet sweet indulgence with Ninja Creami Mint Chocolate Chip, a homemade ice cream that blends refreshing mint with rich chocolate chunks. Creamy, smooth, and packed with flavor, this dessert brings gourmet taste right to your kitchen for pure dessert satisfaction.
Ingredients
Main Ingredients:
- 1 cup whole milk
- 3/4 cup heavy cream
- 1 tablespoon cream cheese, softened
Sweeteners and Flavors:
- 1/3 cup granulated sugar
- 1 teaspoon vanilla extract
- 1 teaspoon mint extract
Extras:
- 1/4 cup mini chocolate chips
- Green food coloring (optional)
Instructions
- Gently warm cream cheese in microwave for 10 seconds to soften its texture.
- Whisk cream cheese with sugar and mint extract until achieving a smooth, frosting-like consistency, approximately 1 minute.
- Incorporate heavy cream and milk gradually, stirring consistently to ensure complete sugar dissolution. Add food coloring if desired.
- Transfer mixture into Ninja Creami pint container, ensuring even distribution.
- Seal container securely and place in freezer for a full 24-hour period to completely solidify.
- Remove frozen container and insert directly into Ninja Creami machine.
- Select standard ICE CREAM processing setting to transform frozen mixture into creamy texture.
- Create a centered opening in processed ice cream using machine’s tool or utensil.
- Sprinkle chocolate chips evenly into the central cavity.
- Activate MIX-IN program to integrate chocolate chips thoroughly throughout ice cream.
Notes
- Softening Cream Cheese Ensure cream cheese is at room temperature for smooth blending and prevent lumps.
- Mint Extract Intensity Adjust mint extract quantity based on personal preference, starting with less and tasting before adding more.
- Dairy-Free Adaptation Swap heavy cream and milk with coconut cream or almond milk for lactose-intolerant or vegan alternatives.
- Chocolate Chip Variations Use dark, milk, or white chocolate chips depending on flavor preference and dietary needs.
- Prep Time: 5 minutes
- Cook Time: 24 hours
- Category: Desserts, Snacks
- Method: Freezing
- Cuisine: American
Nutrition
- Serving Size: 4
- Calories: 306
- Sugar: 21 g
- Sodium: 55 mg
- Fat: 22 g
- Saturated Fat: 13 g
- Unsaturated Fat: 9 g
- Trans Fat: 0 g
- Carbohydrates: 28 g
- Fiber: 0 g
- Protein: 3 g
- Cholesterol: 66 mg
Lena Martinez
Contributing Writer & Culinary Educator
Expertise
Southwestern and Latin American cuisines, Vegetarian and plant-based recipe development, Culinary education and community outreach
Education
Santa Fe Community College, Santa Fe, NM
Certificate in Culinary Arts
Emphasized Southwestern cuisine and sustainable cooking practices
Lena grew up surrounded by the colors, spices, and traditions of the Southwest – flavors that sparked her love for bold, honest cooking. After earning her Culinary Arts certificate at Santa Fe Community College, she made it her mission to teach home cooks how to create flavorful, plant-powered meals without the fuss.
Her recipes are packed with vibrant ingredients, simple steps, and the kind of heart that turns a regular meal into something you’ll want to share. Outside the kitchen, Lena spends her time wandering farmers’ markets, trading family recipes, and helping young chefs find their voice through food.