Dreamy No Bake Chocolate Biscuit Bars Recipe for Sweet Bliss
Chocolate lovers swoon over these decadent no bake chocolate biscuit bars that promise pure indulgence without turning on the oven.
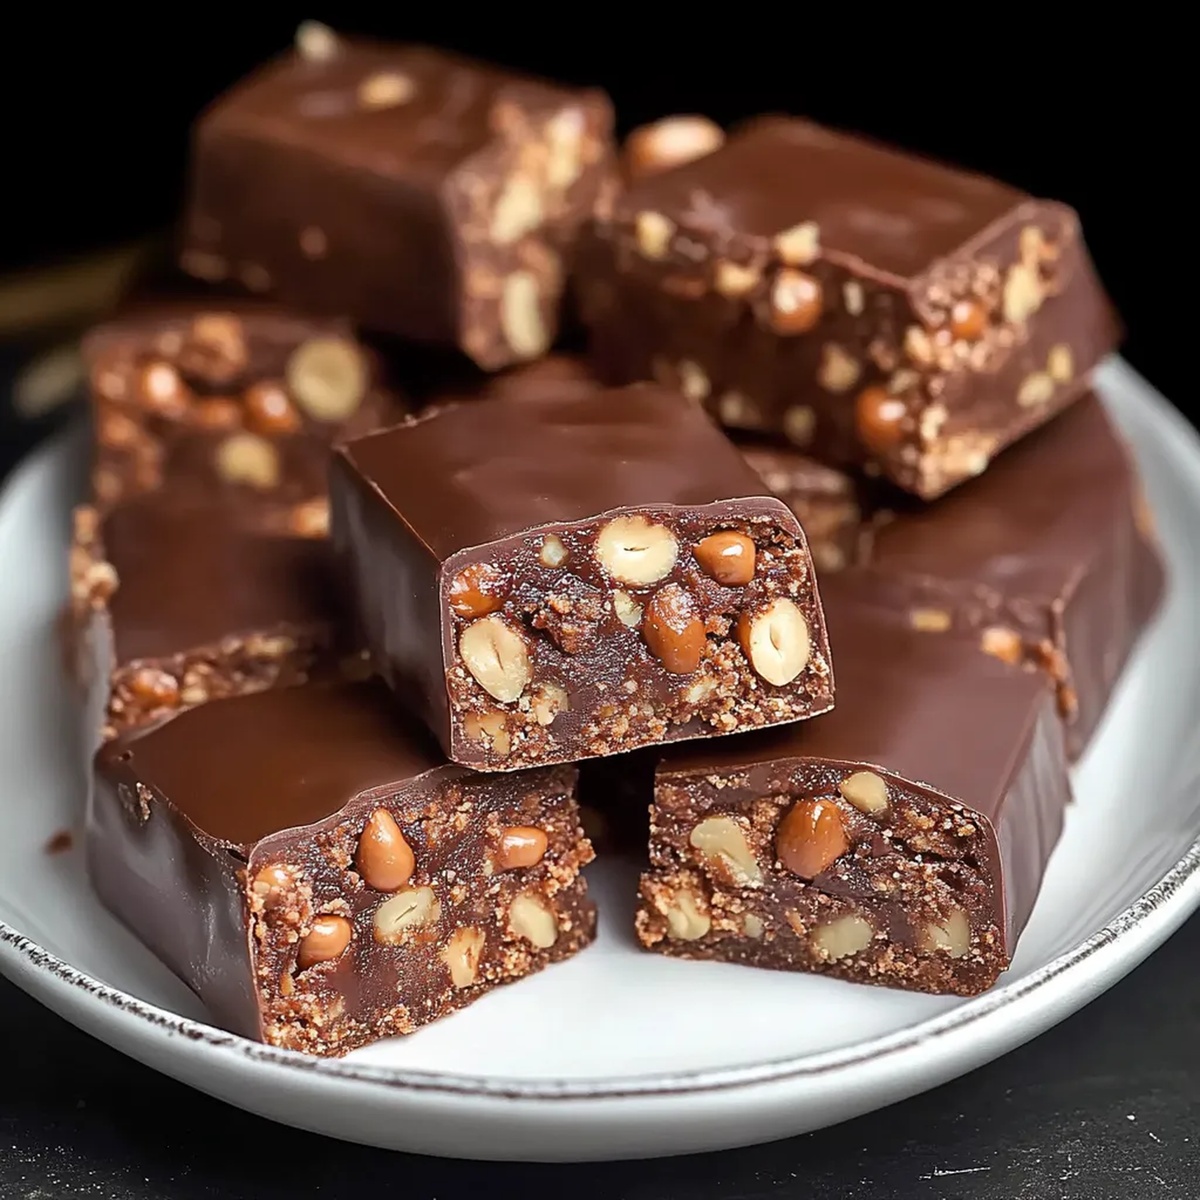
Crumbly cookies meet rich chocolate in a delightful no-fuss dessert that comes together in minutes.
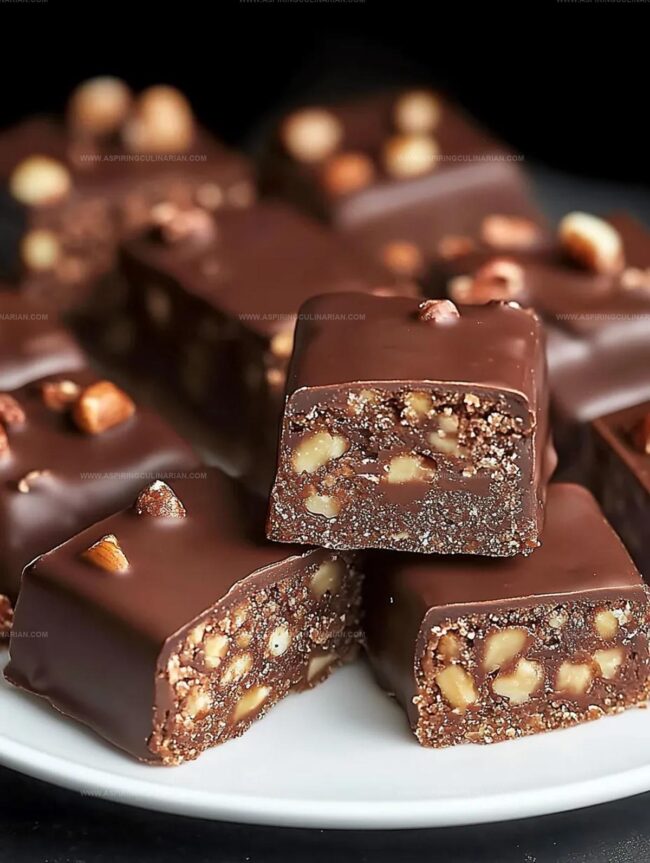
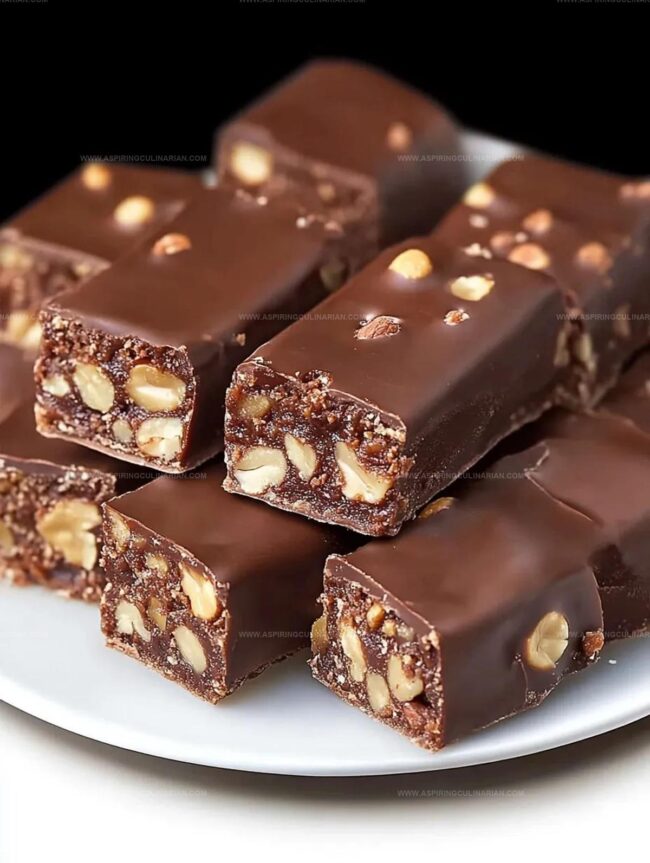
The silky chocolate coating melts perfectly over crisp biscuits, creating layers of irresistible texture and flavor.
Each bite delivers a perfect balance of sweet and crunchy elements that dance on your palate.
Simple ingredients transform into an elegant treat that looks like you spent hours in the kitchen.
No complicated techniques or special equipment stand between you and these heavenly bars.
With just a few basic ingredients and minimal effort, you can create a dessert that will impress everyone at the table.
Grab a plate and prepare to be amazed by this effortless chocolate sensation.
No-Bake Chocolate Biscuit Bars Ingredient Checklist Complete
Base Ingredients:Binding Ingredients:Chocolate Coating Ingredients:Garnish Ingredient:Making No-Bake Chocolate Biscuit Bars From Start To Finish
Step 1: Crush and Mix Biscuit Base
Grab your food processor and transform biscuits into fine, sandy crumbs.
In a spacious mixing bowl, combine the crushed biscuits with:Stir everything together until the mixture looks uniform and deliciously inviting.
Step 2: Create Creamy Binding
Gently melt butter in a small saucepan over low heat.
Slowly stir in sweet cream until they blend smoothly.
Pour this silky mixture over the biscuit crumbs and mix thoroughly.
Check the consistency – the mixture should hold together when pressed.
Add extra cream if too dry or more biscuit crumbs if too wet.
Step 3: Form and Chill Base
Line a rectangular baking dish with parchment paper.
Press the biscuit mixture firmly and evenly into the dish.
Use the back of a spoon or a flat glass to compact the layer perfectly.
Pop into the refrigerator for 30 minutes to set firmly.
Step 4: Craft Chocolate Glaze
Combine milk and dark chocolate in a heatproof bowl.
Melt using a double boiler or microwave, stirring frequently to prevent burning.
Once melted and smooth, stir in vegetable oil to create a glossy, luxurious chocolate coating.
Step 5: Layer and Refrigerate
Pour the melted chocolate over the chilled biscuit base.
Spread evenly with a spatula.
Immediately sprinkle ground peanuts across the top for a delightful crunch.
Return to the refrigerator and let set for at least 1 hour.
Step 6: Slice and Enjoy
Remove the slab from the refrigerator.
Lift out using the parchment paper.
Slice into bars or squares using a sharp knife.
Wipe the knife between cuts for clean, beautiful edges.
Serve chilled and savor every bite!
Tips That Change Your No-Bake Chocolate Biscuit Bars
New Versions For No-Bake Chocolate Biscuit Bars Fans
Ways To Serve No-Bake Chocolate Biscuit Bars Creatively
Store No-Bake Chocolate Biscuit Bars Properly Every Time
FAQs
Yes, you can swap graham crackers, digestive biscuits, or shortbread cookies. Just ensure they’re finely crushed and dry enough to hold the mixture together.
No, you just need basic kitchen tools like a food processor or rolling pin for crushing biscuits, a saucepan, mixing bowl, and a rectangular baking dish.
Absolutely! Kids can help crush biscuits, mix ingredients, and sprinkle toppings. Just supervise during the melting and hot steps.
These no-bake chocolate biscuit bars will keep well in the refrigerator for up to 5-7 days when stored in an airtight container.
No-Bake Chocolate Biscuit Bars Delight At First Bite
No Bake Chocolate Biscuit Bars Recipe
- Total Time: 20 minutes
- Yield: 12 1x
Description
Chocolate biscuit bars elevate dessert simplicity with their rich, creamy layers of indulgence. Minimal effort and maximum flavor combine in this delightful no-bake treat that melts hearts and satisfies sweet cravings with European-inspired charm.
Ingredients
Main Ingredients
- 12.3 ounces (350 grams) biscuits, crushed
- 1 cup (3 ounces / 85 grams) ground peanuts
- 1/2 cup (3.9 ounces / 110 grams) butter
- 1/2 cup (1.6 ounces / 45 grams) cocoa powder
- 1/2 cup (3 ounces / 85 grams) sugar
Liquid and Flavor Ingredients
- 3/4 cup (6 fluid ounces / 180 milliliters) sweet cream
- 1 packet (10 grams) vanilla sugar (optional)
Chocolate Coating
- 3.2 ounces (90 grams) milk chocolate
- 1 ounce (30 grams) dark chocolate
- 2 tablespoons (1 ounce / 30 grams) vegetable oil
Topping
- 3/4 cup (2.5 ounces / 70 grams) ground peanuts
Instructions
- Pulverize biscuits into fine crumbs using a food processor, ensuring a uniform texture for the base mixture.
- Incorporate ground peanuts, sugar, vanilla sugar, and cocoa powder into the biscuit crumbs, thoroughly blending dry ingredients in a large mixing bowl.
- Gently melt butter over low heat, then integrate sweet cream until smooth. Pour the liquid mixture over the dry ingredients, stirring until the mixture coheres and maintains its shape when pressed.
- Prepare a rectangular baking dish by lining it with parchment paper. Firmly compress the biscuit mixture into an even, compact layer using the back of a spoon or a flat-bottomed glass.
- Chill the base in the refrigerator for 30 minutes to solidify and enhance structural integrity.
- Create a chocolate glaze by melting milk and dark chocolate using a double boiler or microwave, stirring consistently to prevent burning. Incorporate vegetable oil to achieve a glossy, smooth finish.
- Remove the chilled base from the refrigerator and generously pour the melted chocolate mixture, spreading evenly with a spatula.
- Immediately scatter ground peanuts across the chocolate surface for added texture and flavor.
- Return the dish to the refrigerator and allow to set completely for at least 1 hour.
- Once fully hardened, extract the slab using parchment paper edges. Slice into bars or squares with a sharp knife, cleaning the blade between cuts for precise edges.
Notes
- Customize crumbs by using gluten-free biscuits for a celiac-friendly version, ensuring everyone can enjoy this delightful treat.
- Control sweetness by adjusting sugar levels or replacing with alternative sweeteners like stevia or honey for a healthier twist.
- Enhance texture by toasting ground peanuts before mixing to intensify their nutty flavor and add a delightful crunch.
- Try chocolate varieties like white chocolate or add a sprinkle of sea salt on top for a sophisticated flavor profile that elevates the simple dessert.
- Prep Time: 20 minutes
- Cook Time: 0 minutes
- Category: Desserts, Snacks
- Method: Chilling
- Cuisine: British
Nutrition
- Serving Size: 12
- Calories: 366
- Sugar: 22g
- Sodium: 90mg
- Fat: 24g
- Saturated Fat: 9g
- Unsaturated Fat: 15g
- Trans Fat: 0g
- Carbohydrates: 35g
- Fiber: 2g
- Protein: 6g
- Cholesterol: 28mg
Lena Martinez
Contributing Writer & Culinary Educator
Expertise
Southwestern and Latin American cuisines, Vegetarian and plant-based recipe development, Culinary education and community outreach
Education
Santa Fe Community College, Santa Fe, NM
Certificate in Culinary Arts
Emphasized Southwestern cuisine and sustainable cooking practices
Lena grew up surrounded by the colors, spices, and traditions of the Southwest – flavors that sparked her love for bold, honest cooking. After earning her Culinary Arts certificate at Santa Fe Community College, she made it her mission to teach home cooks how to create flavorful, plant-powered meals without the fuss.
Her recipes are packed with vibrant ingredients, simple steps, and the kind of heart that turns a regular meal into something you’ll want to share. Outside the kitchen, Lena spends her time wandering farmers’ markets, trading family recipes, and helping young chefs find their voice through food.