
Dreamy No Bake Marshmallow Slice Recipe For Sweet Cravings
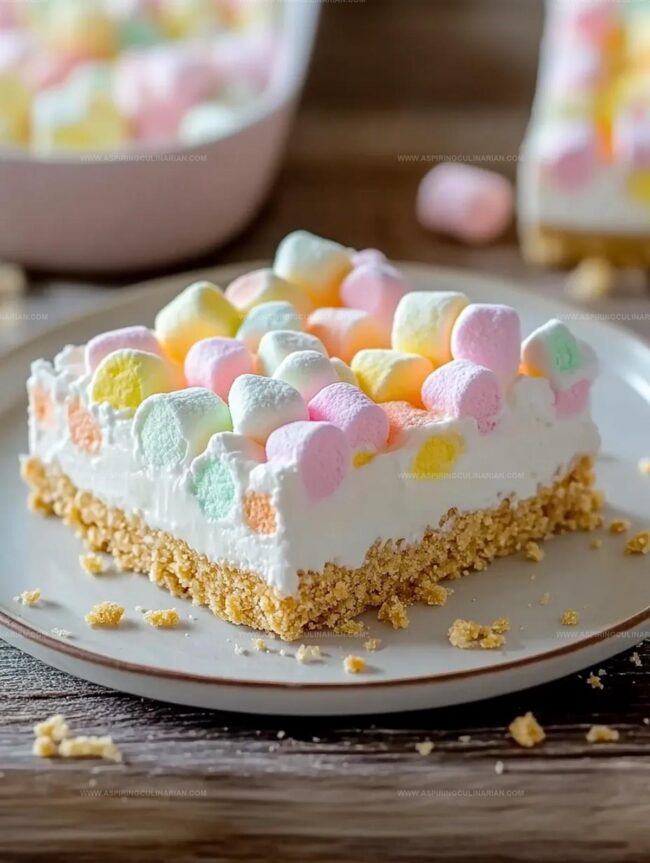
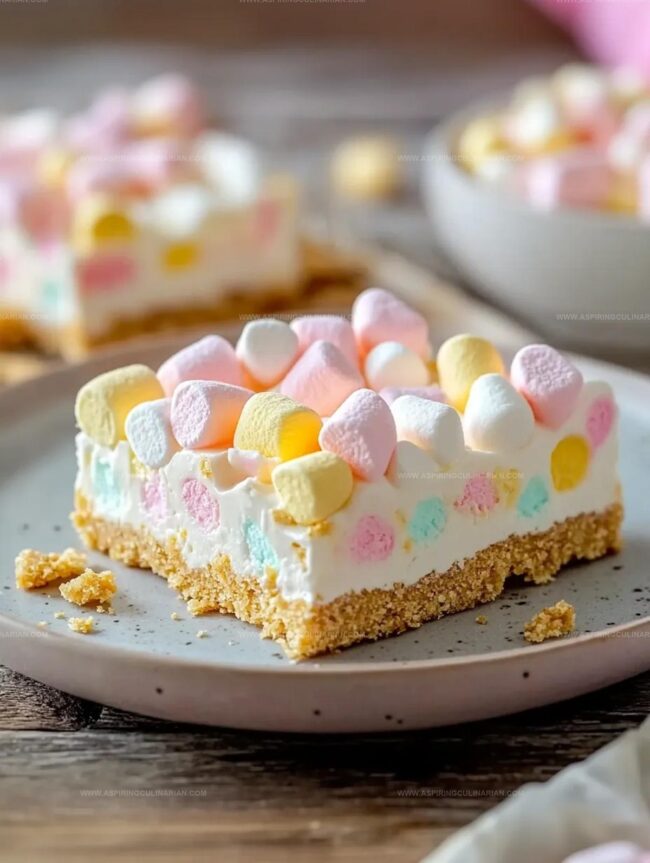
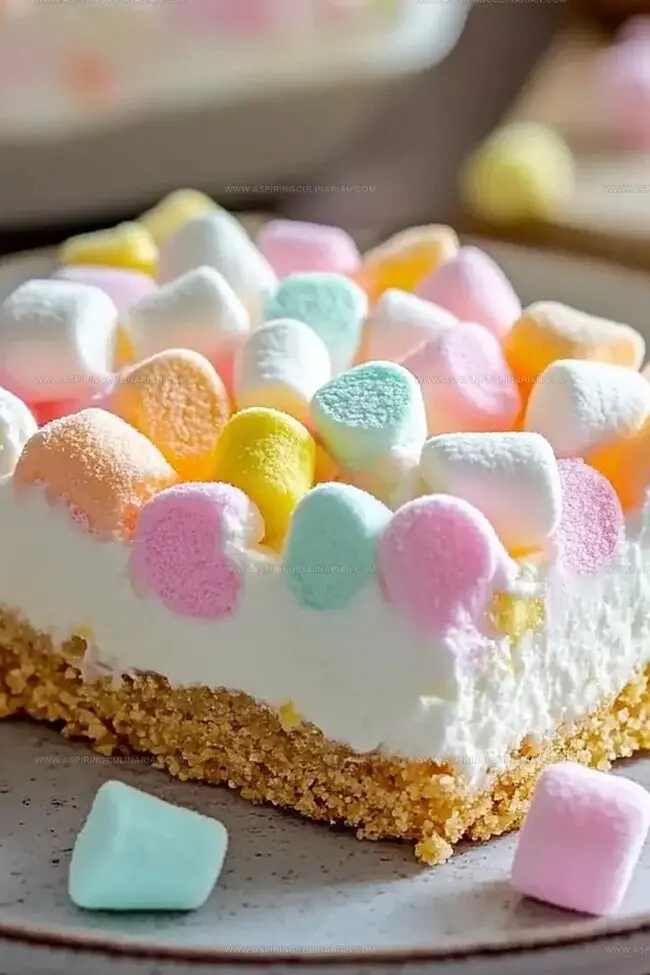
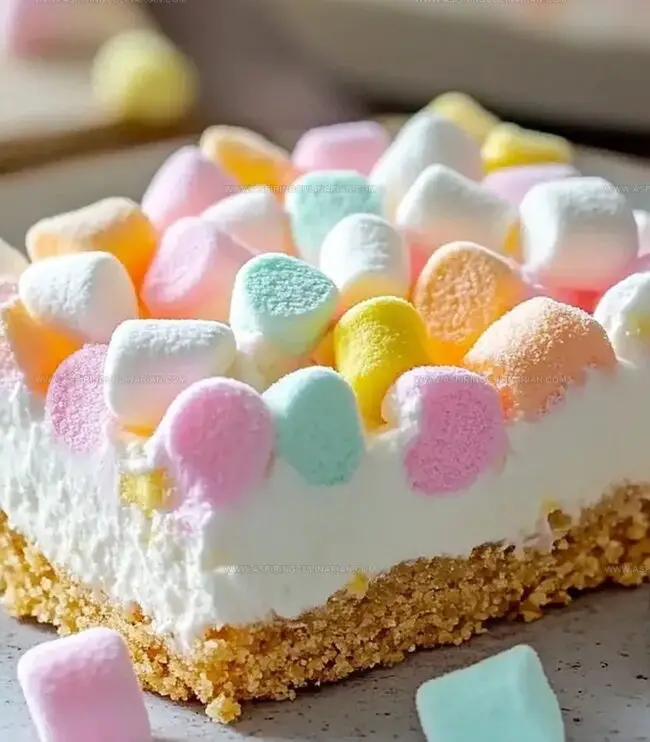
Sweet, gooey marshmallow slice bursts with nostalgic charm and delivers delightful no-bake magic that will make your taste buds dance.
Layers of creamy marshmallow create a dreamy dessert that requires zero oven time.
Chocolate base adds rich depth to every single bite.
Crumbly graham crackers blend seamlessly with fluffy marshmallow cream.
This simple treat comes together in minutes, making it perfect for last-minute gatherings or sudden sugar cravings.
Each slice promises a melt-in-your-mouth experience that celebrates sweet simplicity.
You’ll want to bookmark this recipe for endless delicious moments.
No-Bake Marshmallow Slice: Batch Highlights
All the Ingredients for Marshmallow Slice Magic
Base:Cream Filling:Garnish:Quick Steps for No-Bake Marshmallow Slice
Step 1: Create Crunchy Base
Crush graham crackers into fine crumbs.
Drizzle melted butter over crumbs and mix until perfectly combined.
Press the mixture firmly into a lined square baking pan, creating an even, compact layer.
Pop the pan into the refrigerator for about 10 minutes to help the base set and become sturdy.
Step 2: Whip Creamy Layers
In a mixing bowl, blend cream cheese until completely smooth.
Gently fold in powdered sugar and vanilla extract, stirring until the mixture becomes light and fluffy.
In a separate bowl, whip heavy cream until it forms gorgeous stiff peaks that hold their shape beautifully.
Step 3: Craft Dreamy Filling
Gently fold the whipped cream into the cream cheese mixture, creating a cloudlike texture.
Softly incorporate marshmallows and white chocolate chips, distributing them evenly throughout the creamy mixture.
Step 4: Layer and Decorate
Spread the luxurious filling over the chilled crust, ensuring an even distribution.
Sprinkle additional marshmallows across the top for a delightful, tempting look.
Step 5: Chill and Serve
Cover the pan with plastic wrap and refrigerate for at least 4 hours or overnight.
This allows the slice to become perfectly firm and set.
Once chilled, slice into 12 delectable squares and serve chilled.
Pro Tips for Soft and Sweet Marshmallow Slice
No-Bake Slice Mix-In Ideas for Fun
Ways to Plate and Serve Marshmallow Slice
How to Store Marshmallow Slice for Next Time
FAQs
Yes, you can substitute graham crackers with digestive biscuits or vanilla cookie crumbs for a similar base texture and flavor.
Absolutely! Use gluten-free graham crackers or cookies to create a gluten-free version of the marshmallow slice.
Lightly coat marshmallows in a bit of powdered sugar before folding them into the cream mixture to help them stay suspended.
You can use whipped topping or stabilized whipped cream as an alternative to heavy cream in this recipe.
Print
No Bake Marshmallow Slice Recipe
- Total Time: 4 hours 20 minutes
- Yield: 12 1x
Description
Sweet marshmallow slice invites dessert enthusiasts into a world of creamy, no-bake delight. Cool graham cracker base and fluffy marshmallow topping create an irresistible treat you’ll crave again and again.
Ingredients
Main Ingredients:
- 2 cups mini rainbow marshmallows
- 1 1/2 cups heavy whipping cream
- 8 ounces (226 grams) cream cheese, softened
- 1 1/2 cups crushed graham crackers, digestive biscuits, vanilla wafers, or shortbread cookies
Binding and Sweetening Ingredients:
- 1/2 cup unsalted butter, melted
- 1/2 cup powdered sugar
- 1/2 cup white chocolate chips (optional)
Flavoring Ingredient:
- 1 teaspoon vanilla extract
Instructions
- Crush graham crackers into fine crumbs and blend thoroughly with melted butter. Press mixture compactly into a parchment-lined 8×8-inch pan, creating an even, dense base. Refrigerate for 10 minutes to solidify.
- In a separate mixing bowl, whip heavy cream until forming stiff, glossy peaks. Set aside momentarily.
- Using an electric mixer, blend cream cheese until velvety smooth. Gradually incorporate powdered sugar and vanilla extract, beating until completely integrated and fluffy.
- Gently fold whipped cream into cream cheese mixture, maintaining its airy texture. Carefully fold in marshmallows and white chocolate chips, distributing evenly throughout the filling.
- Spread the creamy marshmallow mixture across the chilled graham cracker crust, ensuring a uniform layer. Strategically place additional marshmallows on top for visual appeal and extra sweetness.
- Cover the pan with plastic wrap and transfer to refrigerator. Allow dessert to set and firm up for minimum 4 hours, preferably overnight. The longer it chills, the more stable the slice becomes.
- Once completely set, lift out of pan using parchment edges. Slice into 12 precise, equal squares using a sharp knife wiped clean between cuts.
Notes
- Customize graham cracker base by using gluten-free crackers or crushed cookies for alternative dietary needs.
- Ensure cream cheese is room temperature to achieve ultra-smooth filling without lumps.
- Gently fold whipped cream to maintain maximum airiness and prevent deflating the light texture.
- Enhance flavor complexity by toasting marshmallows lightly before adding or sprinkling sea salt on top for sophisticated taste contrast.
- Prep Time: 20 minutes
- Cook Time: 4 hours
- Category: Desserts, Snacks
- Method: Chilling
- Cuisine: Australian
Nutrition
- Serving Size: 12
- Calories: 220
- Sugar: 14 g
- Sodium: 150 mg
- Fat: 12 g
- Saturated Fat: 7 g
- Unsaturated Fat: 4 g
- Trans Fat: 0 g
- Carbohydrates: 28 g
- Fiber: 1 g
- Protein: 2 g
- Cholesterol: 30 mg
Lena Martinez
Contributing Writer & Culinary Educator
Expertise
Southwestern and Latin American cuisines, Vegetarian and plant-based recipe development, Culinary education and community outreach
Education
Santa Fe Community College, Santa Fe, NM
Certificate in Culinary Arts
Emphasized Southwestern cuisine and sustainable cooking practices
Lena grew up surrounded by the colors, spices, and traditions of the Southwest – flavors that sparked her love for bold, honest cooking. After earning her Culinary Arts certificate at Santa Fe Community College, she made it her mission to teach home cooks how to create flavorful, plant-powered meals without the fuss.
Her recipes are packed with vibrant ingredients, simple steps, and the kind of heart that turns a regular meal into something you’ll want to share. Outside the kitchen, Lena spends her time wandering farmers’ markets, trading family recipes, and helping young chefs find their voice through food.