The Coolest No Bake Peppermint Pie Recipe for Sweet Cravings
Chilled desserts bring pure joy during warm seasons, and this no bake peppermint pie recipe delivers a refreshing twist that’ll make taste buds dance.
Creamy layers of minty goodness combine effortlessly without ever touching an oven.
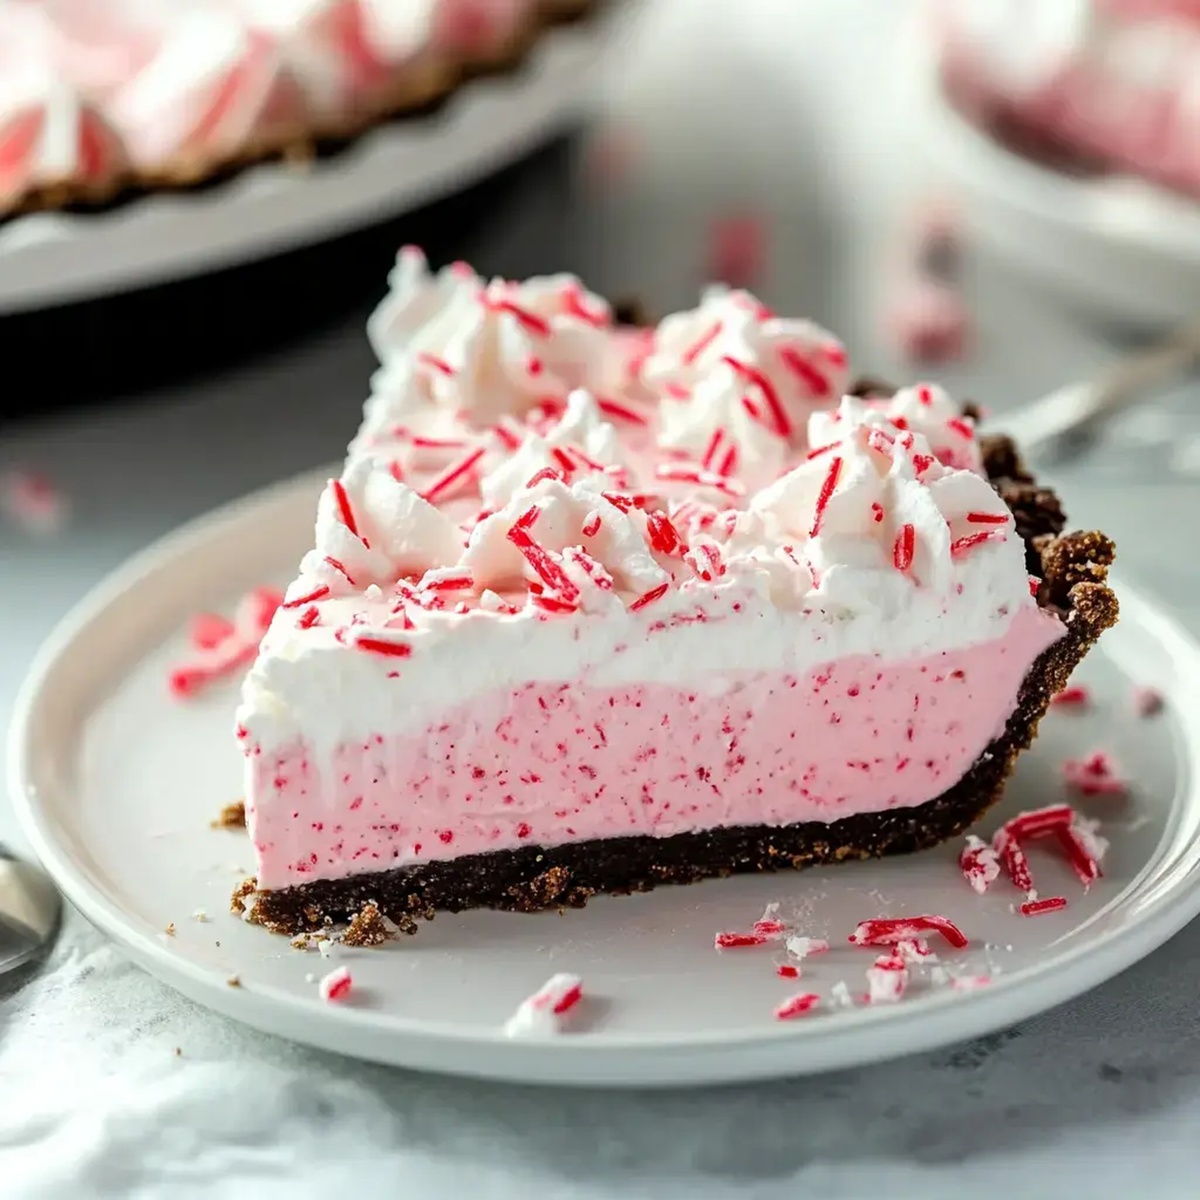
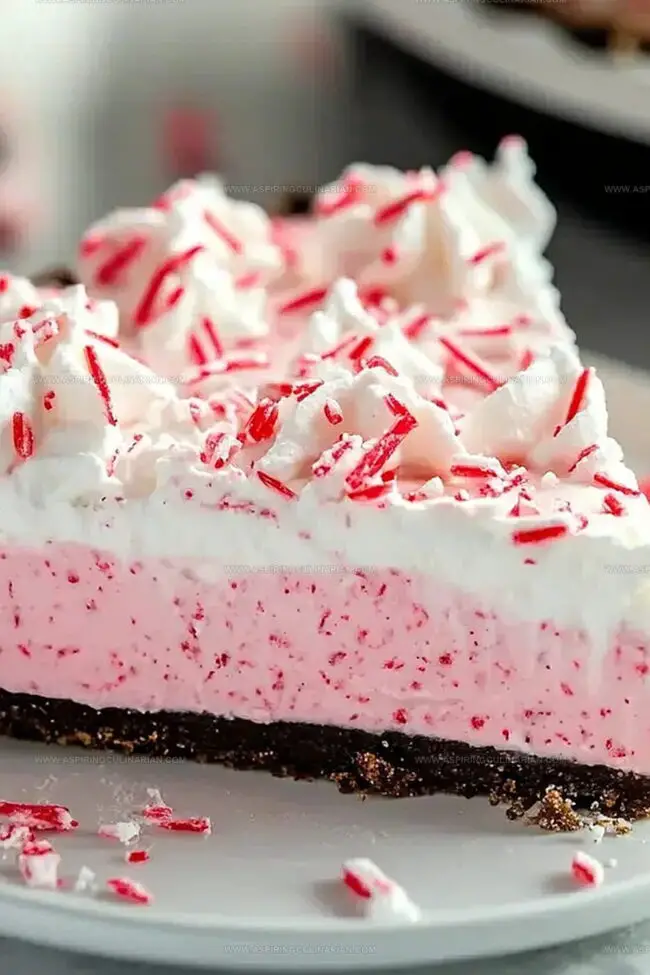
Smooth peppermint filling nestles into a crisp graham cracker crust, creating a delightful contrast of textures.
cool and decadent, this pie offers a perfect balance of sweet and minty flavors that melt in your mouth.
Each slice promises a delectable escape from traditional baked desserts.
The simple preparation means you can whip up this elegant treat in minutes, impressing guests with minimal effort.
Dive into this delightful no-bake sensation and let the peppermint magic unfold on your plate.
Cool Holiday Dessert: Why It’s a Crowd-Pleaser
Ingredient Checklist for Cool Holiday Dessert
Main Ingredients:Flavor Enhancers:Toppings and Garnish:Instructions for Your Cool Holiday Dessert

Step 1: Whip Up Fluffy Cream
Grab your heavy cream and use an electric mixer to whip it into cloud-like peaks.
Keep beating until the cream stands tall and firm when you lift the beaters.
The cream should look glossy and hold its shape perfectly.
Step 2: Create Smooth Cream Cheese Base
In a separate mixing bowl, blend cream cheese with powdered sugar.
Use your mixer to combine these ingredients until they become silky smooth and free of any lumps.
The mixture should look creamy and have a consistent texture.
Step 3: Infuse Delightful Flavors
Add your flavor enhancers to the cream cheese mixture:Mix these ingredients thoroughly to distribute the flavors evenly throughout the mixture.
Step 4: Gently Fold Cream Layers
Carefully fold the whipped cream into the cream cheese mixture.
Use a spatula to blend them together, maintaining the airy texture of the whipped cream.
Stir gently to keep the mixture light and fluffy.
Step 5: Create Oreo Cookie Base
Press crushed Oreo cookies into the bottom of a serving dish to form a delicious crust.
Make sure the cookie crumbs are evenly distributed and firmly packed.
Step 6: Layer and Spread Filling
Pour the cream mixture over the Oreo crust.
Use a spatula to spread it evenly, ensuring a smooth and level surface.
Step 7: Add Dreamy Topping
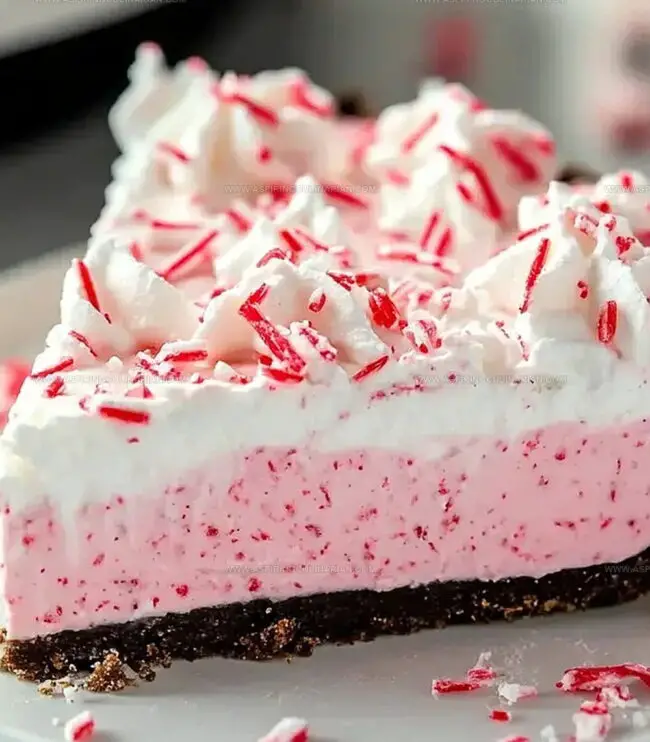
Cover the top with a layer of Cool Whip.
Sprinkle additional crushed peppermint candies over the surface for a festive touch.
Step 8: Chill and Set
Place the dessert in the refrigerator for 1-2 hours.
The dessert will firm up and develop a rich, creamy texture.
Serve chilled and enjoy your holiday treat!
Cool Dessert: Tips for Frosty Success
Ways to Mix Up Cool Holiday Desserts
Creative Serving for Cool Holiday Dessert
Storing Cool Holiday Desserts with Care
FAQs
The dessert uses an Oreo cookie crust, which provides a rich, chocolatey base for the creamy filling.
Yes, you can prepare this dessert 1-2 days in advance and keep it refrigerated until you’re ready to serve.
Absolutely! Kids will love the peppermint flavor, colorful appearance, and sweet taste of this holiday dessert.
This recipe is very easy to make, requiring basic mixing skills and no baking, making it perfect for novice cooks and bakers.
Print
No Bake Peppermint Pie Recipe
- Total Time: 2 hours 10 minutes
- Yield: 8 1x
Description
Creamy peppermint pie delivers holiday magic with minimal effort. Cool mint layers nestled in a chocolate graham cracker crust promise delightful seasonal sweetness you’ll crave long after the last festive moment.
Ingredients
Main Ingredients:
- 16 ounces (454 grams) cream cheese, softened
- 1 cup (240 milliliters) heavy whipping cream
- 1 tub Cool Whip
- 1 Oreo pie crust
Sweeteners and Flavoring:
- 1 1/2 cups (180 grams) powdered sugar
- 2 teaspoons vanilla essence
- 1 teaspoon peppermint flavoring
- 10 drops red food coloring
Garnish:
- 1/2 cup (50 grams) crushed peppermint candies, plus more for garnish
Instructions
- Prepare the whipping cream by vigorously beating until stiff, cloud-like peaks emerge, about 3-4 minutes.
- Create a silky smooth base by thoroughly blending powdered sugar with cream cheese until no lumps remain.
- Enhance the mixture with aromatic vanilla extract, refreshing peppermint essence, vibrant food coloring, and delicately crushed festive candies.
- Gently fold the cream cheese mixture into the whipped cream, creating a light and airy texture with careful, circular motions.
- Transfer the creamy blend into a pre-prepared Oreo crust, ensuring an even, smooth distribution across the surface.
- Crown the dessert with a generous layer of Cool Whip, then generously scatter crushed peppermint candies for a festive, crunchy topping.
- Refrigerate for 1-2 hours at 40°F until the dessert sets completely and reaches a firm, slice-able consistency.
Notes
- Whip cream to soft peaks for a lighter, airier texture that won’t deflate quickly.
- Use room temperature cream cheese to ensure smooth, lump-free mixing without overmixing.
- Customize flavors by swapping peppermint with other extracts like almond or orange for seasonal variations.
- Opt for gluten-free Oreos or graham cracker crust to make the dessert celiac-friendly.
- Prep Time: 10 minutes
- Cook Time: 2 hours
- Category: Desserts
- Method: None
- Cuisine: American
Nutrition
- Serving Size: 8
- Calories: 400
- Sugar: 30 g
- Sodium: 150 mg
- Fat: 30 g
- Saturated Fat: 18 g
- Unsaturated Fat: 10 g
- Trans Fat: 0 g
- Carbohydrates: 35 g
- Fiber: 1 g
- Protein: 4 g
- Cholesterol: 70 mg
Nathaniel Brooks
Founder & Recipe Developer
Expertise
Farm-to-table cuisine, Seasonal recipe development, Culinary storytelling
Education
Ivy Tech Community College – Indianapolis, IN
Culinary Arts / Hospitality Administration & Events
Focused on hands-on training in classical and modern culinary techniques.
Nathaniel’s story starts in the foothills of the Appalachian Mountains, where farm stands, backyard gardens, and old family recipes shaped his love for real food. After graduating from Ivy Tech Community College in Indianapolis, he spent years working in farm-to-table kitchens, learning how to turn local, seasonal ingredients into something memorable.
Today, Nathaniel pours that same spirit into every single recipe on Aspiring Culinarian – recipes that feel real, comforting, and connected to the land. When he’s not in the kitchen, you’ll find him foraging wild herbs, chasing sunsets with his camera, or writing about the flavors that shaped his roots.