Irresistible Nutella Thumbprint Cookies Recipe for Sweet Smiles
Sweet and irresistible Nutella thumbprint cookies deliver a decadent chocolate-hazelnut twist to classic holiday baking.
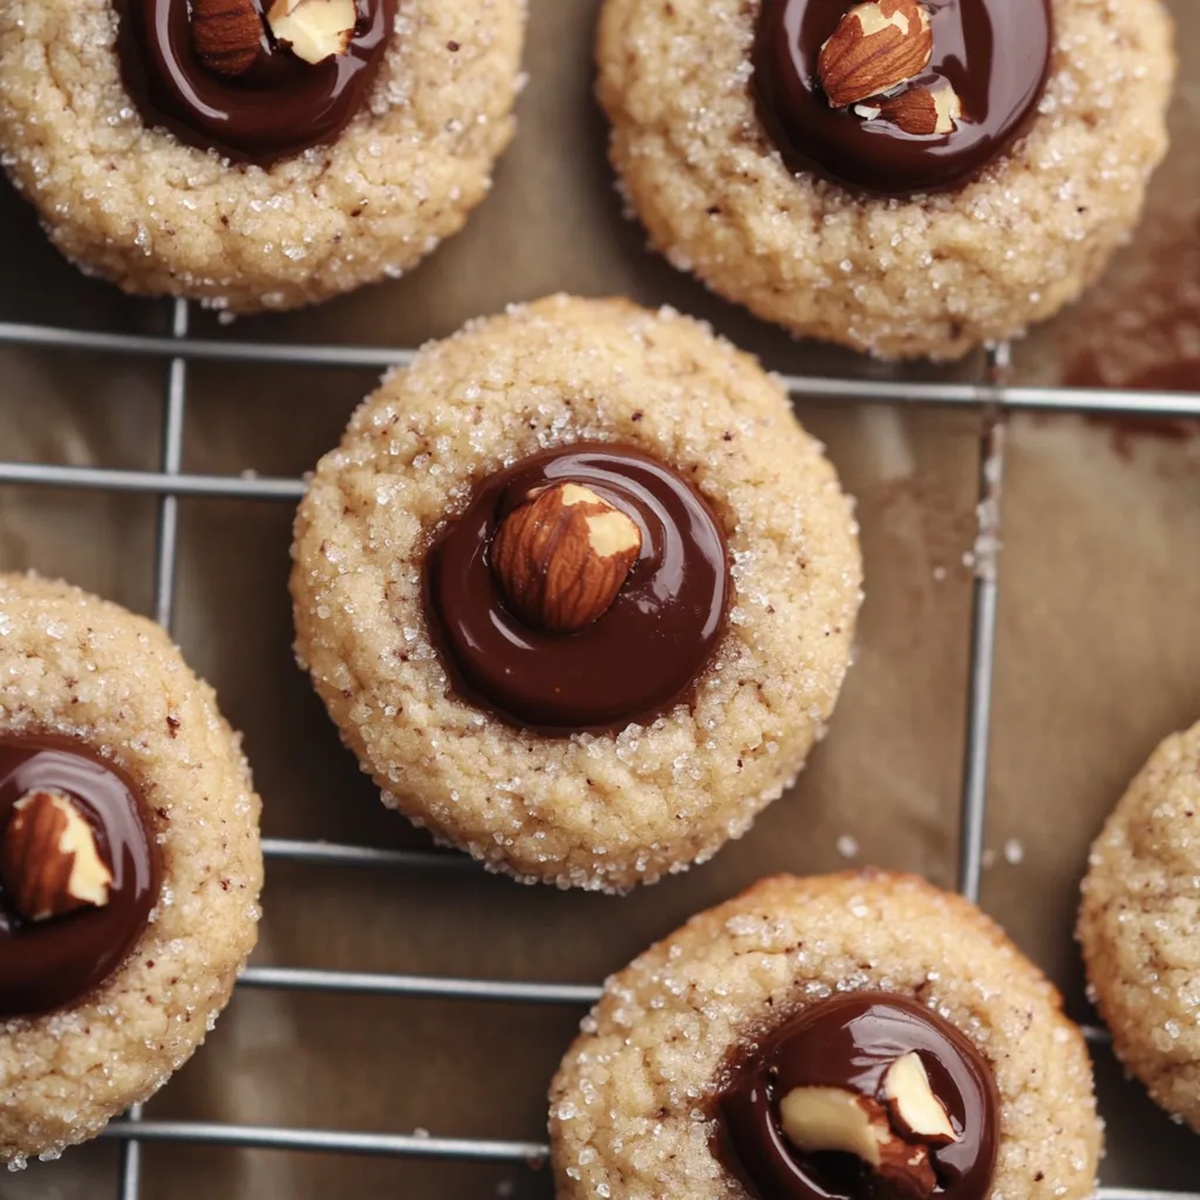
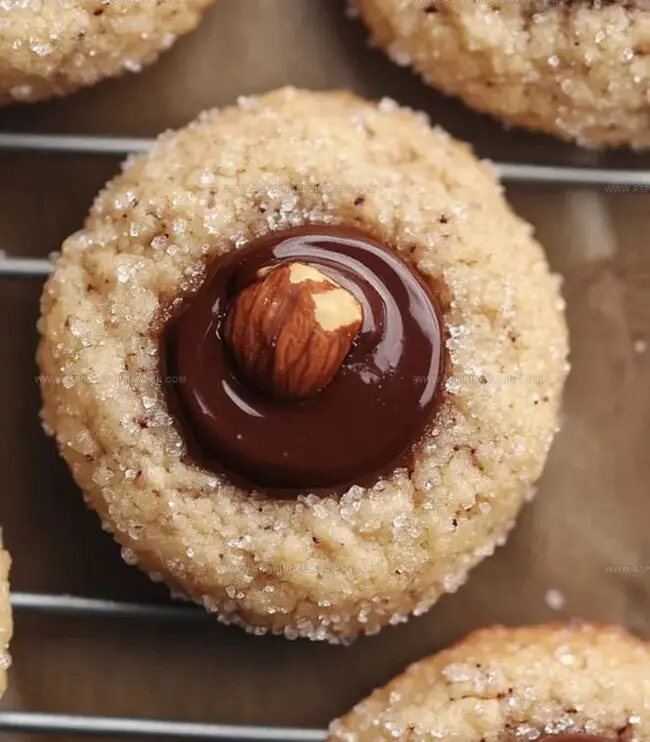
Soft, buttery cookie dough cradles a luscious Nutella center that melts in your mouth.
These delightful treats combine simple ingredients with minimal effort for maximum deliciousness.
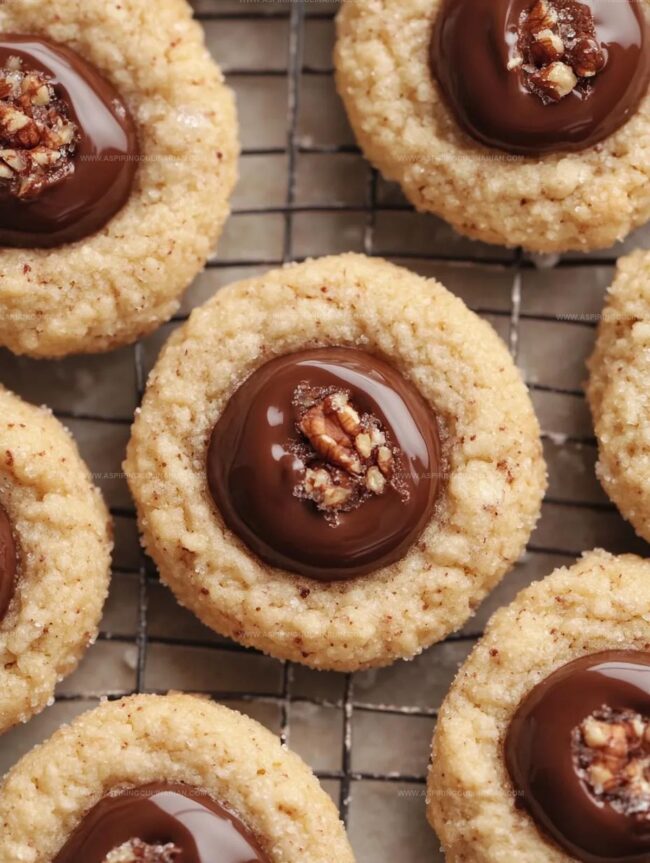
Each cookie offers a perfect balance of tender crumb and rich, creamy filling.
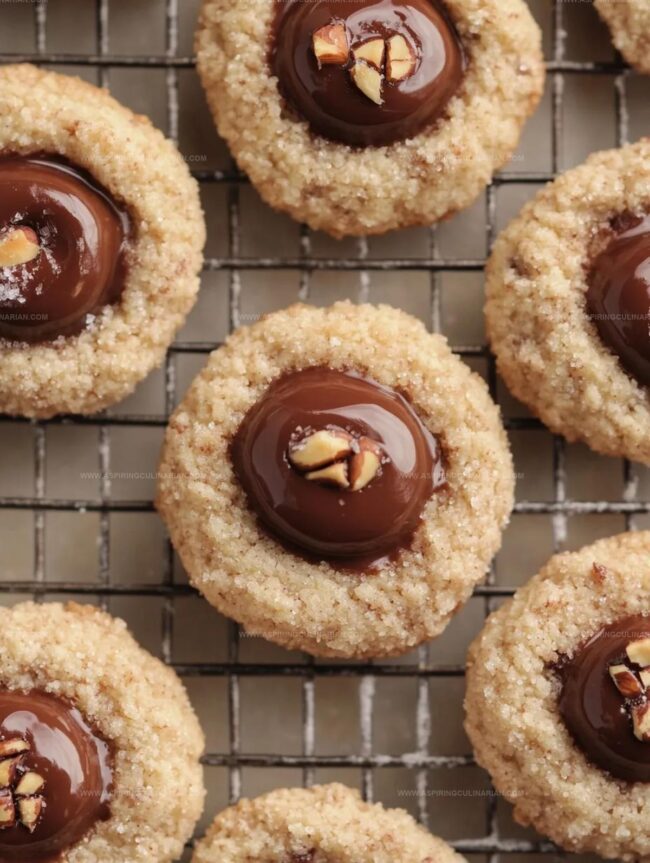
Elegant yet effortless, these cookies make an impressive addition to any dessert spread.
Chocolate lovers will swoon over the rich, velvety Nutella nestled in a perfectly golden base.
Prepare to delight your taste buds with this irresistible sweet sensation that promises to become a new family favorite.
Nutella Thumbprint Cookies: Batch Highlights
Ingredient List for Nutella Thumbprint Cookies
Dry Ingredients:Wet Ingredients:Filling and Coating:How to Make Nutella-Filled Cookies
Step 1: Whisk Dry Components
Grab a mixing bowl and combine flour, cornstarch, baking powder, baking soda, salt, and ground hazelnuts.
Gently whisk these ingredients until they are evenly distributed and create a light, consistent texture.
Step 2: Blend Creamy Base
In a separate large bowl, use an electric mixer to cream butter and cream cheese until they become smooth and silky.
Gradually add sugar and continue beating until the mixture becomes fluffy and light.
Introduce egg, egg yolk, and vanilla extract, mixing until everything blends harmoniously.
Step 3: Create Cookie Dough
Carefully fold the dry ingredients into the wet mixture, stirring until a soft dough forms.
Cover the bowl with plastic wrap and refrigerate for 2-3 hours to allow flavors to meld and dough to firm up.
Step 4: Prepare Baking Station
Preheat the oven to 350°F.
Line a baking sheet with parchment paper.
In a small bowl, mix chopped hazelnuts and sugar for coating the cookies.
Step 5: Form Cookie Balls
Scoop out small portions of dough and roll them into smooth, round balls.
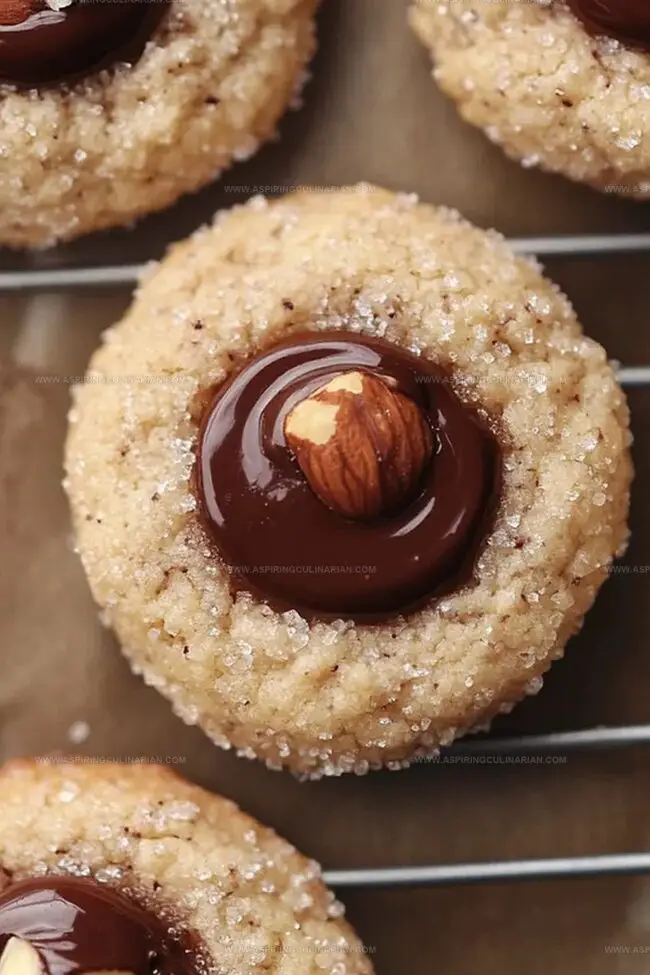
Gently roll each ball in the hazelnut-sugar mixture, ensuring an even coating.
Place the cookies on the prepared baking sheet, spacing them 2-3 inches apart.
Step 6: Bake and Shape Cookies
Bake the cookies for 8-9 minutes until they become puffy with set edges.
After removing from the oven, wait 2 minutes, then use a rounded teaspoon to create gentle indentations in the center of each cookie.
Allow cookies to cool for an additional 2-3 minutes before transferring to a cooling rack.
Step 7: Add Nutella Finishing Touch
Carefully fill the cookie indentations with smooth Nutella.
Serve the cookies warm or at room temperature for a delightful treat that combines nutty and chocolatey flavors.
Tips for Buttery, Nutty Thumbprints
Nutella Cookie Variations for Dessert Lovers
Serving Nutella Thumbprints at Gatherings
Storing Nutella Cookies for Anytime Treats
FAQs
Yes, you can substitute ground almonds or walnuts for a similar texture and flavor profile in the cookie dough and coating.
Absolutely. Chilling helps prevent spreading and allows the flavors to develop, ensuring a better cookie texture and more concentrated taste.
Let cookies cool slightly after baking and create a deep, clean indent. Fill Nutella when cookies are warm but not hot to help it set properly.
If the dough feels too soft, return it to the refrigerator for an additional 30 minutes to firm up before shaping and rolling.
Print
Nutella Thumbprint Cookies Recipe
- Total Time: 39 minutes
- Yield: 24 1x
Description
Chocolate-loving bakers will adore these Nutella thumbprint cookies, featuring a delightful blend of rich cocoa and creamy hazelnut spread. Crumbly, buttery shortbread nestles a velvety Nutella center, creating an irresistible treat you can’t wait to share with friends and family.
Ingredients
Primary Ingredients:
- 2 1/4 cups (282g) all-purpose flour
- 1/2 cup (113g) unsalted butter, room temperature
- 8 ounces (226g) cream cheese, room temperature
- 1 1/2 cups (300g) granulated sugar
Dry Ingredients:
- 1 tablespoon (8g) cornstarch
- 2 teaspoons baking powder
- 1/2 teaspoon baking soda
- 1/2 teaspoon fine sea salt
- 2/3 cup (100g) hazelnuts, finely chopped
Binding and Flavor Ingredients:
- 1 whole egg, room temperature
- 1 egg yolk, room temperature
- 2 teaspoons vanilla bean paste or extract
- Nutella, for filling centers
Coating:
- 1/3 cup (50g) hazelnuts, finely chopped
- 1 tablespoon granulated sugar
Instructions
- Thoroughly blend flour, cornstarch, baking powder, baking soda, salt, and ground hazelnuts in a mixing vessel, ensuring uniform distribution of dry components.
- Cream butter and cream cheese until silky, gradually incorporating sugar until achieving a light, airy texture. Gently fold in egg, egg yolk, and vanilla extract, mixing until completely harmonized.
- Merge wet and dry mixtures, kneading until a cohesive dough forms. Wrap securely and refrigerate for 2-3 hours to enhance flavor development and improve texture.
- Heat oven to 350°F. Prepare baking sheet with parchment paper. Create coating by combining finely chopped hazelnuts with granulated sugar.
- Craft uniform dough spheres approximately 25g each, rolling smoothly between palms. Generously coat each ball in hazelnut-sugar mixture, positioning them 2-3 inches apart on prepared sheet.
- Bake for 8-9 minutes until edges stabilize and surface appears puffy. After initial cooling (2 minutes), delicately create indentations using rounded teaspoon. Allow additional 2-3 minutes of resting before transferring to cooling rack.
- Lovingly fill cookie centers with rich Nutella, ensuring generous yet precise application. Serve either warmly or at ambient temperature for optimal enjoyment.
Notes
- Ensure flour is fresh and sifted for lighter, more delicate cookie texture.
- Chill dough thoroughly to prevent spreading and maintain cookie shape during baking.
- Use room temperature ingredients for smoother, more even mixing and consistent results.
- Create uniform cookie sizes by using a kitchen scale for precise dough portioning.
- Try alternative spreads like almond butter or chocolate ganache for dietary variations.
- Allow cookies to cool slightly before making indentations to prevent cracking.
- Store in airtight container at room temperature for up to 5 days to maintain freshness.
- Toast hazelnuts beforehand to enhance their nutty flavor and aromatic profile.
- Prep Time: 30 minutes
- Cook Time: 9 minutes
- Category: Desserts, Snacks
- Method: Baking
- Cuisine: Italian
Nutrition
- Serving Size: 24
- Calories: 150
- Sugar: 10g
- Sodium: 80mg
- Fat: 8g
- Saturated Fat: 4g
- Unsaturated Fat: 3g
- Trans Fat: 0g
- Carbohydrates: 18g
- Fiber: 1g
- Protein: 2g
- Cholesterol: 30mg
Lena Martinez
Contributing Writer & Culinary Educator
Expertise
Southwestern and Latin American cuisines, Vegetarian and plant-based recipe development, Culinary education and community outreach
Education
Santa Fe Community College, Santa Fe, NM
Certificate in Culinary Arts
Emphasized Southwestern cuisine and sustainable cooking practices
Lena grew up surrounded by the colors, spices, and traditions of the Southwest – flavors that sparked her love for bold, honest cooking. After earning her Culinary Arts certificate at Santa Fe Community College, she made it her mission to teach home cooks how to create flavorful, plant-powered meals without the fuss.
Her recipes are packed with vibrant ingredients, simple steps, and the kind of heart that turns a regular meal into something you’ll want to share. Outside the kitchen, Lena spends her time wandering farmers’ markets, trading family recipes, and helping young chefs find their voice through food.