Heavenly Orange Dreamsicle Fudge Recipe for Sweet Tooths
Sweet memories of childhood summers mingle with creamy orange dreamsicle fudge that promises a delightful burst of nostalgia.
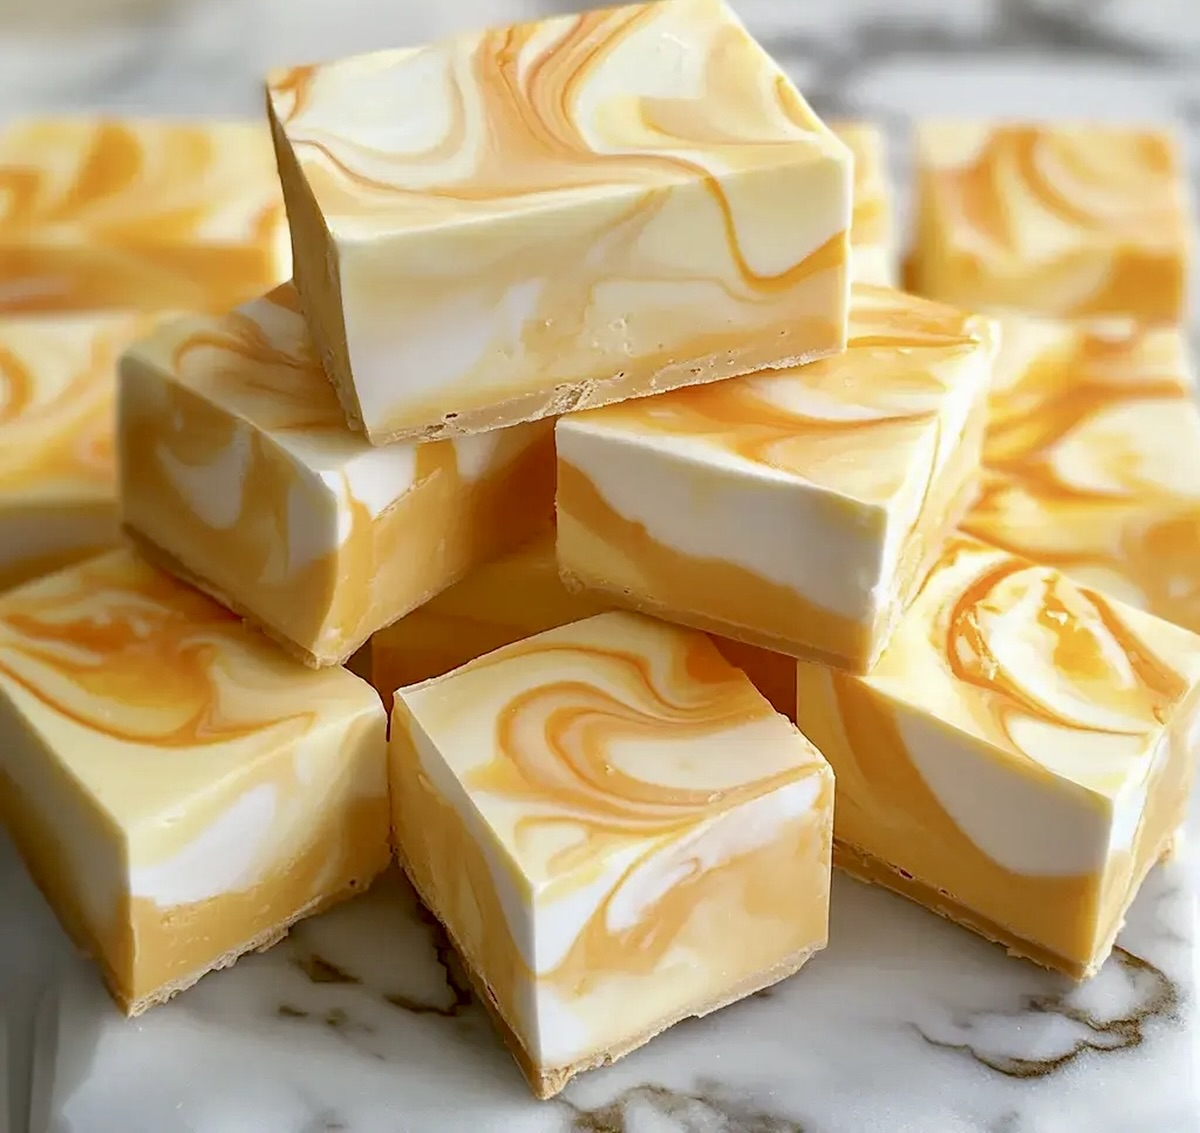
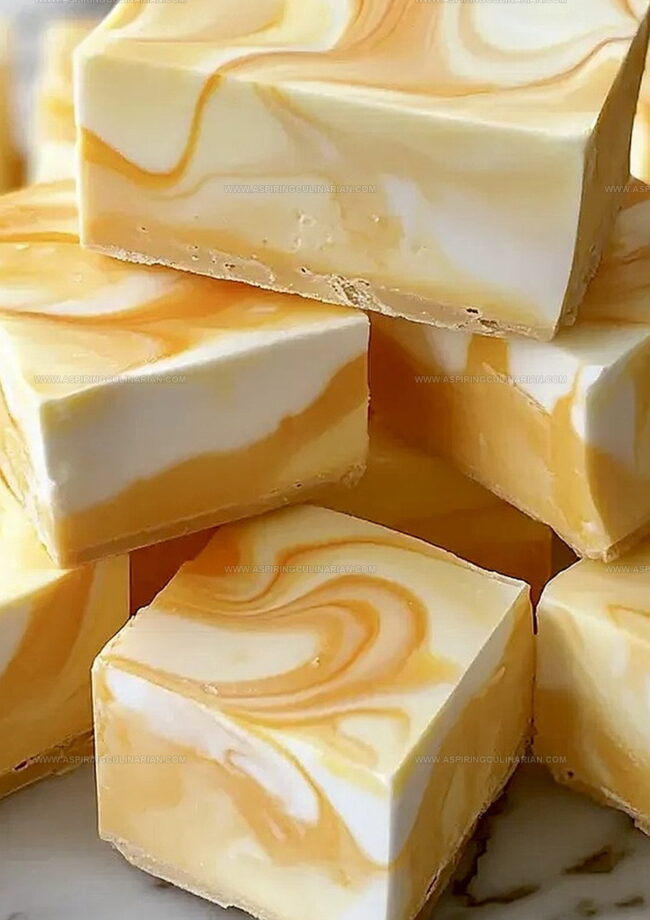
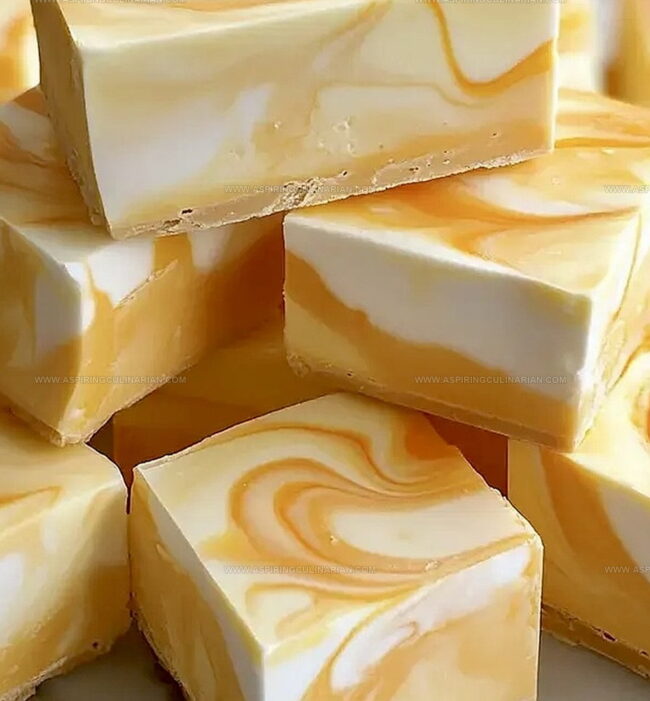
Soft orange swirls dance through rich, velvety white chocolate layers.
Memories of ice cream trucks and sunny afternoons inspire this simple treat.
Cool citrus notes blend seamlessly with smooth, luxurious textures.
Elegant yet playful, this dessert brings pure joy to any gathering.
Craving a slice of sweet happiness?
You’ll find this recipe irresistibly simple and deliciously satisfying.
Why Orange Dreamsicle Fudge Stands Out at Parties
Orange Dreamsicle Fudge: What to Have Ready
Main Ingredients:Binding and Flavoring Ingredients:Flavoring and Coloring Ingredients:Steps to Make Perfect Orange Dreamsicle Fudge Bites
Step 1: Prepare the Baking Canvas
Grab a 9×13-inch baking pan and create a non-stick paradise by generously greasing it.
Carefully line the pan with parchment paper, ensuring full coverage for easy removal later.
Step 2: Create Silky Sweet Base
In a sturdy saucepan, combine:Stir the ingredients with love until the butter melts completely.
Keep cooking and stirring, watching the mixture transform until it reaches the magical 235°F softball stage.
The mixture should look smooth and glossy.
Step 3: Introduce Creamy Goodness
Fold in marshmallow cream and white chocolate chips.
Stir with passion until everything melts into a gloriously smooth mixture.
The texture should be velvety and dreamy.
Step 4: Split and Flavor the Mixture
Carefully separate 1 cup of the white mixture into a separate bowl.
To the remaining mixture in the pan, add vibrant orange extract and a splash of food coloring.
Watch as the mixture transforms into a sunny orange hue.
Step 5: Create a Swirling Masterpiece
Pour the orange mixture into the prepared pan.
Drop random dollops of the white mixture on top.
Using a butter knife, gently swirl the colors together, creating a mesmerizing marble pattern that looks like a work of art.
Step 6: Chill and Set
Tuck the pan into the refrigerator for 2 hours.
Let the fudge firm up and develop its incredible flavor.
Step 7: Slice and Savor
Once set, slice the fudge into perfect squares.
Each bite promises a burst of creamy orange dreamsicle magic that will transport you to dessert heaven.
Tips for Dreamy Orange Fudge That Melts in Mouth
Orange Dreamsicle Fudge: Unique Variation Ideas
How to Serve Orange Dreamsicle Fudge Beautifully
Orange Dreamsicle Fudge: The Smart Storage Method
FAQs
Use a candy thermometer to check it reaches exactly 235°F, which is the softball stage. This precise temperature ensures your fudge will set perfectly.
While orange extract gives the classic dreamsicle flavor, you can experiment with other extracts like vanilla or almond. Just add gradually and taste to ensure the right intensity.
Without a thermometer, you can test the mixture by dropping a small amount into cold water. If it forms a soft, flexible ball that flattens when removed, it’s ready. However, a thermometer is more accurate.
Print
Orange Dreamsicle Fudge Recipe
- Total Time: 2 hours 20 minutes
- Yield: 16 1x
Description
Creamy orange dreamsicle fudge brings nostalgic summer memories right to dessert lovers’ tables. Sweet white chocolate and tangy orange zest combine for a delightful treat you’ll savor with pure childhood joy.
Ingredients
Main Ingredients:
- 3 cups granulated sugar
- 2 cups white chocolate chips
- 7 ounces (198 grams) marshmallow cream
- 3/4 cup (170 grams) unsalted butter
- 2/3 cup (160 milliliters) heavy cream
Flavor Enhancers:
- 3 teaspoons orange extract
- Orange food coloring (up to 10 drops)
Instructions
- Prepare a 9×13-inch baking pan by generously coating with butter and lining with parchment paper, ensuring complete coverage for easy removal.
- In a heavy-bottomed saucepan, combine butter, heavy cream, and sugar. Heat over medium flame, stirring consistently until butter dissolves and mixture becomes homogeneous. Continue cooking until temperature reaches precisely 235°F, using a candy thermometer for accuracy.
- Remove from heat and immediately incorporate marshmallow cream and white chocolate chips. Stir vigorously until mixture transforms into a silky, uniform consistency with no visible lumps.
- Carefully separate 1 cup of the white fudge base into a separate bowl. Enhance the remaining mixture in the pan with vibrant orange extract and a few drops of food coloring, stirring until color is evenly distributed.
- Gently pour the orange-tinted fudge into the prepared pan, creating an even layer. Strategically drop spoonfuls of the white mixture across the surface, then use a butter knife to create elegant, swirling marbled patterns.
- Transfer the pan to the refrigerator and allow to set for 2 hours, ensuring the fudge becomes firm and compact.
- Once completely chilled, lift the fudge out using parchment paper edges and slice into uniform square pieces for serving.
Notes
- Perfectly line the pan with parchment paper, ensuring edges overhang for easy removal and clean cutting of the fudge.
- Use a reliable candy thermometer to accurately monitor the sugar mixture’s temperature, preventing burning or undercooking.
- Add orange extract gradually and taste, adjusting the intensity to achieve the desired dreamsicle flavor without overwhelming sweetness.
- For a gluten-free version, confirm all ingredients like marshmallow cream and white chocolate chips are certified gluten-free before preparing.
- Prep Time: 20 minutes
- Cook Time: 2 hours
- Category: Desserts, Snacks
- Method: Baking
- Cuisine: American
Nutrition
- Serving Size: 16
- Calories: 210
- Sugar: 26 g
- Sodium: 20 mg
- Fat: 11 g
- Saturated Fat: 7 g
- Unsaturated Fat: 4 g
- Trans Fat: 0.1 g
- Carbohydrates: 29 g
- Fiber: 0 g
- Protein: 1 g
- Cholesterol: 30 mg
Nathaniel Brooks
Founder & Recipe Developer
Expertise
Farm-to-table cuisine, Seasonal recipe development, Culinary storytelling
Education
Ivy Tech Community College – Indianapolis, IN
Culinary Arts / Hospitality Administration & Events
Focused on hands-on training in classical and modern culinary techniques.
Nathaniel’s story starts in the foothills of the Appalachian Mountains, where farm stands, backyard gardens, and old family recipes shaped his love for real food. After graduating from Ivy Tech Community College in Indianapolis, he spent years working in farm-to-table kitchens, learning how to turn local, seasonal ingredients into something memorable.
Today, Nathaniel pours that same spirit into every single recipe on Aspiring Culinarian – recipes that feel real, comforting, and connected to the land. When he’s not in the kitchen, you’ll find him foraging wild herbs, chasing sunsets with his camera, or writing about the flavors that shaped his roots.