Magical Oreo Cookies Cream Cake Pops Recipe for Sweet Treats
These delightful Oreo cookies cream cake pops dance between sweet nostalgia and playful dessert innovation.
Classic sandwich cookies blend seamlessly with creamy frosting and smooth chocolate coating.
Soft cake crumbles create a perfectly textured treat that melts in your mouth.
Kids and adults will adore these bite-sized delights that combine rich chocolate flavor with smooth, dreamy cream.
Light and portable, these cake pops make fantastic party treats or unexpected afternoon snacks.
Simple ingredients and easy preparation mean you can whip up these charming desserts in less than an hour.
Prepare to impress everyone with these irresistible, crowd-pleasing confections that promise pure indulgence.
Oreo Cookies & Cream Cake Pops: Party Pleasers
Ingredients for Oreo Cake Pop Magic
Cookie Base:Coating Ingredients:Structural Ingredients:Roll and Dip Cake Pops with Ease
Step 1: Pulverize Oreo Cookies
Grab your food processor and transform the Oreo cookies into fine crumbs.
Separate about half a cup of the crushed cookies and set them aside for later decoration.
Step 2: Create Creamy Dough
In a spacious mixing bowl, blend the remaining Oreo crumbs with softened cream cheese.
Mix thoroughly until the ingredients merge into a smooth, moldable dough-like texture.
Step 3: Craft Bite-Sized Spheres
Roll the mixture into compact, round balls measuring approximately one inch in diameter.
Carefully place each ball on a parchment-lined tray.
Gently insert a cake pop stick into the center of each ball, ensuring it’s securely positioned.
Step 4: Chill and Stabilize
Transfer the tray to the freezer and let the cake pops firm up for half an hour.
This cooling process helps maintain their shape during the chocolate coating.
Step 5: Melt Chocolate Coating
Use a microwave-safe bowl to melt white chocolate chips.
Heat in short 20-second intervals, stirring between each session to create a smooth, glossy chocolate mixture.
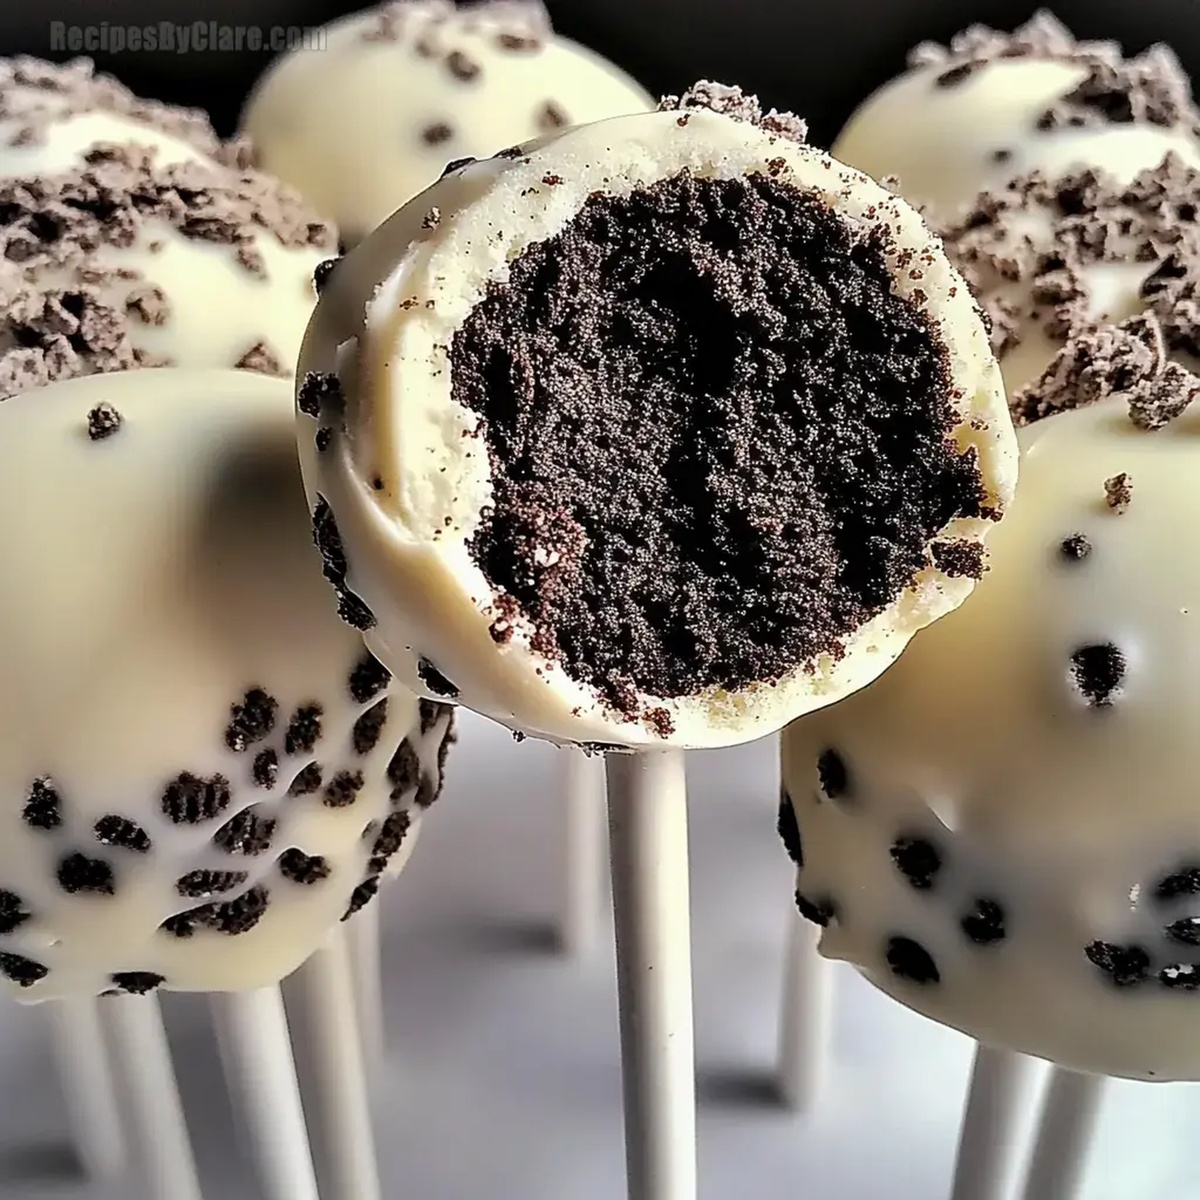
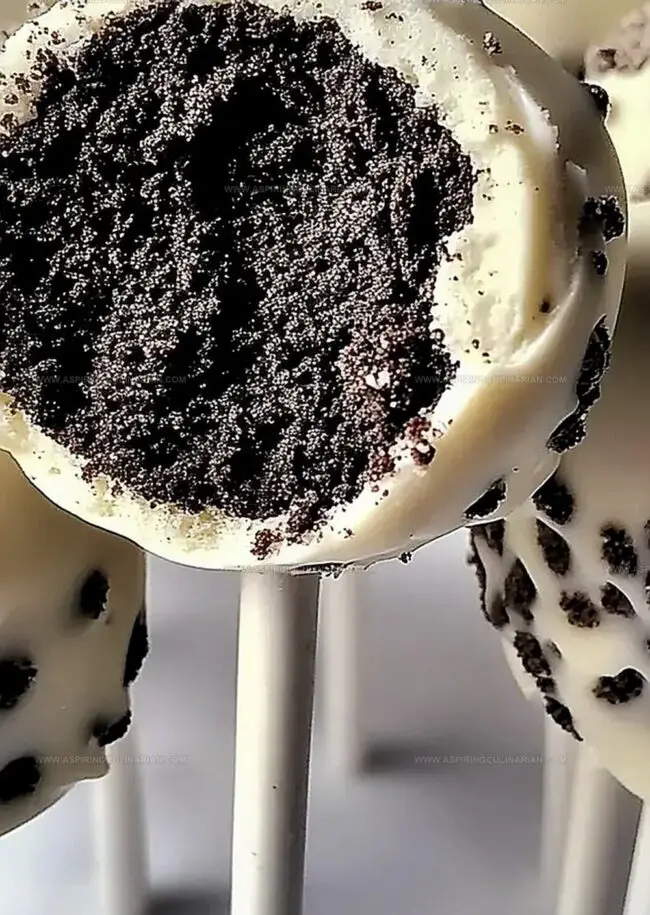
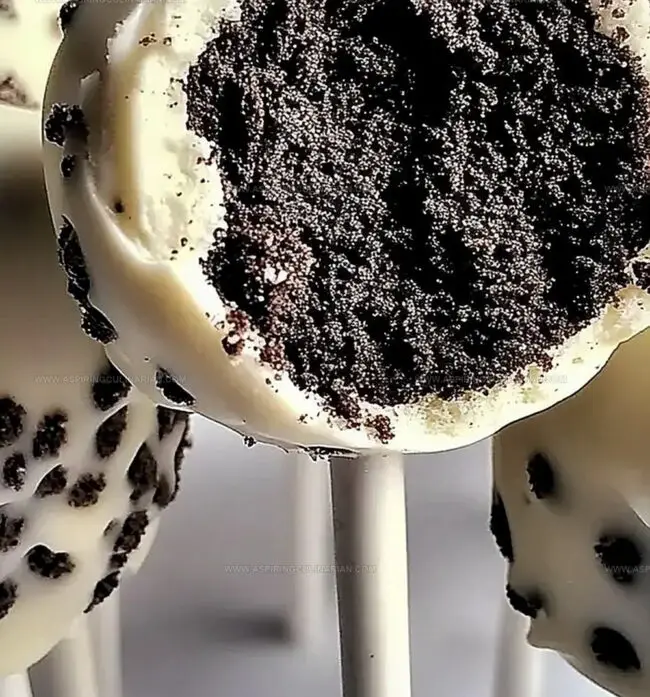
Step 6: Dunk and Coat
Carefully dip each chilled cake pop into the melted white chocolate.
Allow excess chocolate to drip off, creating an even, elegant coating.
Step 7: Add Oreo Crumb Topping
While the chocolate is still wet, sprinkle or roll the cake pops in the reserved Oreo crumbs.
This adds a delightful crunch and extra cookie flavor.
Step 8: Final Setting
Let the cake pops rest at room temperature until the chocolate completely hardens.
Once set, they’re ready to be devoured and enjoyed!
Cake Pop Tips for Perfect Spheres
Flavor Combos for Oreo Cake Pops
Serve Cake Pops at Every Party
Store Cake Pops for Freshness
FAQs
Yes, you can substitute Oreos with similar chocolate sandwich cookies like store-brand alternatives or chocolate wafer cookies.
A food processor helps, but you can also crush Oreos in a sealed plastic bag using a rolling pin. You’ll need cake pop sticks and a lined baking tray.
When stored in an airtight container in the refrigerator, these cake pops will stay fresh for up to 5-7 days. For best taste and texture, enjoy within the first 3 days.
Print
Oreo Cookies Cream Cake Pops Recipe
- Total Time: 50 minutes
- Yield: 20 1x
Description
Indulgent Oreo cookies cream cake pops blend creamy sweetness with playful texture, offering a delightful twist on classic desserts. Chocolate-lovers and party guests will adore these bite-sized treats that promise pure deliciousness in every single bite.
Ingredients
Main Ingredients:
- 15.25 ounces (432 grams) Oreos, crushed
- 8 ounces (226 grams) cream cheese, softened
- 12 ounces (340 grams) white chocolate chips, melted
Coating:
- 1/2 cup (60 grams) crushed Oreos
Accessories:
- Cake pop sticks
Instructions
- Pulverize the Oreo cookies into fine crumbs using a food processor, reserving 1/2 cup of crushed cookies for garnishing.
- Blend the remaining cookie crumbs with softened cream cheese until a cohesive, moldable texture develops.
- Craft the mixture into compact, uniform 1-inch spheres, carefully positioning a cake pop stick into each ball’s center.
- Refrigerate the cake pop balls for 30 minutes to ensure structural stability.
- Gently melt white chocolate chips in the microwave, stirring at 20-second intervals until achieving a smooth, glossy consistency at 110°F.
- Delicately immerse each chilled cake pop into the melted white chocolate, allowing excess coating to gracefully drip off.
- While the chocolate coating remains wet, generously roll or dust each cake pop with the reserved Oreo crumbs for textural contrast.
- Allow the decorated cake pops to solidify completely at room temperature for approximately 15-20 minutes before serving.
Notes
- Use a food processor for ultra-fine Oreo crumbs, ensuring a smooth, uniform texture that blends seamlessly with cream cheese.
- Freezing cake pops before dipping helps chocolate coating adhere better and prevents crumbling during the decorating process.
- Microwave white chocolate in short intervals, stirring between each to prevent burning and achieve a silky-smooth consistency.
- Swap regular Oreos for gluten-free or vegan alternatives, and use dairy-free cream cheese for allergen-friendly cake pops that everyone can enjoy.
- Prep Time: 20 minutes
- Cook Time: 30 minutes
- Category: Desserts, Snacks
- Method: None
- Cuisine: American
Nutrition
- Serving Size: 20
- Calories: 235 kcal
- Sugar: 21 g
- Sodium: 110 mg
- Fat: 14 g
- Saturated Fat: 8 g
- Unsaturated Fat: 5 g
- Trans Fat: 0.1 g
- Carbohydrates: 24 g
- Fiber: 1 g
- Protein: 2 g
- Cholesterol: 25 mg
Nathaniel Brooks
Founder & Recipe Developer
Expertise
Farm-to-table cuisine, Seasonal recipe development, Culinary storytelling
Education
Ivy Tech Community College – Indianapolis, IN
Culinary Arts / Hospitality Administration & Events
Focused on hands-on training in classical and modern culinary techniques.
Nathaniel’s story starts in the foothills of the Appalachian Mountains, where farm stands, backyard gardens, and old family recipes shaped his love for real food. After graduating from Ivy Tech Community College in Indianapolis, he spent years working in farm-to-table kitchens, learning how to turn local, seasonal ingredients into something memorable.
Today, Nathaniel pours that same spirit into every single recipe on Aspiring Culinarian – recipes that feel real, comforting, and connected to the land. When he’s not in the kitchen, you’ll find him foraging wild herbs, chasing sunsets with his camera, or writing about the flavors that shaped his roots.