Irresistible Peanut Butter Cup Gooey Bars Recipe for Sweet Tooths
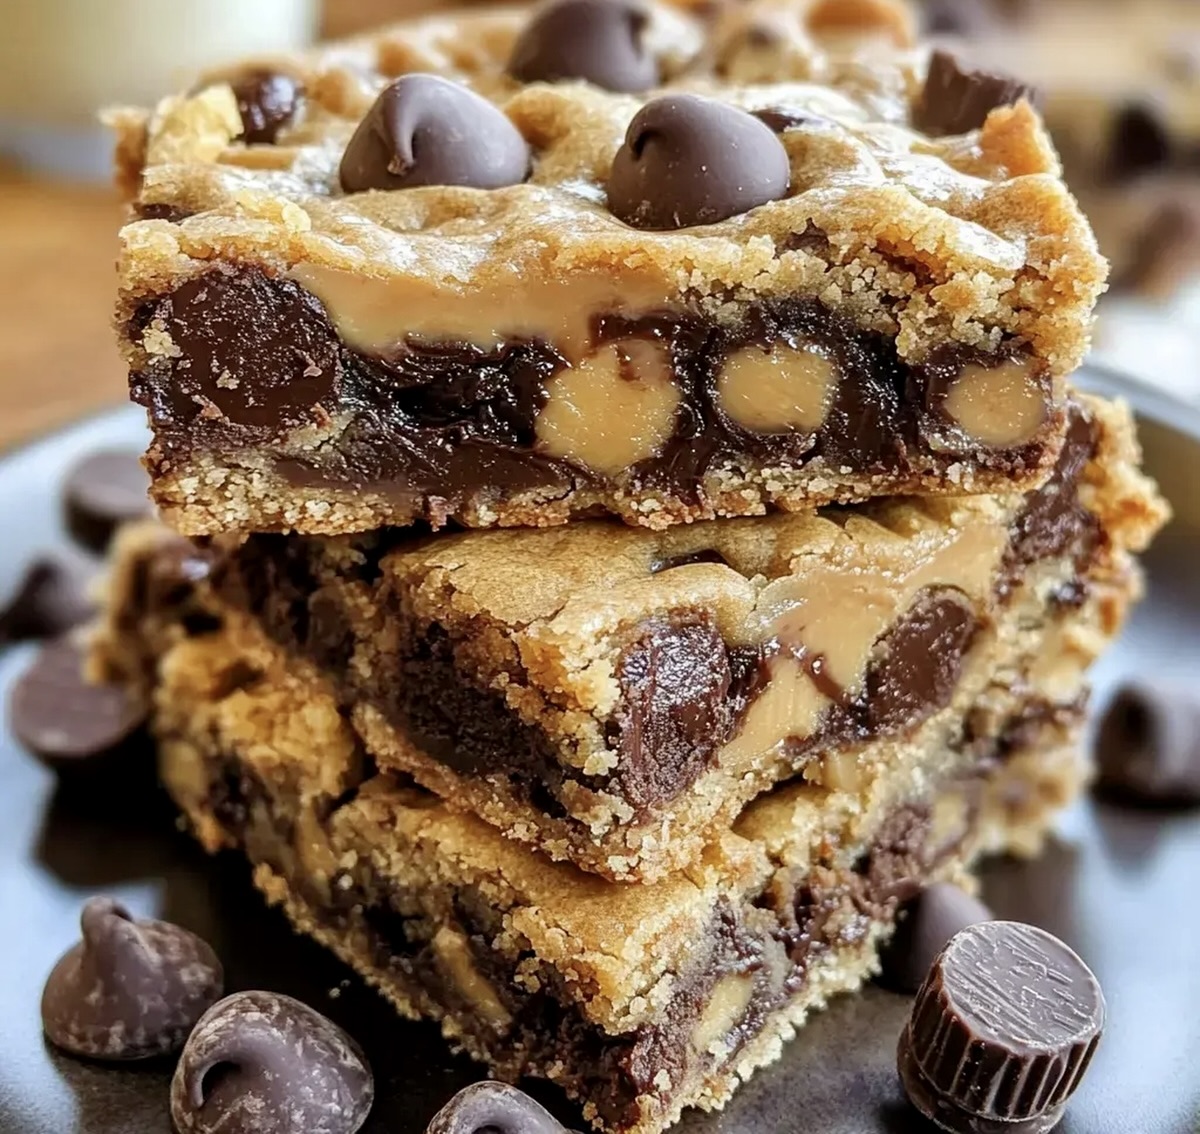
My latest kitchen adventure involves these decadent peanut butter cup gooey bars that promise pure chocolate-and-peanut-butter bliss.
Sweet treats like these always spark joy in my home.
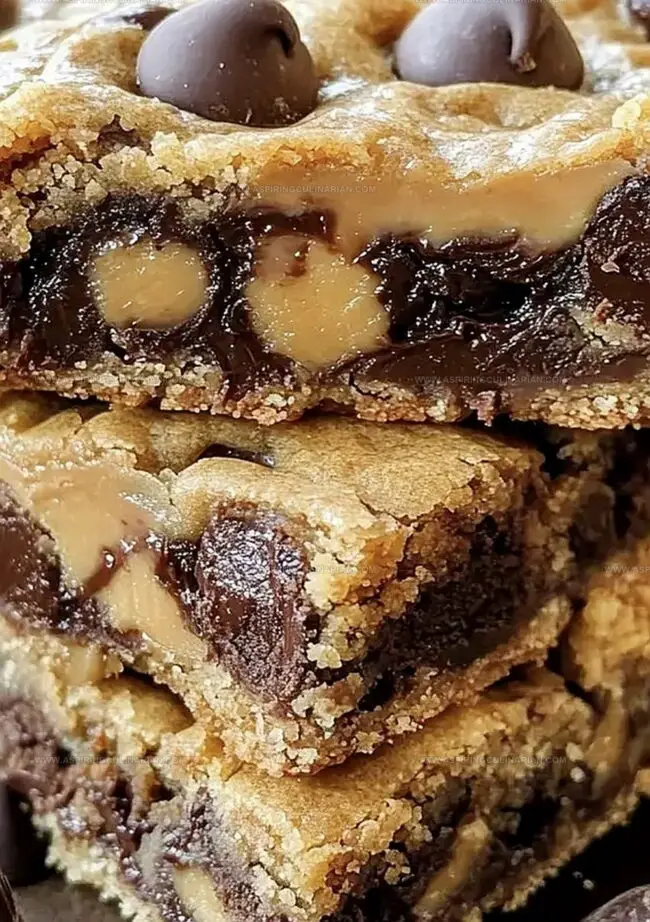
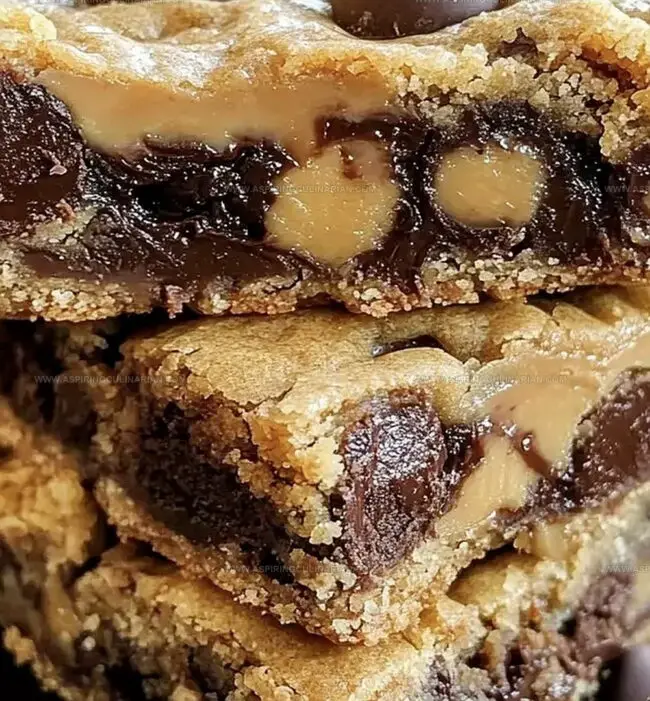
Layers of rich chocolate and creamy peanut butter create an irresistible combination that melts in you mouth.
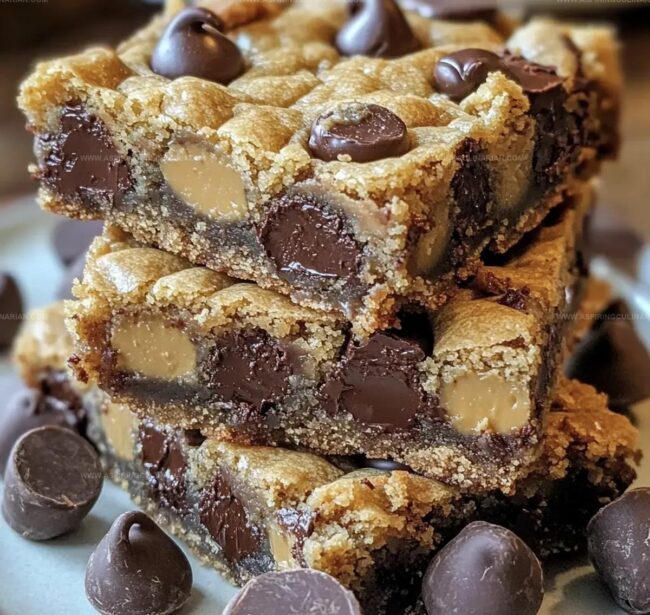
Chocolate chips and chunks of peanut butter cups add delightful texture to each bite.
Comfort and indulgence merge perfectly in this simple yet impressive dessert.
Chocolate lovers will absolutely adore every gooey, mouthwatering square.
Whip up these bars and watch everyone beg for seconds.
What Sets Peanut Butter Cup Gooey Bars Apart
Gather These Ingredients for Gooey Bar Magic
Base Ingredients:Flavor Enhancers:Filling and Topping Ingredients:How to Bake Peanut Butter Cup Gooey Bars
Step 1: Warm Up the Oven
Get your oven ready by heating it to 350F.
Grab a 9×13 baking pan and line it with foil, then give it a quick spray of cooking oil to prevent sticking.
Step 2: Create the Cookie Base
In a spacious mixing bowl, whisk together:Crack in the eggs one by one, stirring thoroughly after each addition.
Mix in vanilla extract, salt, and baking soda until everything is beautifully combined.
Step 3: Fold in the Dry Ingredients
Gently incorporate flour into the mixture.
Sprinkle in chocolate chips and fold them through the dough.
Step 4: Whip Up the Creamy Filling
In a separate bowl, blend sweetened condensed milk and peanut butter until you have a silky smooth mixture.
Step 5: Build the First Layer
Press half of the cookie dough into the prepared pan.
Unwrap peanut butter cups and distribute them evenly across the dough.
Step 6: Pour the Peanut Butter Mixture
Carefully drizzle the peanut butter milk mixture over the dough and peanut butter cups, leaving a small border around the edges.
Step 7: Create the Top Layer
Scatter the remaining cookie dough pieces over the filling.
Gently press them into the creamy mixture.
Step 8: Bake to Golden Perfection
Slide the pan into the oven and bake for 30-35 minutes until the top turns a gorgeous golden brown.
Step 9: Cool and Enjoy
Allow the bars to cool completely before slicing.
These delectable treats can be stored in an airtight container for up to 3 days or frozen for a month of sweet memories.
Tips for Peanut Butter Cup Gooey Bar Success
Fun Ways to Switch Up Your Gooey Bars
Serving Peanut Butter Cup Gooey Bars for Parties
Storing Peanut Butter Cup Gooey Bars for Freshness
FAQs
Yes, but you might need to add a bit more sugar since natural peanut butter is less sweet and can make the filling less creamy.
Look for golden brown edges and a slightly set center. A toothpick inserted near the center should come out with a few moist crumbs.
You can substitute with chocolate chunks, Reese’s pieces, or simply increase the chocolate chips in the recipe. The bars will still be delicious.
Yes, just reduce or omit the added salt in the recipe to prevent the bars from becoming too salty.
Print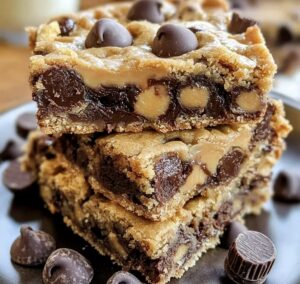
Peanut Butter Cup Gooey Bars Recipe
- Total Time: 55 minutes
- Yield: 16 1x
Description
Indulgent Peanut Butter Cup Gooey Bars deliver a chocolate and peanut butter paradise that melts in your mouth. Sweet layers of creamy goodness promise a rich dessert experience you won’t forget.
Ingredients
Main Ingredients:
- 3 1/4 cups all-purpose flour
- 1 cup unsalted butter, melted
- 1 cup light brown sugar, packed
- 3/4 cup granulated sugar
- 2 large eggs
Flavor Enhancers:
- 30 Miniature Peanut Butter Cups, unwrapped
- 3/4 cup chocolate chips
- 1/4 cup creamy peanut butter
- 1 tablespoon pure vanilla extract
Binding and Leavening Agents:
- 1 (14 ounces / 396 grams) can fat-free sweetened condensed milk
- 1 teaspoon baking soda
- 1/2 teaspoon salt
Instructions
- Prepare the baking vessel by lining a 9×13 inch pan with foil and generously coating with cooking spray. Set oven temperature to 350°F.
- Create the cookie base by thoroughly blending melted butter with granulated and brown sugars until smooth. Incorporate eggs individually, ensuring complete integration after each addition.
- Enhance the dough mixture by gently folding in vanilla extract, salt, and baking soda. Gradually introduce flour, stirring until just combined, then fold in chocolate chips.
- Craft the creamy filling by whisking sweetened condensed milk and peanut butter until achieving a silky, uniform consistency.
- Construct the first layer by evenly pressing half the cookie dough across the prepared pan’s bottom. Strategically arrange unwrapped peanut butter cups across the dough surface.
- Distribute the peanut butter milk mixture over the dough and candy pieces, carefully maintaining a small border around the edges.
- Complete the layering process by delicately scattering remaining cookie dough pieces across the filling, lightly pressing to partially submerge.
- Bake in the preheated oven for 30-35 minutes, monitoring until the surface transforms into a golden-brown landscape.
- Allow the bars to cool completely at room temperature before slicing. Preserve in an airtight container for up to 3 days or freeze for extended storage.
Notes
- Chill Dough Before layering, refrigerate cookie dough for 15 minutes to make it easier to handle and spread evenly in the pan.
- Precise Cutting Use a sharp knife dipped in hot water and wiped dry for clean, smooth bar slices that showcase the gooey layers.
- Dietary Swap Replace regular peanut butter cups with dark chocolate or vegan alternatives for different dietary needs while maintaining rich flavor profiles.
- Room Temperature Ingredients Ensure eggs and butter are at room temperature for smoother mixing and better texture in the final baked dessert.
- Prep Time: 20 minutes
- Cook Time: 35 minutes
- Category: Desserts, Snacks
- Method: Baking
- Cuisine: American
Nutrition
- Serving Size: 16
- Calories: 294
- Sugar: 23 g
- Sodium: 147 mg
- Fat: 15 g
- Saturated Fat: 7 g
- Unsaturated Fat: 7 g
- Trans Fat: 0.3 g
- Carbohydrates: 36 g
- Fiber: 1.5 g
- Protein: 5 g
- Cholesterol: 27 mg
Nathaniel Brooks
Founder & Recipe Developer
Expertise
Farm-to-table cuisine, Seasonal recipe development, Culinary storytelling
Education
Ivy Tech Community College – Indianapolis, IN
Culinary Arts / Hospitality Administration & Events
Focused on hands-on training in classical and modern culinary techniques.
Nathaniel’s story starts in the foothills of the Appalachian Mountains, where farm stands, backyard gardens, and old family recipes shaped his love for real food. After graduating from Ivy Tech Community College in Indianapolis, he spent years working in farm-to-table kitchens, learning how to turn local, seasonal ingredients into something memorable.
Today, Nathaniel pours that same spirit into every single recipe on Aspiring Culinarian – recipes that feel real, comforting, and connected to the land. When he’s not in the kitchen, you’ll find him foraging wild herbs, chasing sunsets with his camera, or writing about the flavors that shaped his roots.