Homemade Peanut Butter Cup Rice Krispies Treats Recipe – Sweet Magic
Sweet memories often spark when chocolate and peanut butter mingle in this delightful peanut butter cup rice krispies treats surprise.
Childhood nostalgia rushes back with each sticky, gooey bite.
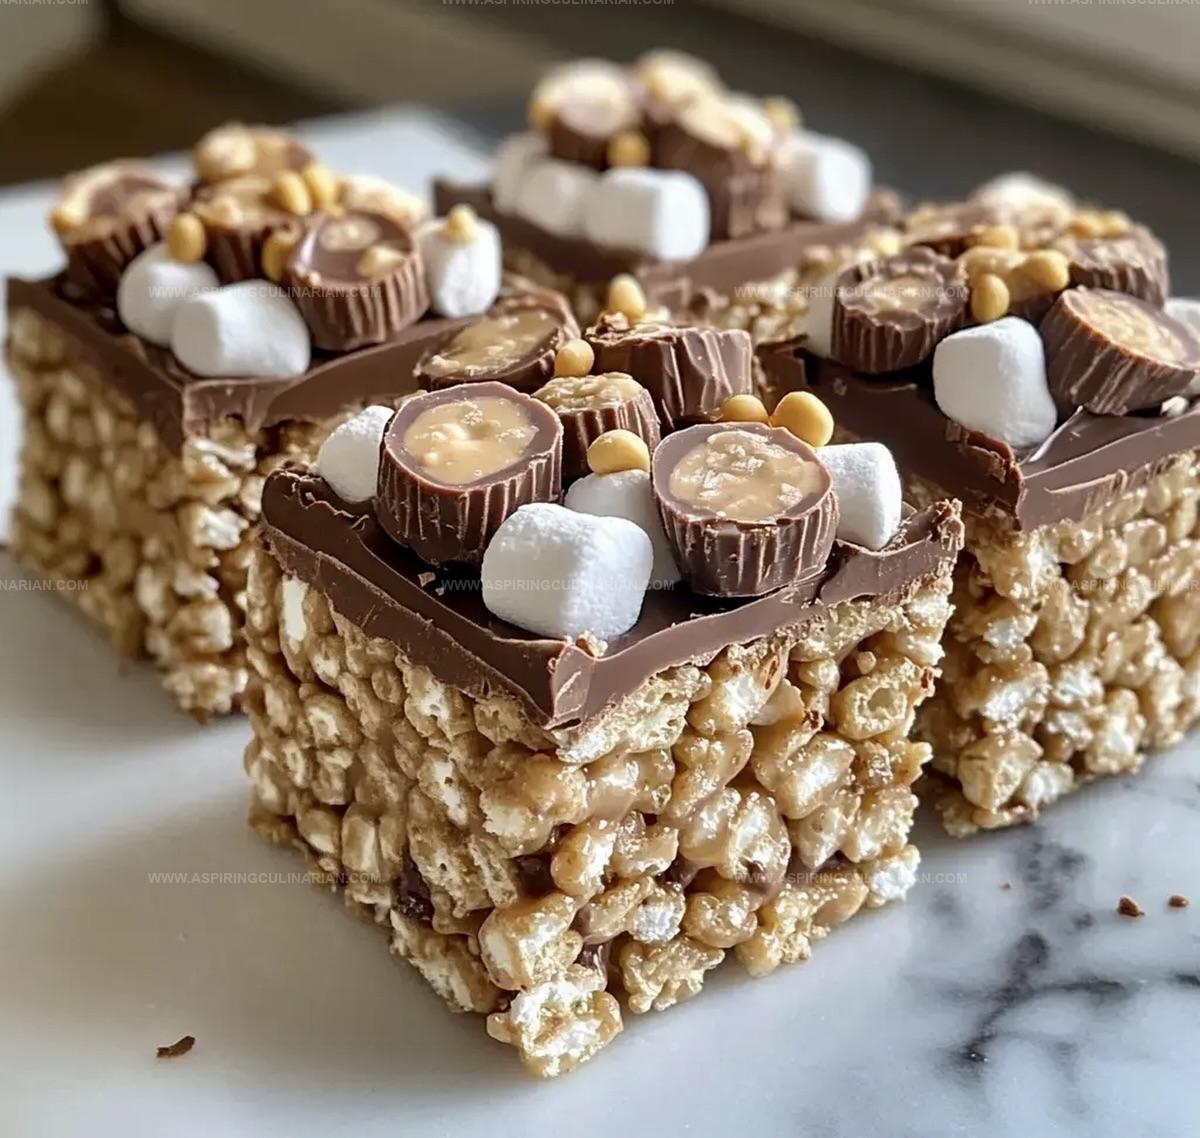
Melted marshmallows create a dreamy backdrop for rich chocolate and creamy peanut butter layers.
Crispy rice cereal adds satisfying crunch to this decadent dessert.
Minimal ingredients guarantee maximum flavor in every square-shaped morsel.
Simple kitchen skills help you craft these irresistible treats faster than you can imagine.
One taste, and you’ll understand why this recipe becomes an instant favorite.
Peanut Butter Cup Rice Krispies Treats: Kid-Friendly Fun
All the Ingredients for PB Krispies
Base Ingredients:Chocolate and Topping Ingredients:Preparation Ingredients:Make Peanut Butter Cup Rice Krispies Fast
Step 1: Warm Up the Base
Start by grabbing a large saucepan and melting butter over medium heat.
Once the butter is smooth and golden, stir in peanut butter until they become best friends and create a creamy mixture.
Step 2: Create Marshmallow Magic
Toss in mini marshmallows and keep stirring like you’re creating a delicious spell.
Watch them transform into a silky, smooth landscape of sweetness.
Remove the pan from heat once everything looks perfectly blended.
Step 3: Introduce Crunchy Friends
Bring in the Rice Krispies cereal and gently fold them into the marshmallow mixture.
Make sure every single crispy piece gets a cozy marshmallow hug.
Step 4: Sprinkle Chocolate Treasure
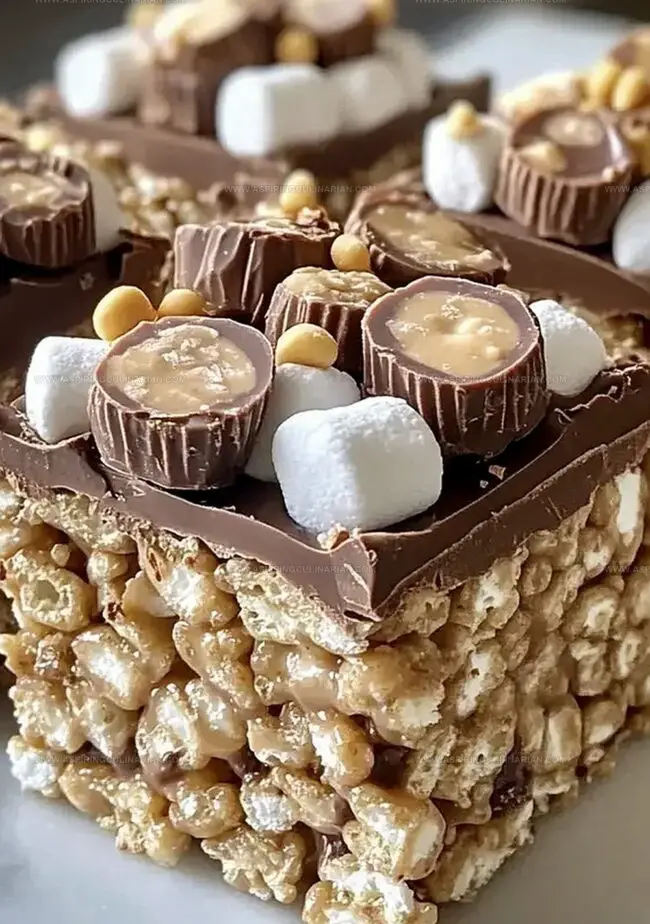
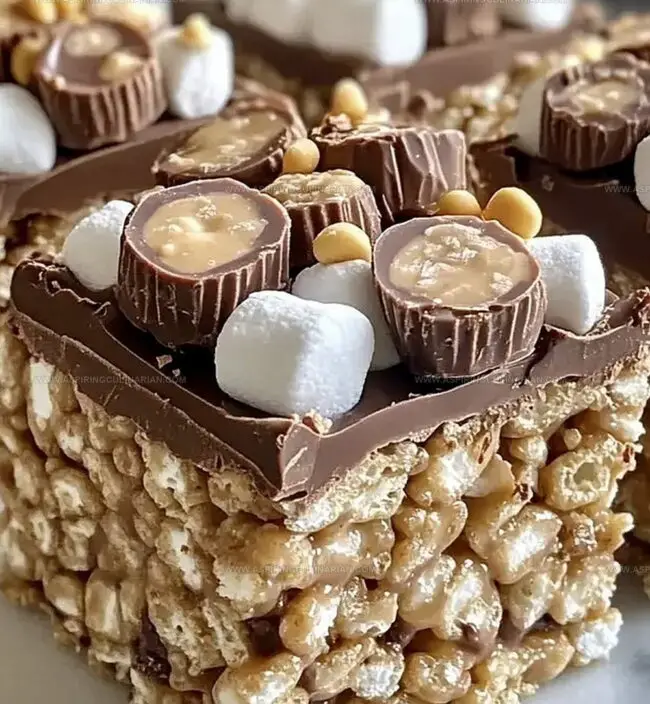
Carefully fold in the halved mini peanut butter cups.
These little chocolate gems will add bursts of flavor throughout your treats.
Step 5: Shape Your Masterpiece
Lightly grease a 9×13-inch pan with cooking spray or butter.
Press the mixture evenly into the pan, creating a smooth, tempting surface.
Step 6: Final Touches
Let the treats cool down to room temperature.
For extra decadence, drizzle melted chocolate over the top.
Slice into squares and get ready to enjoy your epic creation.
Tips for Perfect PB Krispie Treats
Krispie Treats with Peanut Butter Variations
Serve PB Cup Krispies for Snacking
Store PB Cup Krispies Easily
FAQs
Yes, you can use regular marshmallows. Just chop them into smaller pieces or use the same weight of regular marshmallows as the recipe calls for mini marshmallows.
No, you can store these treats at room temperature in an airtight container for 2-3 days. They’ll stay soft and fresh without refrigeration.
Yes, use gluten-free Rice Krispies cereal and ensure your peanut butter cups are gluten-free. This will make the entire recipe safe for those with gluten sensitivities.
Print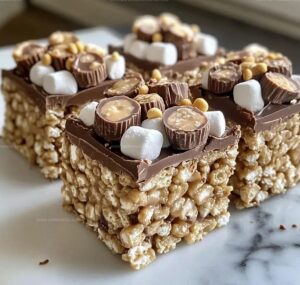
Peanut Butter Cup Rice Krispies Treats Recipe
- Total Time: 20 minutes
- Yield: 12 1x
Description
Indulgent peanut butter cup rice krispies treats merge classic childhood snacks with chocolatey decadence. Chocolate-studded marshmallow squares deliver a nostalgic crunch that satisfies sweet cravings with irresistible charm.
Ingredients
Main Ingredients:
- 6 cups rice krispies cereal
- 1 (10 ounces / 280 grams) bag mini marshmallows
- 1/2 cup smooth peanut butter
Binding and Flavor Ingredients:
- 4 tablespoons unsalted butter
Topping Ingredients:
- 1 cup mini peanut butter cups, halved
- 1/2 cup melted chocolate (optional, for drizzling)
Instructions
- In a spacious saucepan, melt butter over medium heat until it becomes golden and fragrant.
- Add peanut butter to the melted butter, whisking until the mixture transforms into a smooth, creamy consistency.
- Reduce heat and introduce mini marshmallows, continuously stirring until they completely dissolve and create a silky liquid.
- Remove pan from heat and immediately incorporate Rice Krispies cereal, ensuring each crisp morsel gets thoroughly coated with the marshmallow mixture.
- Carefully fold chopped peanut butter cups into the cereal blend, distributing them evenly throughout the mixture.
- Prepare a 9×13-inch pan by lightly greasing the surface to prevent sticking.
- Transfer the warm mixture into the prepared pan, using a spatula or clean hands to press and spread it into a uniform layer, creating an even surface.
- Allow treats to rest at room temperature for approximately 30-45 minutes, permitting them to set and solidify.
- Optional: Drizzle melted chocolate across the top for added decadence.
- Once completely cooled, slice into squares and serve immediately.
Notes
- Choose unsalted butter to control the overall saltiness of the treats, ensuring a balanced flavor profile.
- Opt for natural peanut butter with no added sugar for a richer, less sweet taste that complements the marshmallows.
- Work quickly when mixing marshmallows and cereal to prevent the mixture from hardening before evenly coating the Rice Krispies.
- For gluten-free version, use gluten-free Rice Krispies and check that peanut butter cups are gluten-free certified.
- Prep Time: 15 minutes
- Cook Time: 5 minutes
- Category: Snacks, Desserts
- Method: None
- Cuisine: American
Nutrition
- Serving Size: 12
- Calories: 276 kcal
- Sugar: 18 g
- Sodium: 130 mg
- Fat: 14 g
- Saturated Fat: 5 g
- Unsaturated Fat: 8 g
- Trans Fat: 0.1 g
- Carbohydrates: 33 g
- Fiber: 2 g
- Protein: 6 g
- Cholesterol: 15 mg
Nathaniel Brooks
Founder & Recipe Developer
Expertise
Farm-to-table cuisine, Seasonal recipe development, Culinary storytelling
Education
Ivy Tech Community College – Indianapolis, IN
Culinary Arts / Hospitality Administration & Events
Focused on hands-on training in classical and modern culinary techniques.
Nathaniel’s story starts in the foothills of the Appalachian Mountains, where farm stands, backyard gardens, and old family recipes shaped his love for real food. After graduating from Ivy Tech Community College in Indianapolis, he spent years working in farm-to-table kitchens, learning how to turn local, seasonal ingredients into something memorable.
Today, Nathaniel pours that same spirit into every single recipe on Aspiring Culinarian – recipes that feel real, comforting, and connected to the land. When he’s not in the kitchen, you’ll find him foraging wild herbs, chasing sunsets with his camera, or writing about the flavors that shaped his roots.