The Best Peanut Butter Granola Bars Recipe: Sweet & Crunchy Joy
Homemade peanut butter granola bars pack a delightful punch of flavor and nutrition.
Crafting these wholesome bars with creamy peanut butter creates a snack that’s both satisfying and simple to prepare.
Rolled oats and honey blend seamlessly to create a chewy, delectable treat.
Packed with protein and natural sweetness, these bars offer a perfect energy boost for busy mornings or afternoon pick-me-ups.
Customize the recipe with your favorite nuts or chocolate chips for added excitement.
Each bite promises a delicious balance of wholesome ingredients and irresistible taste.
Whip up a batch and watch these bars become an instant favorite in your kitchen.
Peanut Butter Granola Bars: Snack Essentials
Ingredient List for PB Granola Bars
Base Ingredients:Sweeteners and Binding Agents:Mix-Ins and Enhancers:How to Make Peanut Butter Granola Bars
Step 1: Warm Up the Oven
Set your oven to 350F.
If your peanut butter is thick and solid, zap it in the microwave for 10-15 seconds to make it nice and drizzly.
Step 2: Create the Magical Mixture
Grab a large mixing bowl and combine all your ingredients.
Stir everything together until it’s perfectly blended and looks super yummy.
Step 3: Prepare the Baking Surface
Grab a 9×9 inch baking dish and line it completely with parchment paper.
Make sure the paper covers the bottom and sides for easy removal later.
Step 4: Shape Your Bars
Scoop the entire mixture into your prepared baking dish.
Use your hands or a spatula to press down firmly and create an even, compact layer.
If you’re using chocolate chips, sprinkle them on top and gently press them into the mixture.
Step 5: Bake to Perfection
Slide the pan into the preheated oven.
Bake for 15-17 minutes, keeping an eye out for a golden-brown edge and a fully set center.
Start checking around the 14-minute mark to avoid over-browning.
Step 6: Cool and Slice
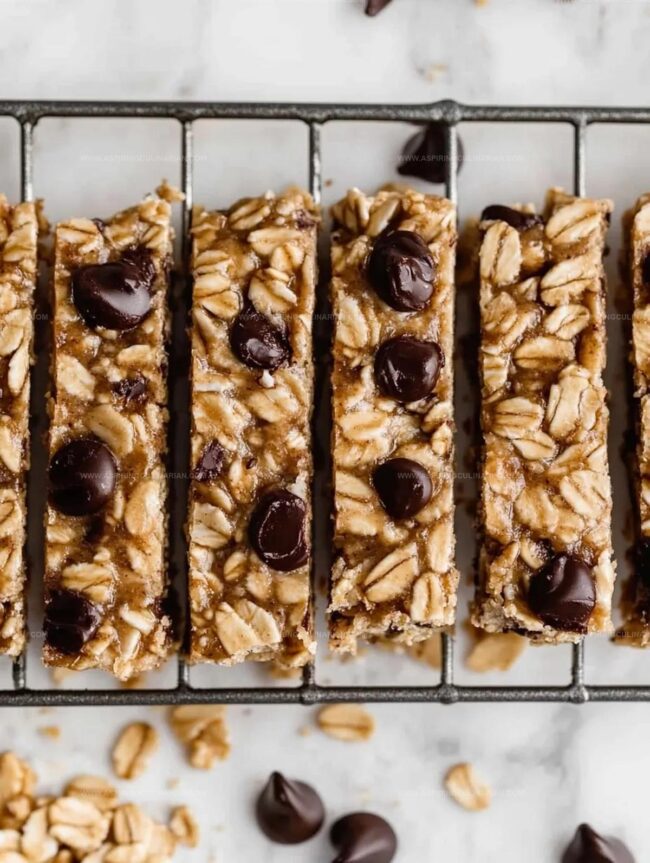
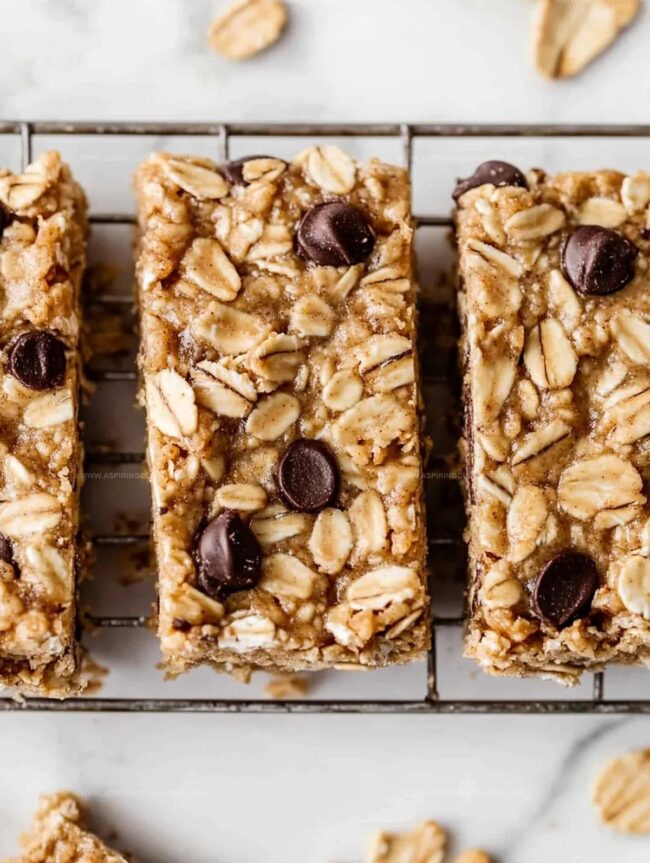
Once baked, remove the pan from the oven and place it on a cooling rack.
Let the bars cool completely – this is crucial for getting clean, perfect cuts.
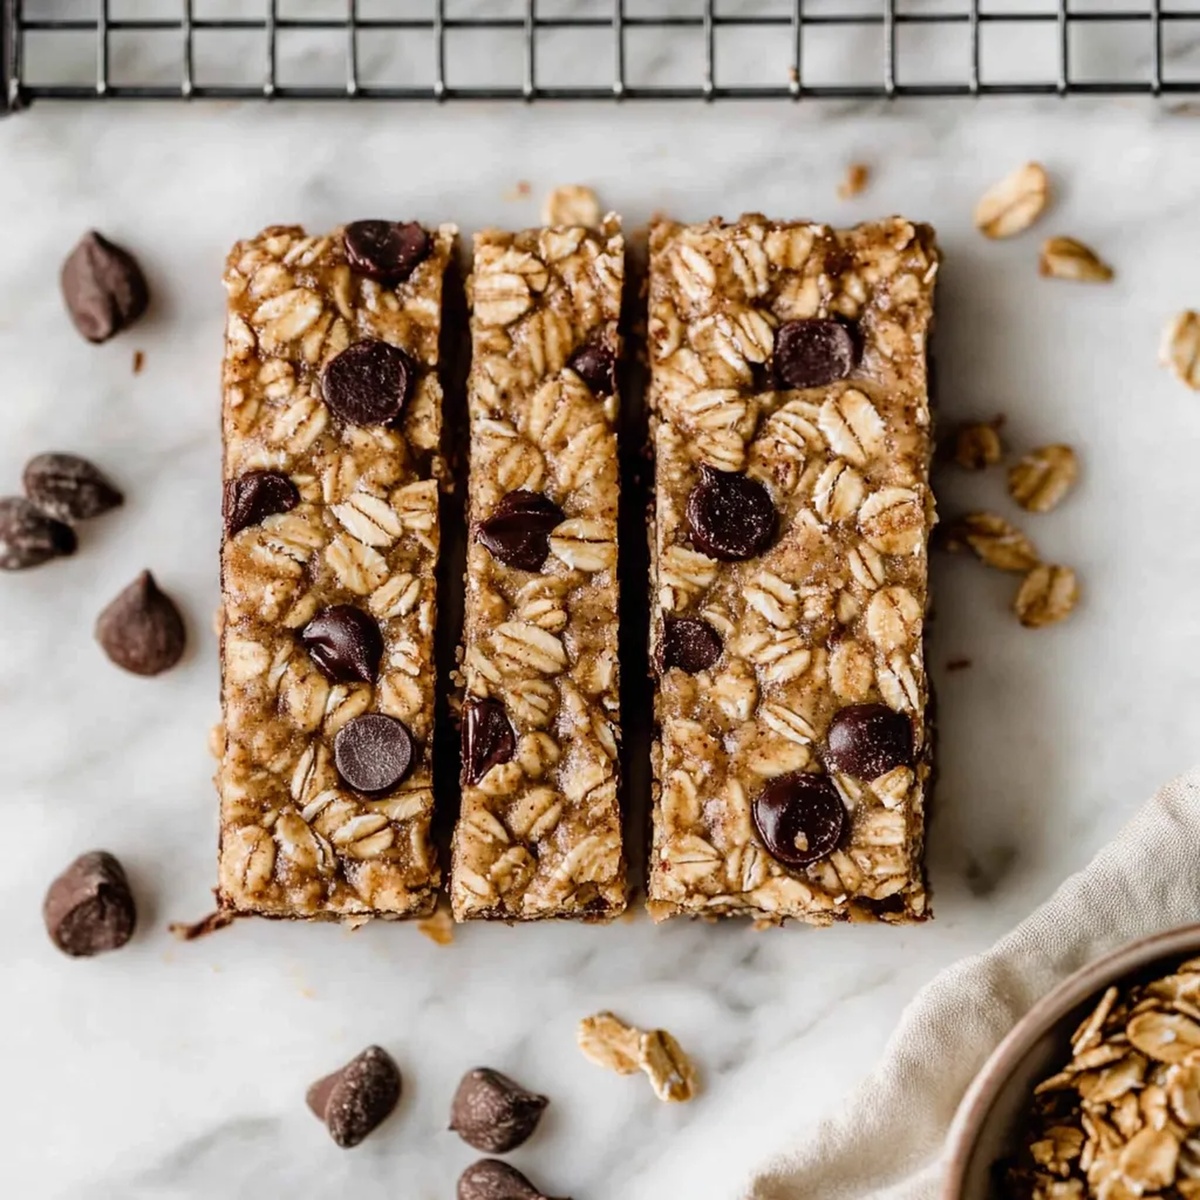
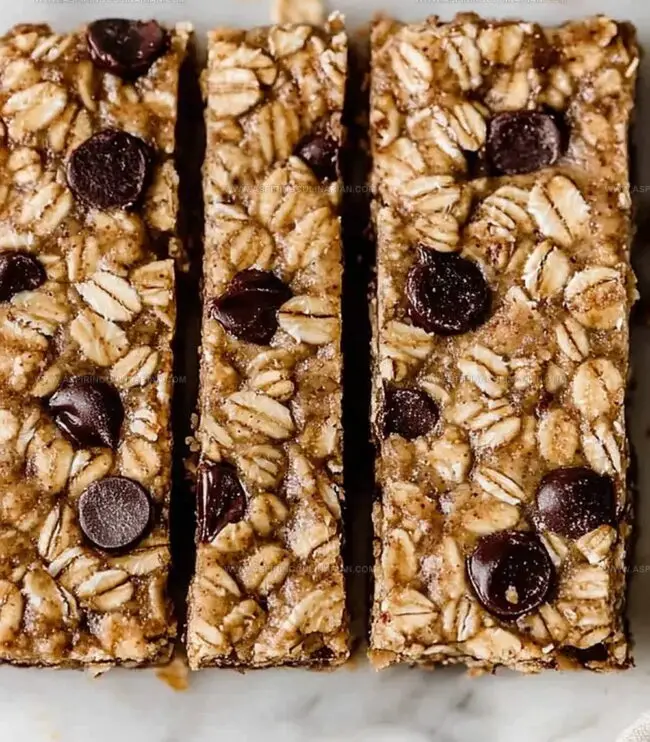
Use a sharp knife to slice into 16 beautiful squares.
Tips for Chewy, Tasty Bars

Variations for Peanut Butter Granola Bars
Serving Granola Bars On-the-Go
Storing Peanut Butter Granola Bars
FAQs
Yes, they’re packed with nutritious ingredients like oats, peanut butter, and optional add-ins such as nuts or seeds, providing protein, fiber, and energy for your day.
Absolutely! Just use certified gluten-free oats and ensure all other ingredients are gluten-free certified to create a safe option for those with gluten sensitivities.
Press the mixture very firmly into the pan and let them cool completely before cutting. This helps the bars hold their shape and stay intact when sliced.
You can use almond butter, sunflower seed butter, or cashew butter as alternative nut butter options that will work similarly in this recipe.
Print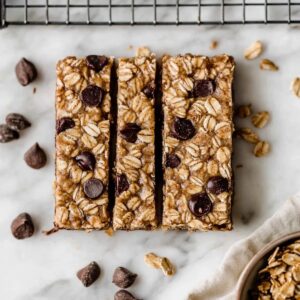
Peanut Butter Granola Bars Recipe
- Total Time: 25 minutes
- Yield: 12 1x
Description
Homemade Peanut Butter Granola Bars offer a delightful blend of wholesome oats, nutty peanut butter, and sweet honey. Crisp, chewy, and packed with energy, these bars provide a perfect snack for busy mornings or afternoon cravings you’ll savor.
Ingredients
Base Ingredients:
- 3 cups (700 ml) old-fashioned rolled oats (use verified gluten-free, if needed)
- 3/4 cup (180 ml) natural peanut butter
- 1/3 cup (80 ml) honey or maple syrup
- 2 whole eggs (or flax eggs for vegan option)
Mix-ins and Flavor Enhancers:
- 1/2 cup (120 ml) mini chocolate chips
- Pinch of salt (omit if peanut butter is salted)
Optional Add-ins:
- Walnuts
- Pecans
- Almonds
- Chia seeds
- Sunflower seeds
- Pumpkin seeds
- Dried fruit
Instructions
- Preheat the oven to 350°F and soften the peanut butter by microwaving for 10-15 seconds until easily drizzleable.
- In a spacious mixing bowl, thoroughly combine all ingredients, ensuring even distribution of components.
- Carefully line a 9×9 inch baking pan with parchment paper, allowing slight overhang for easy removal.
- Transfer the mixed ingredients into the prepared pan, using firm, consistent pressure to create a compact, uniform layer.
- If using chocolate chips, gently sprinkle them across the surface and press them lightly into the mixture.
- Place the pan in the preheated oven and bake for 15-17 minutes, monitoring closely after 14 minutes to ensure the center is fully set and edges are lightly golden.
- Once baked, remove from the oven and place on a cooling rack, allowing the granola bars to cool completely at room temperature.
- After cooling, use the parchment paper edges to lift the entire batch out of the pan.
- Using a sharp knife, slice into 16 precise squares, creating uniform granola bars for serving.
Notes
- Warm peanut butter slightly to achieve a smooth, easy-to-mix consistency that helps bind ingredients perfectly.
- Use quick-cooking oats for a softer texture, ensuring the bars hold together without crumbling when cut.
- Press mixture extremely firmly into the pan to create dense, compact bars that won’t fall apart during handling.
- Customize by swapping peanut butter with almond or sunflower seed butter for nut-free or different dietary preferences.
- Prep Time: 10 minutes
- Cook Time: 15 minutes
- Category: Breakfast, Snacks, Desserts
- Method: Baking
- Cuisine: American
Nutrition
- Serving Size: 12
- Calories: 150
- Sugar: 5 g
- Sodium: 50 mg
- Fat: 7 g
- Saturated Fat: 1 g
- Unsaturated Fat: 6 g
- Trans Fat: 0 g
- Carbohydrates: 19 g
- Fiber: 2 g
- Protein: 4 g
- Cholesterol: 20 mg
Lena Martinez
Contributing Writer & Culinary Educator
Expertise
Southwestern and Latin American cuisines, Vegetarian and plant-based recipe development, Culinary education and community outreach
Education
Santa Fe Community College, Santa Fe, NM
Certificate in Culinary Arts
Emphasized Southwestern cuisine and sustainable cooking practices
Lena grew up surrounded by the colors, spices, and traditions of the Southwest – flavors that sparked her love for bold, honest cooking. After earning her Culinary Arts certificate at Santa Fe Community College, she made it her mission to teach home cooks how to create flavorful, plant-powered meals without the fuss.
Her recipes are packed with vibrant ingredients, simple steps, and the kind of heart that turns a regular meal into something you’ll want to share. Outside the kitchen, Lena spends her time wandering farmers’ markets, trading family recipes, and helping young chefs find their voice through food.