Irresistible Peanut Butter Rice Krispie Treats Recipe
Sweet memories dance through my favorite childhood peanut butter rice krispie treats, promising delightful nostalgia with every delectable bite.
Crunchy cereal meets smooth, creamy peanut butter in a magical combination that melts hearts instantly.
Marshmallows bind these incredible morsels into irresistible squares perfect for afternoon snacking.
Simple ingredients come together with minimal effort, creating a dessert that looks impressive yet requires surprisingly little skill.
Comfort and joy radiate from these classic treats, connecting generations through shared culinary happiness.
Whip up this recipe and watch smiles spread faster than melted marshmallow magic.
You’ll want to make extra batches – trust me.
Why Peanut Butter Rice Krispie Treats Stand Out at Parties
Ingredients for Peanut Butter Rice Krispie Treats with M&Ms
Base Ingredients:Sweeteners and Flavor Enhancers:Topping Ingredients:How to Make Peanut Butter Rice Krispie Treats at Home
Step 1: Melt Creamy Base
In a medium saucepan, warm peanut butter with corn syrup and sugar over medium heat.
Stir the mixture continuously until it becomes smooth and starts to bubble slightly.
The heat helps blend the ingredients into a silky, sweet foundation for your treats.
Step 2: Combine With Crispy Cereal
Transfer the hot peanut butter mixture into a large mixing bowl containing Rice Krispies.
Gently fold and stir until every single cereal piece gets perfectly coated with the sweet, sticky mixture.
Ensure no dry spots remain.
Step 3: Form Delectable Shapes
Line a baking sheet with parchment paper.
You can either:Use clean hands or a spatula to create your desired shape and texture.
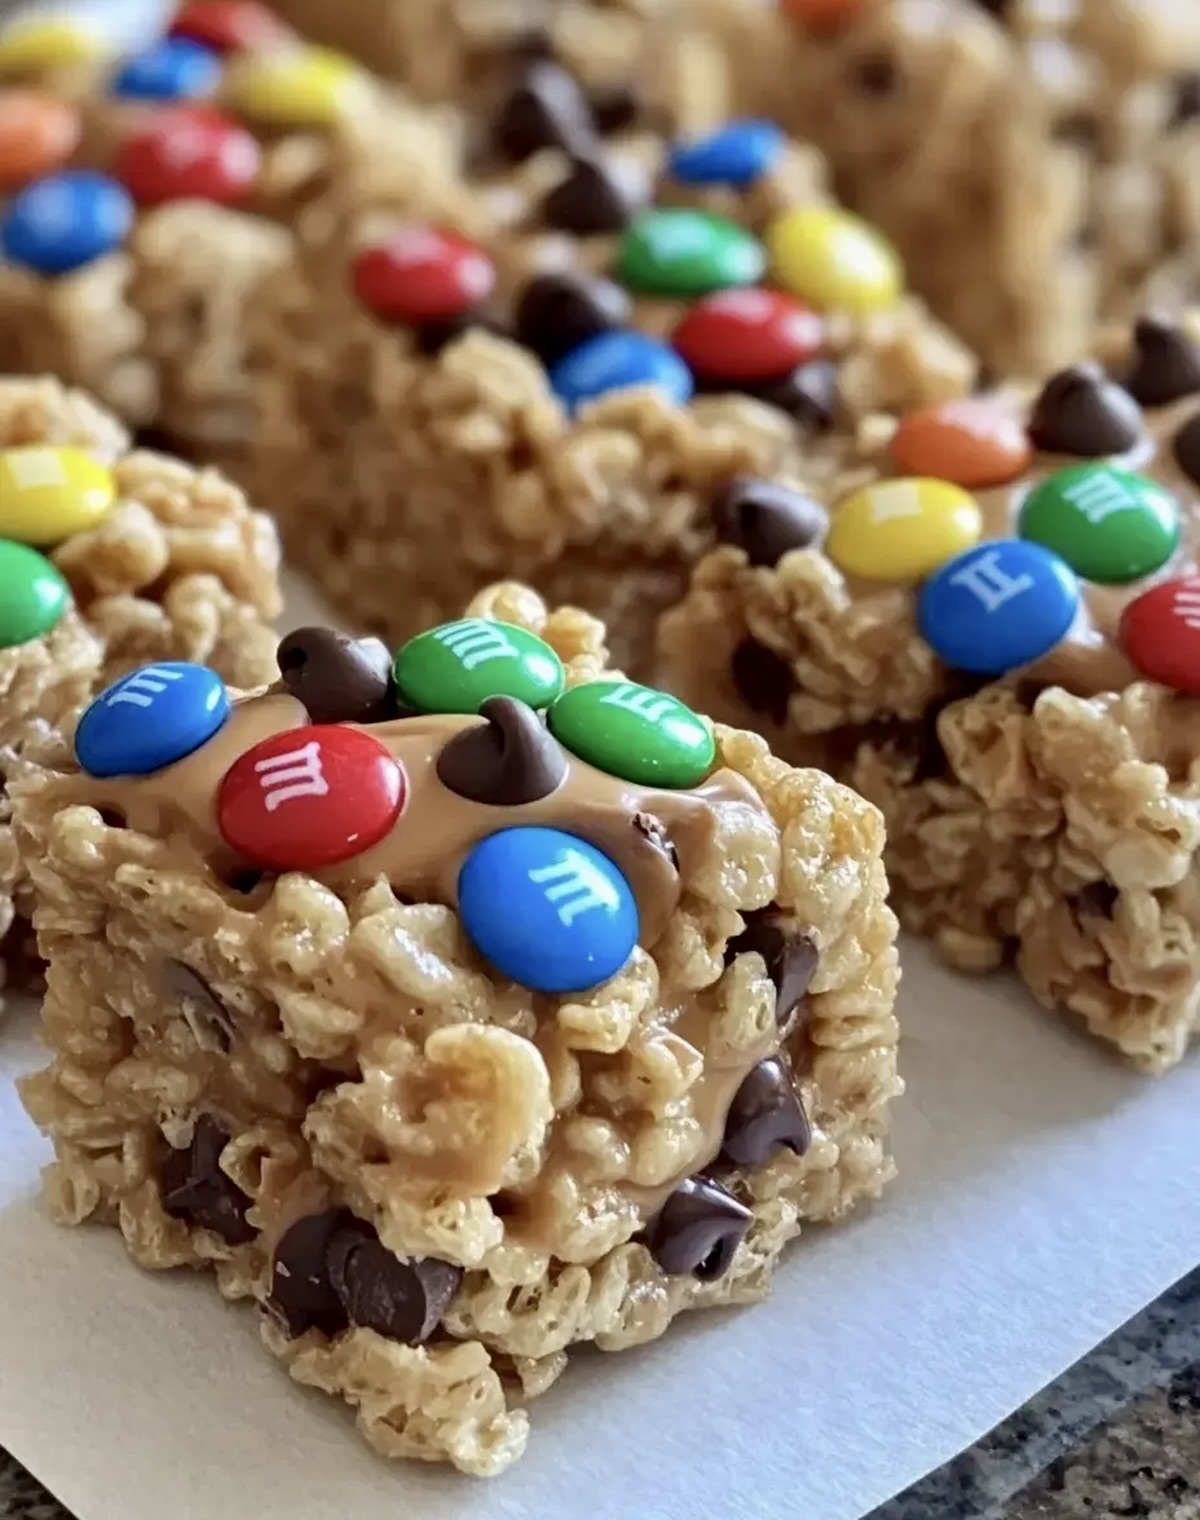
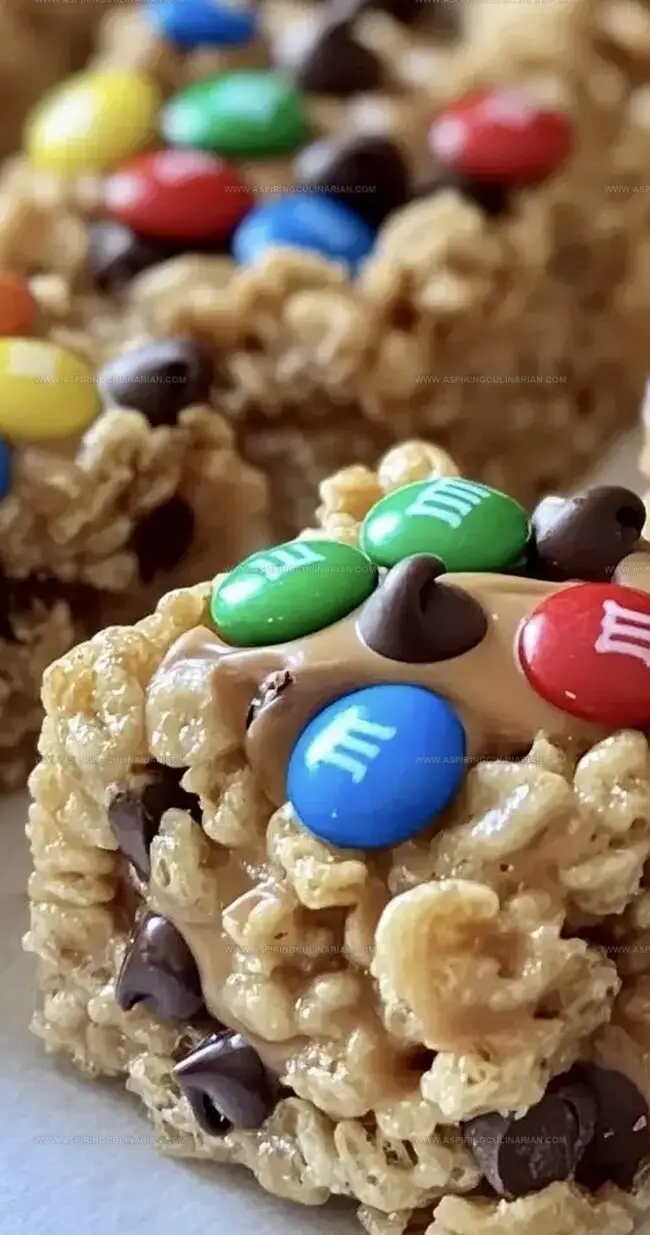
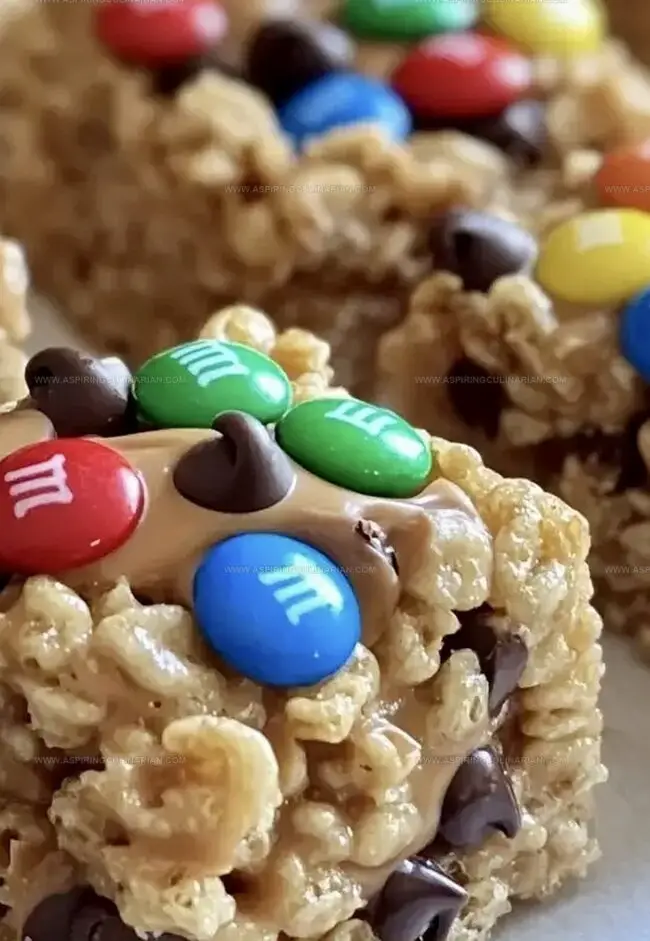
Step 4: Decorate With Sweet Surprises
Sprinkle generously over the treats:Gently press the toppings into the surface so they stick beautifully to the treat.
Step 5: Allow Treats to Set
Let the treats rest at room temperature.
They’ll gradually firm up and become perfectly chewy.
Resist the temptation to rush the cooling process – patience ensures the best texture.
Tips for Chewy, Chocolaty Rice Krispie Squares
Mix-In Ideas for Rice Krispie Treats with M&Ms
Serving Peanut Butter Rice Krispie Treats for Fun Occasions
Storing Rice Krispie Treats with Chocolate for Freshness
FAQs
Not automatically. Rice Krispies original cereal contains malt flavoring, which has gluten. Choose gluten-free Rice Krispies or similar crispy rice cereals to make the recipe gluten-free.
Yes, you can substitute peanut butter with almond butter, sunflower seed butter, or cashew butter. Each alternative will provide a slightly different flavor profile.
Use a light coating of cooking spray on your hands or spatula when mixing and shaping the treats. This helps prevent the mixture from sticking and makes handling easier.
Print
Peanut Butter Rice Krispie Treats Recipe
- Total Time: 15 minutes
- Yield: 12 1x
Description
Irresistible peanut butter rice krispie treats blend childhood nostalgia with creamy, crunchy perfection. Gooey marshmallows and smooth peanut butter create a classic dessert you’ll crave again and again.
Ingredients
Main Ingredients:
- 1 cup peanut butter
- 5–6 cups Rice Krispies cereal
- 1 cup sugar
Binding Ingredients:
- 1 cup light corn syrup or honey
Decorative/Optional Ingredients:
- 1/2 cup mini chocolate chips
- 1/2 cup M&M’s (or more, to taste)
Instructions
- Melt peanut butter, corn syrup, and sugar in a saucepan over medium heat, stirring continuously until the mixture reaches a gentle bubbling point, then immediately remove from heat.
- Transfer the hot peanut butter mixture into a large mixing bowl containing Rice Krispies, and thoroughly fold until every cereal piece is uniformly coated with the sweet mixture.
- Spread the coated cereal onto a parchment-lined baking sheet, using either a cluster formation or creating a compact, even layer depending on desired presentation.
- Generously distribute mini chocolate chips and colorful M&M’s across the surface, gently pressing them into the sticky treat to ensure they adhere securely.
- Allow the treats to rest at room temperature for approximately 30-45 minutes, permitting them to solidify and achieve a perfect, slightly firm consistency before serving or cutting.
Notes
- Swap corn syrup with honey for a more natural sweetness and potential health benefits.
- Use gluten-free Rice Krispies for a celiac-friendly version of the treat.
- Melt chocolate chips slightly before sprinkling to help them stick better and create a more integrated topping.
- For a nut-free alternative, replace peanut butter with sunflower seed butter or another seed butter.
- Prep Time: 10 minutes
- Cook Time: 5 minutes
- Category: Snacks, Desserts
- Method: None
- Cuisine: American
Nutrition
- Serving Size: 12
- Calories: 266
- Sugar: 18 g
- Sodium: 97 mg
- Fat: 13 g
- Saturated Fat: 2.5 g
- Unsaturated Fat: 10 g
- Trans Fat: 0 g
- Carbohydrates: 31 g
- Fiber: 1.5 g
- Protein: 6 g
- Cholesterol: 0 mg
Nathaniel Brooks
Founder & Recipe Developer
Expertise
Farm-to-table cuisine, Seasonal recipe development, Culinary storytelling
Education
Ivy Tech Community College – Indianapolis, IN
Culinary Arts / Hospitality Administration & Events
Focused on hands-on training in classical and modern culinary techniques.
Nathaniel’s story starts in the foothills of the Appalachian Mountains, where farm stands, backyard gardens, and old family recipes shaped his love for real food. After graduating from Ivy Tech Community College in Indianapolis, he spent years working in farm-to-table kitchens, learning how to turn local, seasonal ingredients into something memorable.
Today, Nathaniel pours that same spirit into every single recipe on Aspiring Culinarian – recipes that feel real, comforting, and connected to the land. When he’s not in the kitchen, you’ll find him foraging wild herbs, chasing sunsets with his camera, or writing about the flavors that shaped his roots.