The Best Peanut Butter Sandwich Cookies Recipe for Sweet Smiles
Crafting a delightful peanut butter sandwich cookies recipe sparks pure culinary joy in my kitchen.
sweet memories of childhood snacks dance through my mind with each creamy layer.
Soft, pillowy cookies sandwiched around rich, velvety filling make taste buds sing with excitement.
Homemade treats always feel more special than store-bought versions.
Simple ingredients combine into magical moments of deliciousness.
My favorite part involves mixing the dough and creating perfect little rounds.
When you bake these, expect smiles and requests for seconds.
Sweet Cookie Sandwiches: The Sweetest Pairings
Cookie Sandwiches: Ingredients at a Glance
Cookie Base:Filling Components:Optional Flavor Enhancers:Cookie Sandwich How-To

Step 1: Prep the Oven
Warm up your oven to 350°F.
Grab a baking sheet and cover it with parchment paper to prevent sticking and make cleanup a breeze.
Step 2: Create Cookie Dough
Grab a mixing bowl and combine these yummy ingredients:Whisk everything together until the mixture looks smooth and creamy.
Step 3: Shape Delightful Cookies
Roll the dough into small, adorable balls.
Place them on the prepared baking sheet, leaving some space between each cookie.
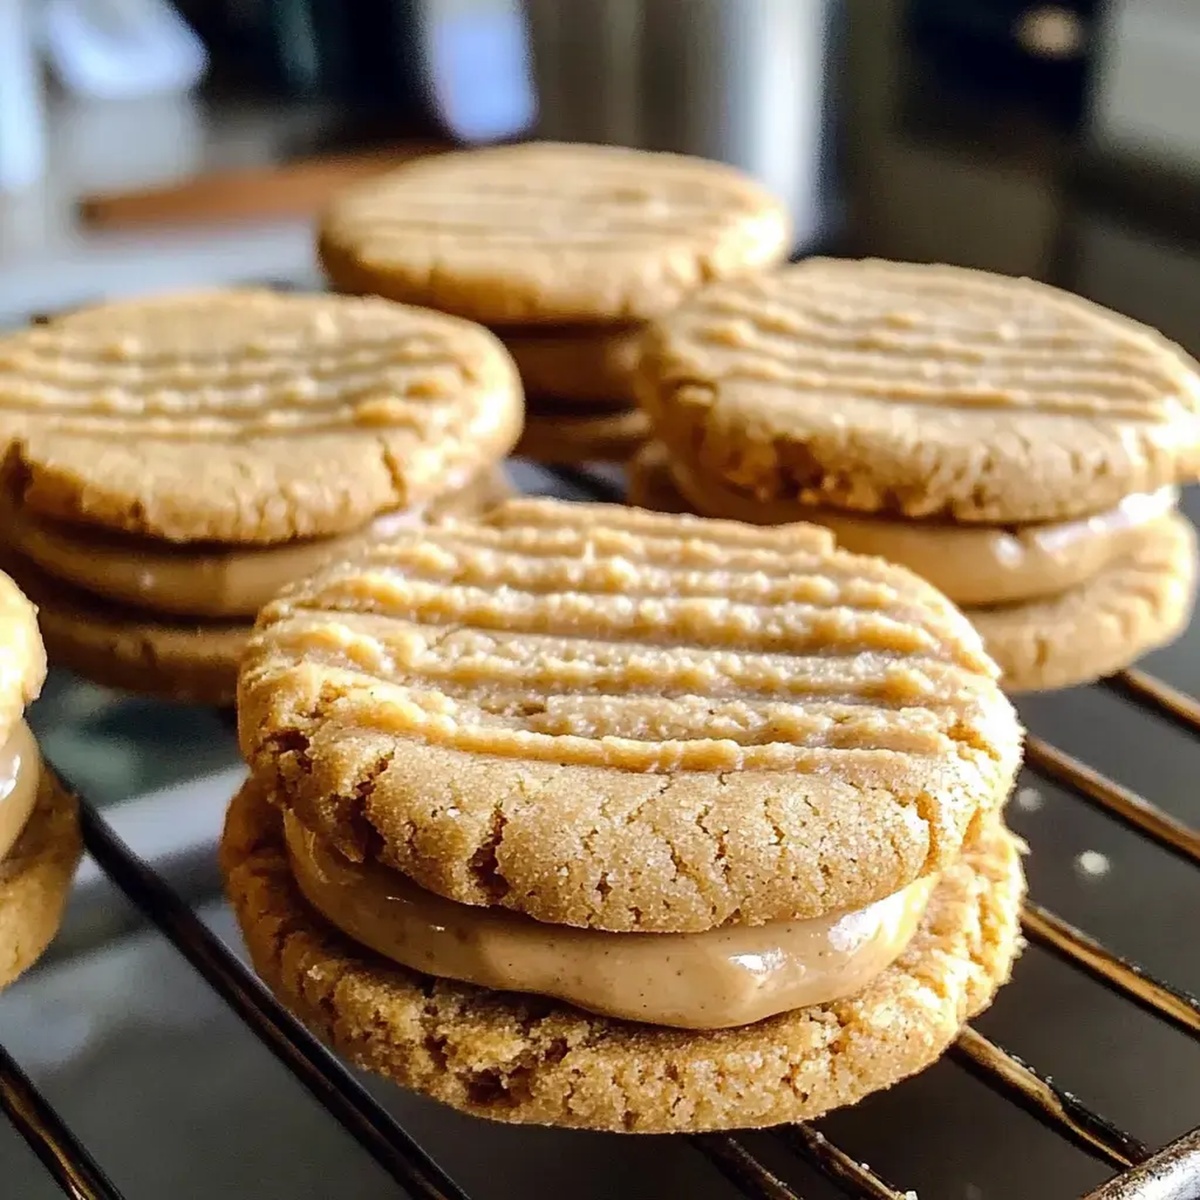
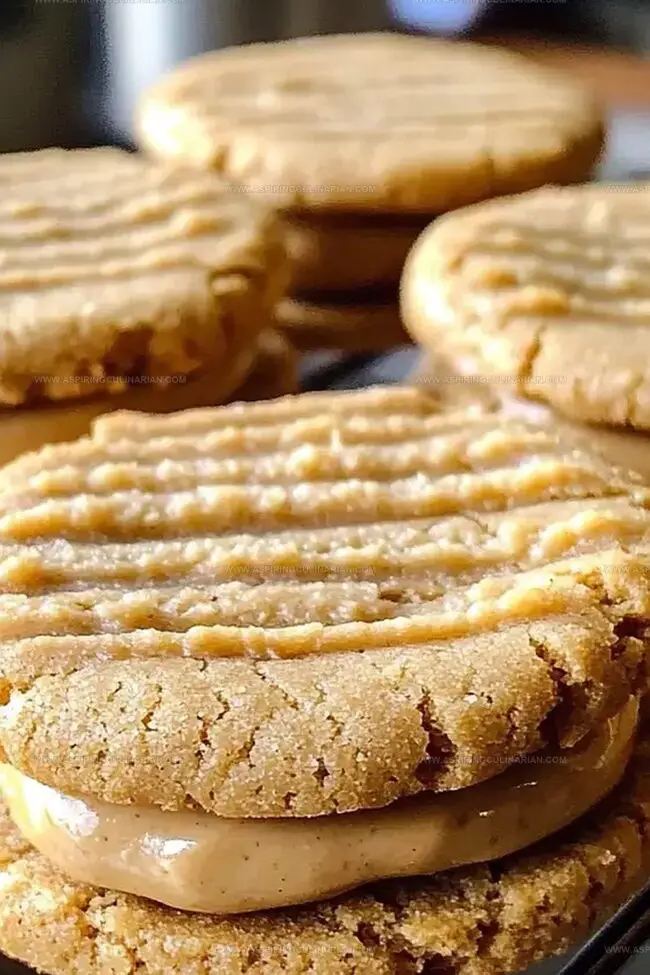
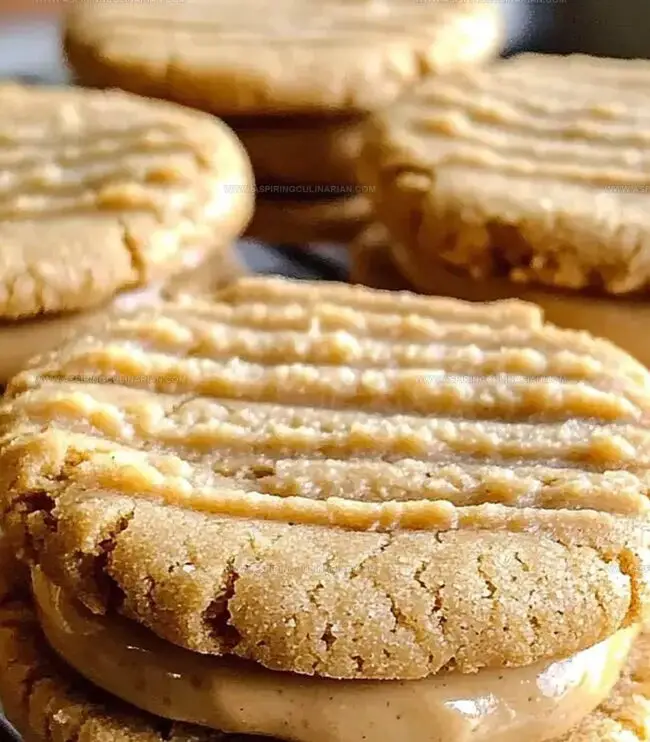
Take a fork and gently press down on each ball, creating a classic crisscross pattern that makes these cookies look totally irresistible.
Step 4: Bake to Golden Perfection
Slide the baking sheet into the oven and let the cookies bake for 10-12 minutes.
Watch for those beautiful golden-brown edges that signal they’re ready.
Once done, remove from the oven and let them cool completely on a wire rack.
Step 5: Whip Up Creamy Filling
In a clean bowl, beat butter with brown sugar until it becomes light and smooth.
Gradually mix in powdered sugar and continue beating until the filling turns fluffy and irresistible.
Step 6: Construct Delicious Sandwiches
Take one cooled cookie and spread a generous layer of the creamy filling.
Top it with another cookie, creating a mouthwatering sandwich that’ll make everyone smile.
Repeat until all cookies are transformed into delightful treats.
Tips for Better Cookie Sandwiches
Creative Combos for Cookie Sandwiches
Ways to Serve Cookie Sandwiches
Storage Tips for Cookie Sandwiches
FAQs
No, these sweet cookie sandwiches are super easy and beginner-friendly. The recipe has simple steps and requires just a few basic ingredients you probably already have in your kitchen.
Absolutely! While the recipe uses peanut butter, you can substitute with almond butter or cashew butter for a different flavor profile. Just ensure it’s smooth and creamy for best results.
Look for golden brown edges and a slightly set center. They might seem soft when first removed from the oven, but they’ll firm up as they cool on the baking sheet.
Print
Peanut Butter Sandwich Cookies Recipe
- Total Time: 32 minutes
- Yield: 12 1x
Description
Irresistible peanut butter sandwich cookies blend creamy richness with sweet nostalgia, offering a delightful twist on classic comfort. Crisp, golden edges and luscious filling promise a delectable experience you’ll savor with each heavenly bite.
Ingredients
Main Ingredients:
- 1 cup creamy peanut butter
- 1/2 cup butter, softened
- 1 large egg
Sugars:
- 1 cup granulated sugar
- 1/4 cup brown sugar
- 1 cup powdered sugar
Flavor Enhancers and Liquids:
- 1 teaspoon vanilla extract
- 3 tablespoons heavy cream
Instructions
- Warm the oven to 350°F and prepare a baking sheet with parchment paper for even cookie placement.
- Combine peanut butter, sugar, egg, and vanilla in a mixing bowl, stirring until the mixture becomes smooth and uniform.
- Create uniform dough balls, arranging them on the prepared baking sheet with adequate spacing between each cookie.
- Gently press each dough ball using a fork, creating a classic crisscross pattern for traditional cookie texture.
- Bake cookies for 10-12 minutes, watching for golden-brown edges that indicate perfect doneness.
- Allow cookies to cool completely on a wire rack, ensuring they reach room temperature for optimal filling application.
- Whip butter with brown sugar until the mixture becomes creamy and light, creating a smooth base for the filling.
- Gradually incorporate powdered sugar and cream, beating until the filling reaches a fluffy, spreadable consistency.
- Select matching cookie pairs with similar size and shape for balanced sandwich construction.
- Spread a generous layer of prepared filling on one cookie surface, ensuring even coverage.
- Carefully place the matching cookie on top, gently pressing to create a delightful sandwich with perfectly distributed filling.
Notes
- Select natural peanut butter without added sugars for a cleaner, more authentic flavor profile.
- Choose room temperature ingredients to ensure smoother mixing and more consistent cookie texture.
- Consider swapping regular sugar with coconut sugar for a lower glycemic index alternative.
- Try gluten-free flour blend if seeking a celiac-friendly version of these delightful sandwich cookies.
- Prep Time: 20 minutes
- Cook Time: 12 minutes
- Category: Desserts, Snacks
- Method: Baking
- Cuisine: American
Nutrition
- Serving Size: 12
- Calories: 264
- Sugar: 22 g
- Sodium: 84 mg
- Fat: 18 g
- Saturated Fat: 6 g
- Unsaturated Fat: 11 g
- Trans Fat: 0.2 g
- Carbohydrates: 21 g
- Fiber: 2 g
- Protein: 6 g
- Cholesterol: 35 mg
Nathaniel Brooks
Founder & Recipe Developer
Expertise
Farm-to-table cuisine, Seasonal recipe development, Culinary storytelling
Education
Ivy Tech Community College – Indianapolis, IN
Culinary Arts / Hospitality Administration & Events
Focused on hands-on training in classical and modern culinary techniques.
Nathaniel’s story starts in the foothills of the Appalachian Mountains, where farm stands, backyard gardens, and old family recipes shaped his love for real food. After graduating from Ivy Tech Community College in Indianapolis, he spent years working in farm-to-table kitchens, learning how to turn local, seasonal ingredients into something memorable.
Today, Nathaniel pours that same spirit into every single recipe on Aspiring Culinarian – recipes that feel real, comforting, and connected to the land. When he’s not in the kitchen, you’ll find him foraging wild herbs, chasing sunsets with his camera, or writing about the flavors that shaped his roots.