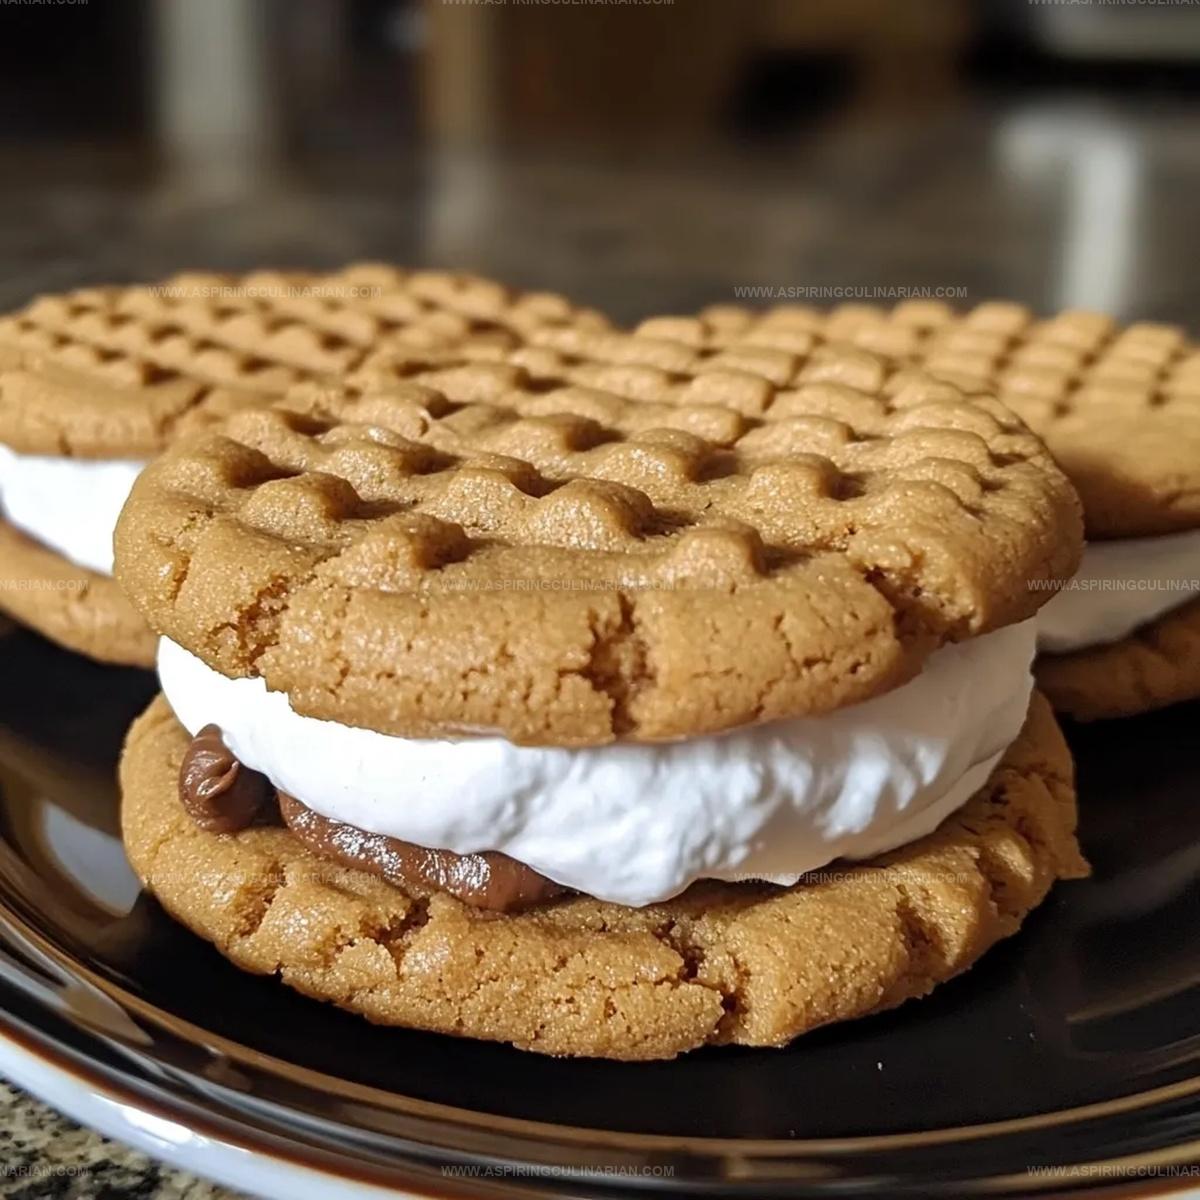
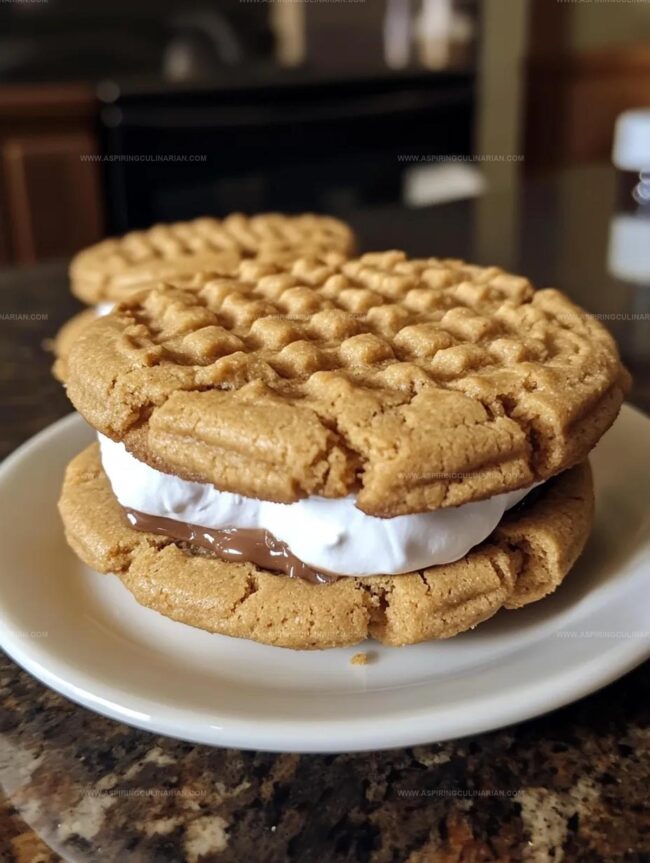
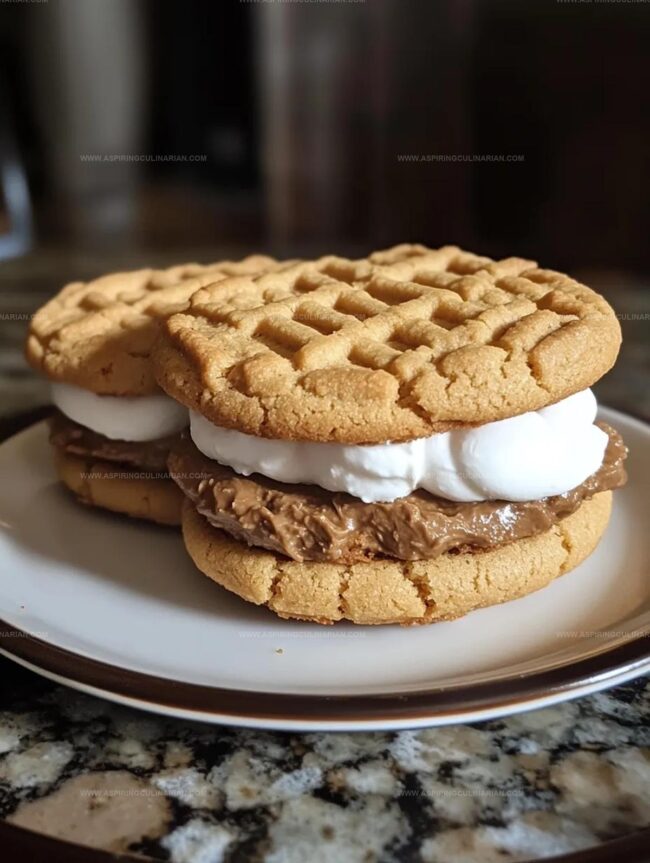
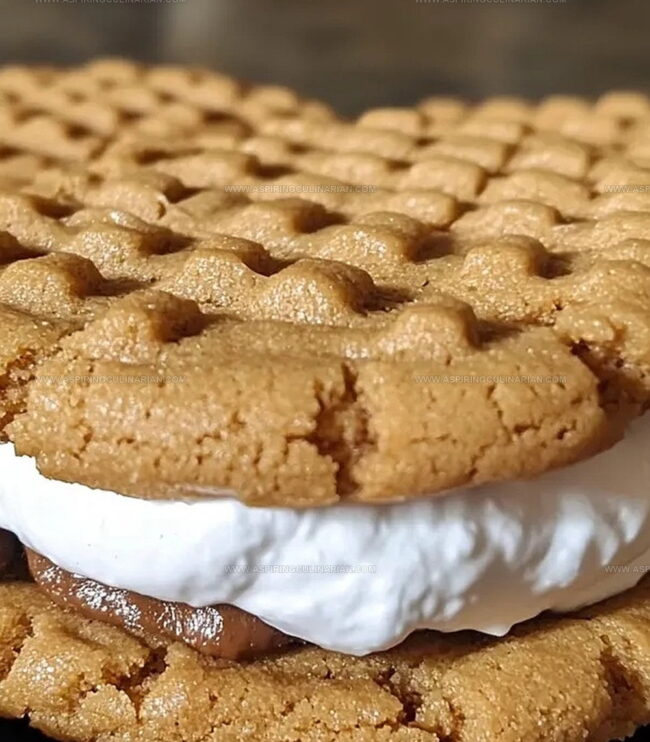
Dreamy Peanut Butter S’mores Sandwich Cookies Recipe
Melting marshmallows and rich chocolate nestled between crispy graham crackers create a delightful peanut butter smores sandwich cookies that elevate classic campfire treats.
These irresistible cookies blend nostalgic flavors with a playful twist.
Gooey and decadent, they bring summer memories right to your kitchen.
Sweet graham cracker crumbs provide the perfect base for each delectable bite.
Creamy peanut butter adds a nutty dimension that complements the traditional smores profile.
Chocolate chips melt into dreamy pockets of richness throughout each cookie.
You’ll want to make a double batch to satisfy every sweet craving.
Gather friends and indulge in these crowd-pleasing treats that promise pure dessert bliss.
Peanut Butter S’mores Sandwich Cookies Kids Love Most
All The Peanut Butter S’mores Cookie Fixings
Cookie Base:Dry Ingredients:Filling and Topping:S’mores Sandwich Cookies Ready In A Snap
Step 1: Fire Up the Oven
Crank your oven to a toasty 350F (175C).
Line baking sheets with parchment paper so nothing sticks.
Step 2: Whip Up the Base
Grab your electric mixer and blend these ingredients until super fluffy:Mix for 2-3 minutes until the mixture looks light and dreamy.
Step 3: Introduce Egg Friends
Drop in eggs one by one, beating thoroughly after each addition.
Splash in vanilla extract and mix until everything plays nicely together.
Step 4: Combine Dry Players
In a separate bowl, whisk together:Make sure everything is well mixed and buddy-buddy.
Step 5: Create Cookie Dough Magic
Slowly fold dry ingredients into wet mixture.
Mix on low speed until just combined.
Don’t go crazy with mixing!
Step 6: Shape Cookie Buddies
Scoop dough into cute little balls, about 1 inch wide.
Place them on baking sheets with some breathing room.
Gently smoosh them down with your hand or a glass bottom.
Step 7: Bake to Perfection
Pop them in the oven for 10-12 minutes.
Look for golden edges but keep centers soft.
They’ll continue cooking while cooling.
Step 8: Chill Out Cookies
Let cookies hang out on baking sheets for 5 minutes, then move to wire racks for complete cooling.
Step 9: Craft Gooey Filling
Melt together in microwave:Zap in short bursts, stirring between each.
Step 10: Add Marshmallow Magic
Let chocolate mixture cool slightly, then stir in mini marshmallows.
Wait 5-10 minutes until it becomes spreadable.
Step 11: Build Sandwich Towers
Flip half the cookies.
Spread filling on cookie bottoms.
Crown with another cookie, pressing gently.
Step 12: Let Them Rest
Give sandwich cookies 30 minutes to set.
This helps filling firm up so it doesn’t squish everywhere when you bite in.
Peanut Butter S’mores Cookie Tricks For Bakers

New S’mores Sandwich Cookie Flavors To Try
S’mores Sandwich Cookies Ways To Serve Happily
S’mores Sandwich Cookies Save Them For Tomorrow
FAQs
The key ingredients are butter, peanut butter, graham cracker crumbs, chocolate chips, mini marshmallows, eggs, sugars, flour, vanilla extract, baking soda, and salt.
Yes, these cookies are kid-friendly with their sweet s’mores-inspired flavor and fun sandwich cookie design that children will love.
This recipe is relatively easy for home bakers with basic baking skills. The steps are straightforward and do not require advanced pastry techniques.
You can prepare the cookie dough in advance and refrigerate it for 1-2 days before baking, or freeze the dough balls for up to a month.
Print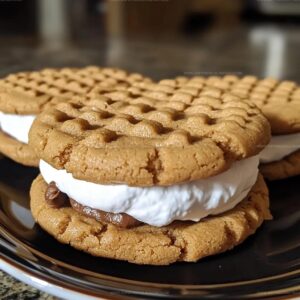
Peanut Butter Smores Sandwich Cookies Recipe
- Total Time: 32 minutes
- Yield: 24 1x
Description
Gooey peanut butter s’mores sandwich cookies bring campfire nostalgia right to your kitchen. Sweet graham cracker layers, melted chocolate, and creamy peanut butter create irresistible comfort you’ll crave with every delightful bite.
Ingredients
Peanut Butter
- 1 cup peanut butter
- 1/4 cup peanut butter
Main Dry Ingredients
- 1 1/2 cups all-purpose flour
- 1 1/2 cups graham cracker crumbs
- 1 cup granulated sugar
- 1 cup brown sugar, packed
Complementary Ingredients
- 1 cup unsalted butter, softened
- 2 large eggs
- 1 cup mini marshmallows
- 1/2 cup chocolate chips
- 1 teaspoon vanilla extract
- 1 teaspoon baking soda
- 1/2 teaspoon salt
Instructions
- Prepare the oven at 350F (175C) and line baking sheets with parchment paper for optimal cookie performance.
- Utilize an electric mixer to blend butter, peanut butter, granulated and brown sugars until achieving a light, airy texture, approximately 2-3 minutes.
- Incorporate eggs individually, ensuring thorough mixing after each addition. Introduce vanilla extract and blend completely.
- In a separate bowl, combine flour, graham cracker crumbs, baking soda, and salt through careful whisking.
- Merge dry ingredients into wet mixture using low-speed mixing, maintaining careful restraint to prevent overmixing.
- Craft uniform dough balls using a cookie scoop, positioning them two inches apart on prepared sheets. Gently flatten each ball using palm or glass bottom.
- Roast cookies in preheated oven for 10-12 minutes until edges turn golden and centers maintain slight softness. Avoid excessive baking.
- Transition cookies to wire racks after initial 5-minute cooling period on baking sheets.
- Melt chocolate chips and peanut butter through microwave technique, stirring between 20-second intervals until achieving smooth consistency.
- Allow chocolate-peanut butter mixture to slightly cool, then fold in mini marshmallows. Wait 5-10 minutes for mixture to reach spreadable thickness.
- Construct sandwich cookies by inverting half the batch, applying marshmallow-chocolate filling, and topping with remaining cookies. Apply gentle pressure.
- Allow completed cookies to stabilize for 30 minutes, enabling filling to solidify and prevent messy consumption.
Notes
- Ensure butter is at room temperature for smooth, even mixing to create a perfect cookie texture.
- Use exact measurements for flour and graham cracker crumbs to maintain the right cookie consistency.
- Let cookies cool completely before assembling to prevent filling from melting and maintain structural integrity.
- Swap regular flour with gluten-free flour blend for a celiac-friendly version that preserves the cookie’s original taste and texture.
- Prep Time: 20 minutes
- Cook Time: 12 minutes
- Category: Desserts, Snacks
- Method: Baking
- Cuisine: American
Nutrition
- Serving Size: 24
- Calories: 200
- Sugar: 16 g
- Sodium: 150 mg
- Fat: 10 g
- Saturated Fat: 3 g
- Unsaturated Fat: 7 g
- Trans Fat: 0 g
- Carbohydrates: 25 g
- Fiber: 1 g
- Protein: 4 g
- Cholesterol: 20 mg
Lena Martinez
Contributing Writer & Culinary Educator
Expertise
Southwestern and Latin American cuisines, Vegetarian and plant-based recipe development, Culinary education and community outreach
Education
Santa Fe Community College, Santa Fe, NM
Certificate in Culinary Arts
Emphasized Southwestern cuisine and sustainable cooking practices
Lena grew up surrounded by the colors, spices, and traditions of the Southwest – flavors that sparked her love for bold, honest cooking. After earning her Culinary Arts certificate at Santa Fe Community College, she made it her mission to teach home cooks how to create flavorful, plant-powered meals without the fuss.
Her recipes are packed with vibrant ingredients, simple steps, and the kind of heart that turns a regular meal into something you’ll want to share. Outside the kitchen, Lena spends her time wandering farmers’ markets, trading family recipes, and helping young chefs find their voice through food.