Quick & Jolly Peppermint Bark Snowballs Recipe for Winter Joy
Whipping up these delightful peppermint bark snowballs brings pure winter magic into your kitchen.
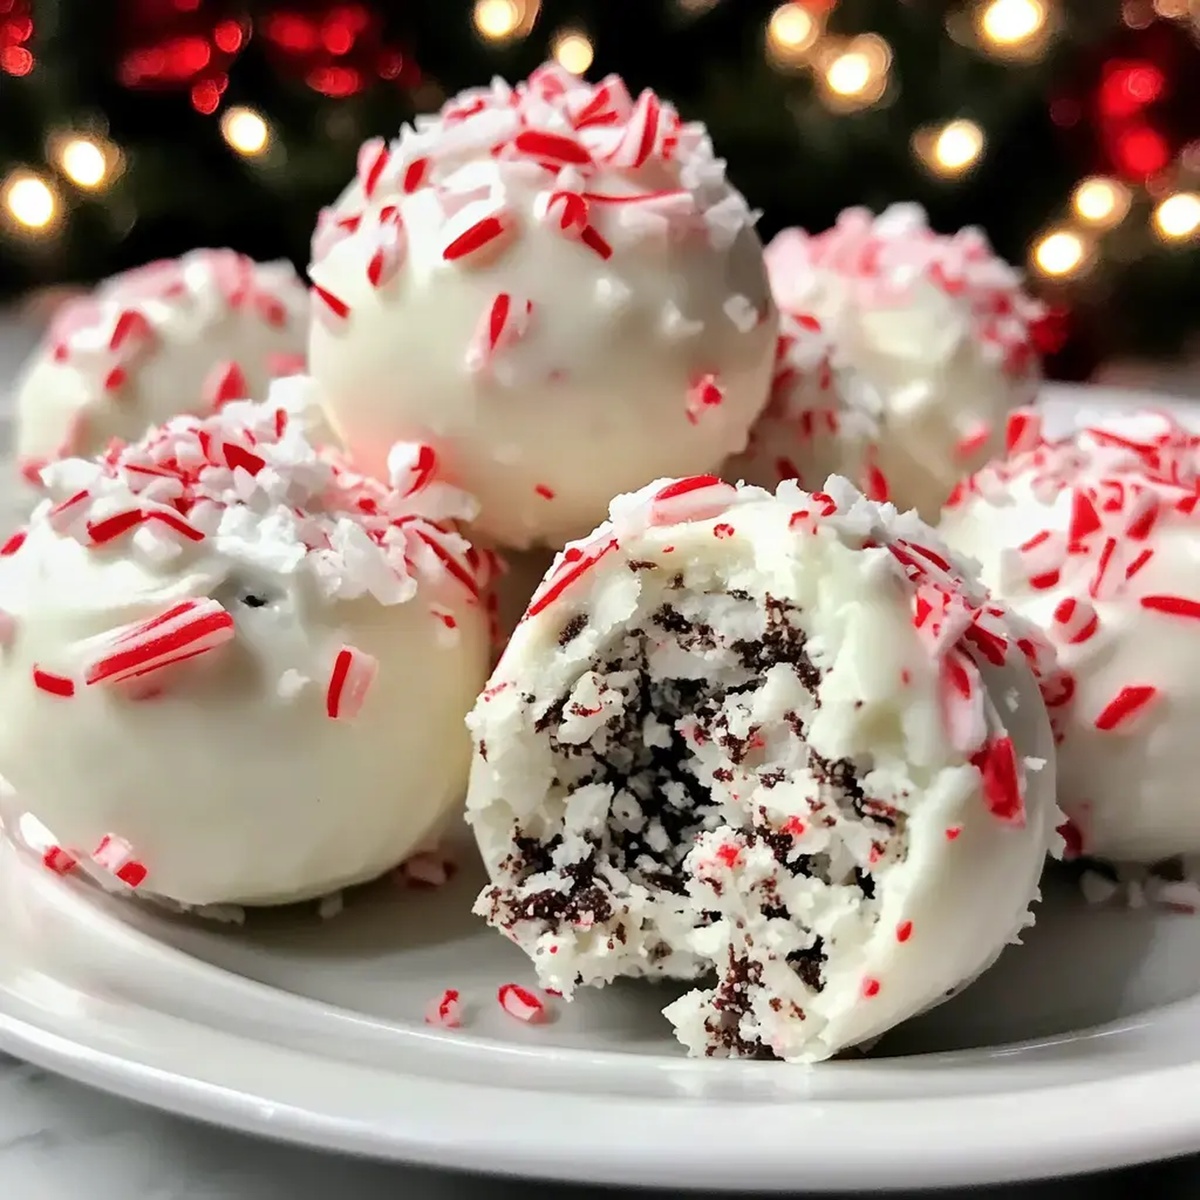
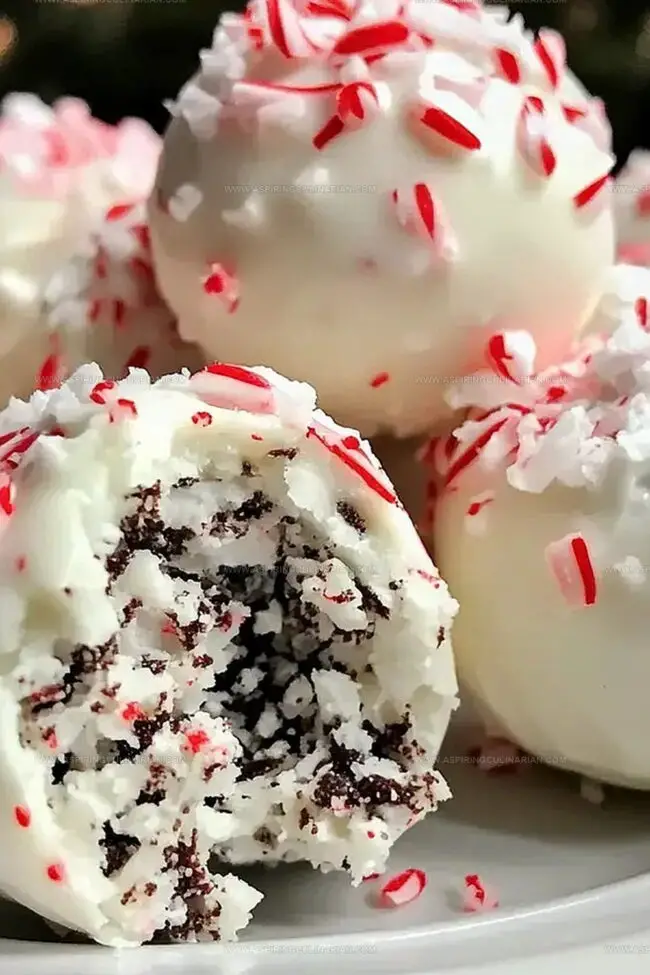
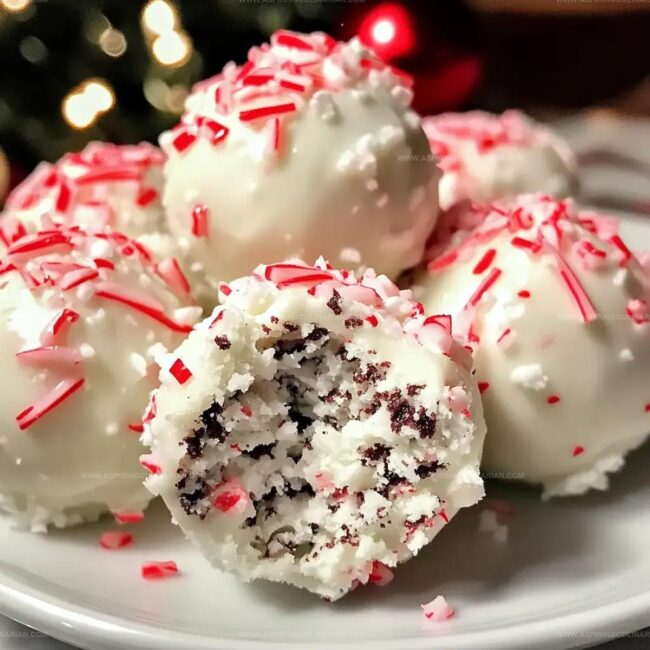
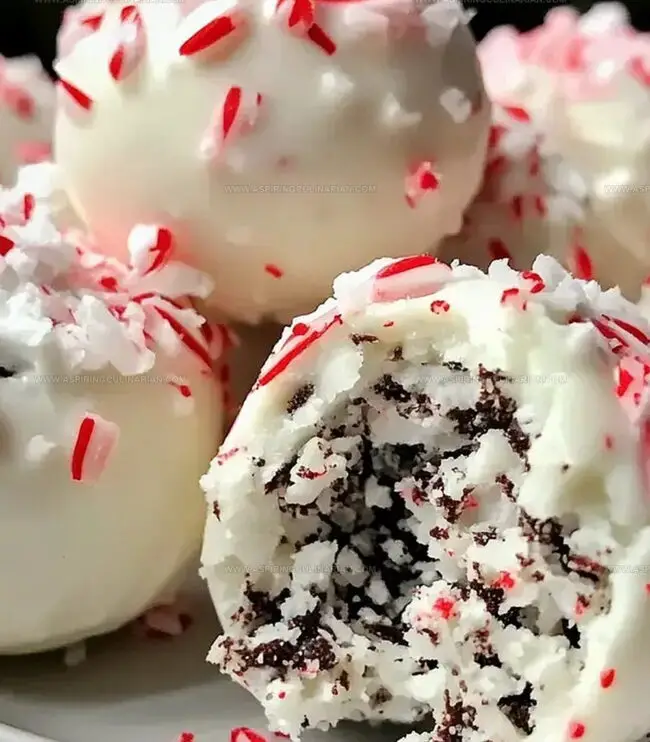
Sweet chocolate and crushed candy canes mingle perfectly in each bite-sized treat.
Festive gatherings call for something special that sparks conversation and delight.
Little hands and big appetites will absolutely adore these melt-in-your-mouth confections.
Snowball shapes create instant charm and playful winter nostalgia.
Cool peppermint notes dance alongside rich chocolate undertones.
Winter desserts rarely feel this elegant and simple.
Come explore this sweet adventure that promises joy in every delectable morsel.
Why Minty Holiday Snowballs Stand Out
Minty Holiday Snowballs Ingredient Checklist
Base Ingredients:Flavor Enhancers:Coating and Decoration:How to Prepare Minty Holiday Snowballs
Step 1: Blend Cookie Base
Crush graham crackers or vanilla wafers into fine crumbs.
Add softened cream cheese, powdered sugar, and peppermint extract into a mixing bowl.
Use a hand mixer or spatula to combine ingredients until a smooth, consistent dough forms.
Step 2: Shape Festive Treats
Using clean hands, roll the mixture into small round balls, each about the size of a golf ball.
Place the formed balls on a parchment-lined baking sheet.
Transfer the sheet to the refrigerator and chill for 15-20 minutes to help balls firm up.
Step 3: Prepare Chocolate Coating
Place white chocolate chips in a microwave-safe bowl.
Melt chocolate in short 20-second intervals, stirring thoroughly between each heating cycle to prevent burning.
Continue until chocolate is completely smooth and glossy.
Step 4: Dip and Coat
Remove chilled balls from refrigerator.
Using a fork or dipping tool, carefully lower each ball into melted white chocolate.
Gently tap to remove excess chocolate, allowing a thin, even coating.
Step 5: Add Festive Topping
Immediately sprinkle crushed peppermint candies over the chocolate-covered balls before the coating sets.
This adds a delightful crunch and holiday flair.
Step 6: Final Chill
Return the decorated snowballs to the refrigerator.
Allow them to set for 10-15 minutes until the chocolate coating becomes firm and glossy.
Tips for Perfect Minty Holiday Snowballs
Minty Holiday Snowballs Fun Variations
Serving Minty Holiday Snowballs Creatively
Minty Holiday Snowballs Storage Guide
FAQs
No, these holiday snowballs are super easy and require no baking. You just need to mix ingredients, roll into balls, and dip in chocolate.
Absolutely! You can prepare these snowballs up to 3 days in advance and store them in the refrigerator. They’re perfect for holiday prep and batch cooking.
You’ll only need basic kitchen tools like a mixing bowl, baking sheet, and microwave-safe bowl. No fancy equipment is required to create these festive treats.
Ensure the balls are thoroughly chilled before dipping and let excess chocolate drip off slowly. Work quickly and keep the chocolate at a consistent temperature to avoid cracking.
Print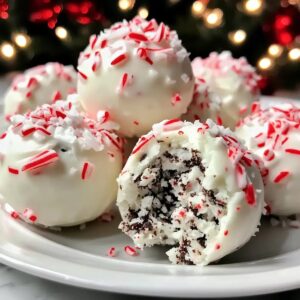
Peppermint Bark Snowballs Recipe
- Total Time: 15 minutes
- Yield: 24 1x
Description
Festive winter magic meets sweet indulgence in these peppermint bark snowballs, where chocolate and crushed candy canes dance together in delightful cookie perfection. Cool peppermint notes and rich chocolate will transport you to a delectable holiday wonderland with each delicious bite.
Ingredients
Main Ingredients:
- 1 1/2 cups (354 ml) crushed chocolate sandwich cookies (Oreos)
- 1 cup (226 g) cream cheese, softened
- 1 1/2 cups (255 g) white chocolate chips
Sweeteners and Flavoring:
- 1 cup (120 g) powdered sugar
- 1 teaspoon (5 ml) peppermint extract
Decorative Topping:
- 1/2 cup (60 g) crushed peppermint candies or candy canes
Instructions
- Combine crumbled cookies, creamy cheese, powdered sweetener, and refreshing mint essence in a mixing bowl, blending until a uniform, cohesive mixture forms.
- Shape the mixture into compact, uniform spheres approximately one inch in diameter, arranging them carefully on a parchment-lined tray.
- Chill the formed balls in the refrigerator for 15-20 minutes to firm their structure and enhance their handling consistency.
- Gently melt white chocolate using microwave technique, heating in short 20-second intervals and stirring thoroughly between each burst to prevent scorching.
- Carefully immerse each chilled ball into the smooth, liquefied white chocolate, allowing excess coating to gently cascade back into the bowl.
- Immediately sprinkle crushed peppermint confections over the chocolate-coated spheres before the coating solidifies, ensuring even distribution of festive fragments.
- Return the decorated treats to the refrigerator for an additional 10-15 minutes, allowing the chocolate coating to completely set and harden into a glossy, crisp shell.
Notes
- Ensure cream cheese is softened at room temperature for smooth mixing without lumps.
- Use fine cookie crumbs for a more uniform texture and easier ball formation.
- Choose high-quality white chocolate for better melting and coating consistency.
- Chill balls completely before dipping to prevent crumbling and maintain shape during chocolate coating.
- Prep Time: 15 minutes
- Cook Time: 0 minutes
- Category: Desserts, Snacks
- Method: Rolling
- Cuisine: American
Nutrition
- Serving Size: 24
- Calories: 198 kcal
- Sugar: 20 g
- Sodium: 47 mg
- Fat: 11 g
- Saturated Fat: 7 g
- Unsaturated Fat: 3 g
- Trans Fat: 0.1 g
- Carbohydrates: 23 g
- Fiber: 0.5 g
- Protein: 2 g
- Cholesterol: 13 mg
Nathaniel Brooks
Founder & Recipe Developer
Expertise
Farm-to-table cuisine, Seasonal recipe development, Culinary storytelling
Education
Ivy Tech Community College – Indianapolis, IN
Culinary Arts / Hospitality Administration & Events
Focused on hands-on training in classical and modern culinary techniques.
Nathaniel’s story starts in the foothills of the Appalachian Mountains, where farm stands, backyard gardens, and old family recipes shaped his love for real food. After graduating from Ivy Tech Community College in Indianapolis, he spent years working in farm-to-table kitchens, learning how to turn local, seasonal ingredients into something memorable.
Today, Nathaniel pours that same spirit into every single recipe on Aspiring Culinarian – recipes that feel real, comforting, and connected to the land. When he’s not in the kitchen, you’ll find him foraging wild herbs, chasing sunsets with his camera, or writing about the flavors that shaped his roots.