The Ultimate Silky Turkey Gravy Recipe for Holiday Feasts
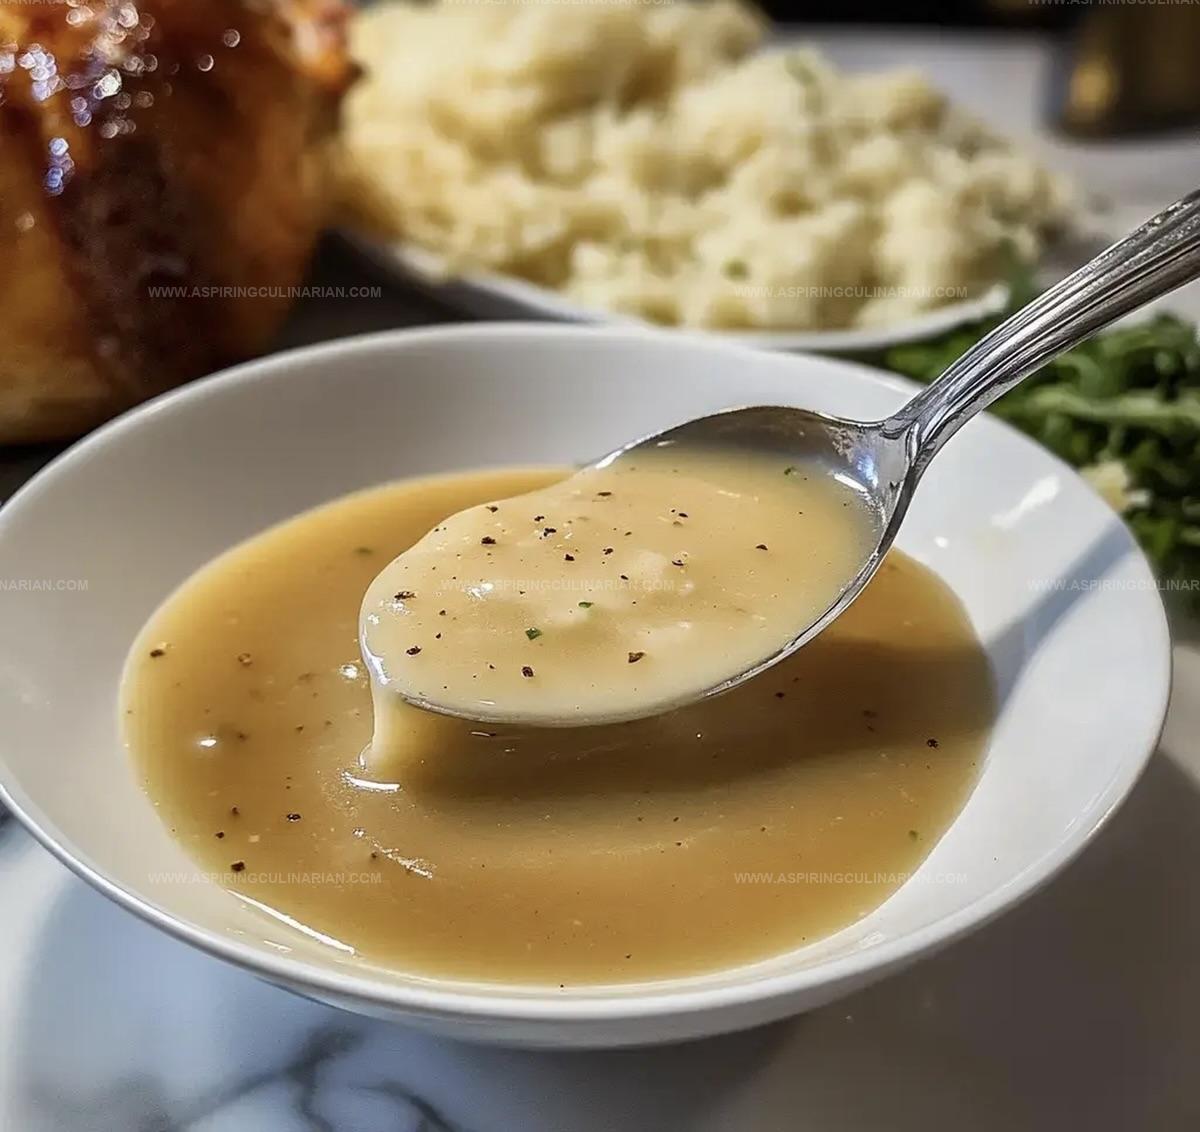
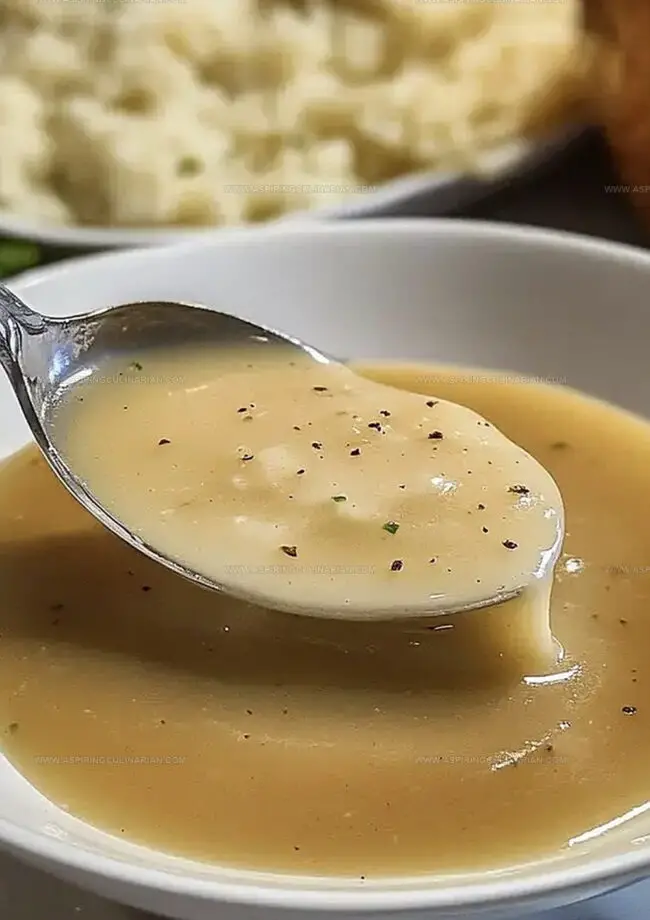
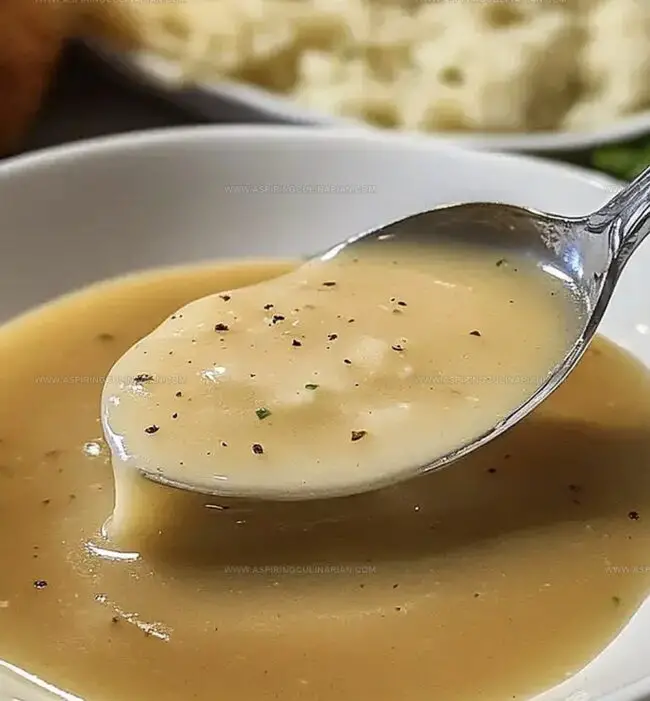
Crafting a silky smooth turkey gravy can turn an ordinary meal into a memorable feast.
Whisking together pan drippings creates a rich, velvety sauce that everyone craves.
Rich flavors develop as you blend carefully selected ingredients with precision.
Culinary magic happens when simple techniques meet quality components.
Restaurants often charge premium prices for such delectable sauces, but you can master this skill at home.
Professional chefs know the secret lies in patience and technique.
Take your cooking prowess to the next level and impress everyone at the table.
Perfect Turkey Gravy for a Smooth, Rich Finish
Ingredient List for Classic Turkey Gravy Success
Base Ingredients:Liquid Ingredients:Seasoning:Turkey Gravy Preparation Directions for Holiday Meals
Step 1: Collect Rich Turkey Drippings
Strain the drippings from your roasted turkey through a fine-mesh sieve to remove any bits and pieces.
Let the liquid rest so the golden fat rises to the top.
Gently remove the excess fat with a spoon, leaving behind the flavorful base.
If you need more liquid to reach the perfect consistency, blend in some warm chicken or turkey stock.
Step 2: Create a Buttery Base
Heat a saucepan over medium-low flame.
Drop in the butter and let it melt smoothly.
Sprinkle in black pepper and whisk until the two become best friends, creating a fragrant blend.
Step 3: Craft the Perfect Roux
Slowly shower the flour into the melted butter, whisking with enthusiasm.
Keep stirring continuously as the mixture transforms.
Watch for the magical moment when it turns a light golden brown and releases a nutty aroma – this means your roux is ready to work its thickening magic.
Step 4: Blend Liquid Magic
Pour the reserved drippings or stock into the roux with a steady hand.
Whisk like a pro to keep everything smooth and prevent any sneaky lumps from forming.
The mixture will start to come together, creating a silky foundation for your gravy.
Step 5: Simmer to Perfection
Let the gravy bubble gently over medium-low heat.
Stir frequently to help it thicken and develop deep, rich flavors.
Keep an eye on the consistency – it should coat the back of a spoon beautifully.
Serve piping hot or keep warm until your meal is ready to be enjoyed.
Tips for Silky, Lump-Free Turkey Gravy Every Time
Gravy Variations and Upgrades for the Big Feast
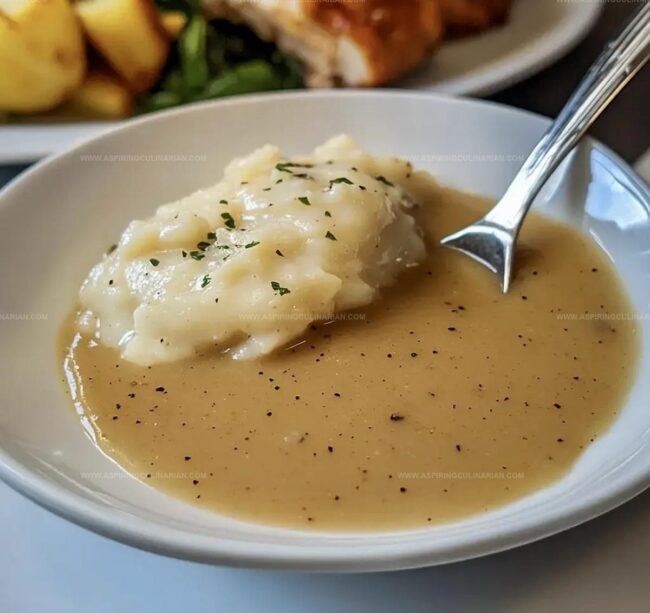
How to Serve Turkey Gravy with Your Bird
Storing Turkey Gravy for Later Use or Freezing
FAQs
Whisk constantly when adding liquid to the roux and use a wire whisk to break down any potential clumps. Gradually pour in the liquid while stirring to ensure a smooth, lump-free consistency.
Yes, you can prepare gravy in advance and reheat it gently before serving. Store in an airtight container in the refrigerator and whisk well when reheating to restore its smooth texture.
Thin out the gravy by slowly whisking in additional warm stock or water until you reach the desired consistency. Add liquid gradually to avoid making it too thin.
Print
Perfect Turkey Gravy Recipe
- Total Time: 30 minutes
- Yield: 4 1x
Description
Silky smooth Perfect Turkey Gravy elevates holiday meals with rich, savory depth. Homemade stock and pan drippings blend seamlessly, creating a luxurious sauce you’ll crave on roasted meats and mashed potatoes.
Ingredients
Proteins and Base:
- 4 cups pan drippings or chicken/turkey stock
Main Ingredients:
- 1/2 cup (113 grams) butter
- 1/2 cup (60 grams) all-purpose flour
Seasonings:
- 1 teaspoon coarse black pepper
Instructions
- Collect turkey drippings from roasted bird, straining out any solid particles. Allow liquid to rest until fat rises to surface, then carefully remove excess fat layer. If needed, supplement with additional poultry stock to reach desired volume.
- Place saucepan on medium-low heat, gently melt butter until completely liquefied. Sprinkle ground black pepper into melted butter, whisking thoroughly to distribute evenly.
- Introduce flour gradually into butter mixture, creating a smooth paste while continuously stirring. Maintain constant motion to prevent burning, cooking until mixture transforms into a light caramel color and develops a rich, toasted aroma.
- Incorporate reserved drippings or stock incrementally, whisking vigorously to eliminate potential lumps. Maintain steady motion during liquid integration to ensure silky texture.
- Simmer gravy on medium-low heat, stirring periodically, allowing sauce to thicken naturally. Monitor consistency, adjusting heat as necessary. Keep warm until serving, stirring occasionally to prevent separation.
Notes
- Fat Separation Secret Collect those golden turkey drippings and let them rest, allowing the fat to naturally rise and separate for a cleaner, more refined gravy base.
- Roux Mastery Whisk flour into melted butter slowly and consistently, creating a smooth foundation that’ll prevent any unwelcome lumps in your final gravy.
- Flavor Enhancing Technique Consider adding a splash of white wine or a pinch of fresh herbs like thyme or rosemary to elevate the gravy’s depth and complexity.
- Dietary Adaptation For gluten-free options, swap wheat flour with cornstarch or arrowroot powder, maintaining the same silky texture and rich flavor profile.
- Prep Time: 10 minutes
- Cook Time: 20 minutes
- Category: Dinner, Appetizer
- Method: Sautéing
- Cuisine: American
Nutrition
- Serving Size: 4
- Calories: 172
- Sodium: 58 mg
- Fat: 10 g
- Saturated Fat: 6 g
- Unsaturated Fat: 4 g
- Trans Fat: 0.2 g
- Carbohydrates: 12 g
- Fiber: 0.5 g
- Protein: 1 g
- Cholesterol: 31 mg
Nathaniel Brooks
Founder & Recipe Developer
Expertise
Farm-to-table cuisine, Seasonal recipe development, Culinary storytelling
Education
Ivy Tech Community College – Indianapolis, IN
Culinary Arts / Hospitality Administration & Events
Focused on hands-on training in classical and modern culinary techniques.
Nathaniel’s story starts in the foothills of the Appalachian Mountains, where farm stands, backyard gardens, and old family recipes shaped his love for real food. After graduating from Ivy Tech Community College in Indianapolis, he spent years working in farm-to-table kitchens, learning how to turn local, seasonal ingredients into something memorable.
Today, Nathaniel pours that same spirit into every single recipe on Aspiring Culinarian – recipes that feel real, comforting, and connected to the land. When he’s not in the kitchen, you’ll find him foraging wild herbs, chasing sunsets with his camera, or writing about the flavors that shaped his roots.