Heavenly Pignoli Cookies Recipe: Crispy, Sweet Italian Bliss
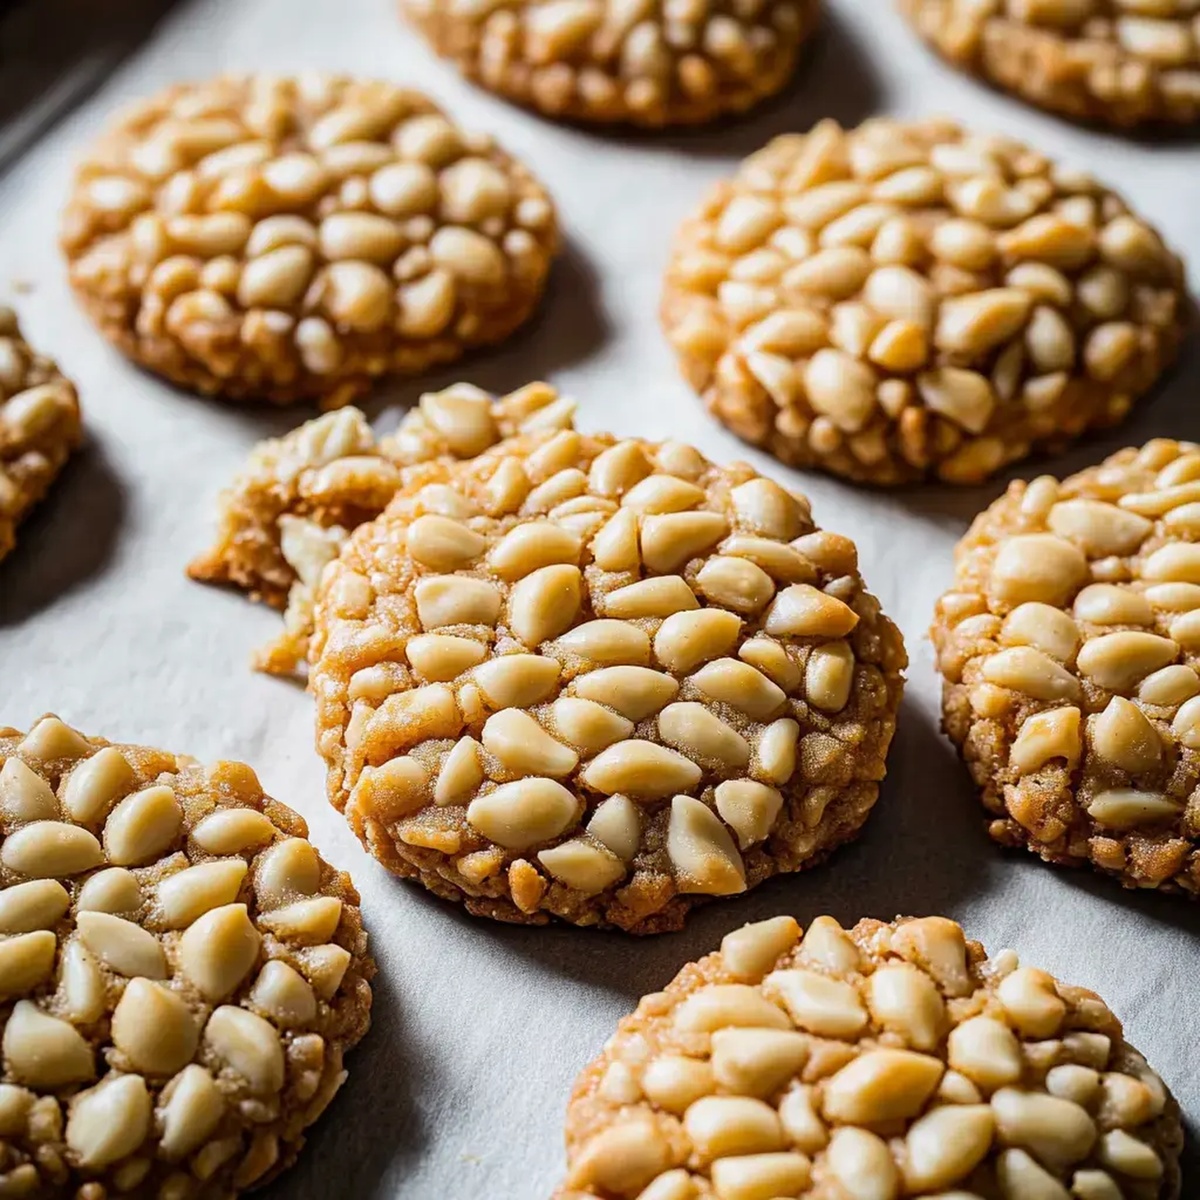
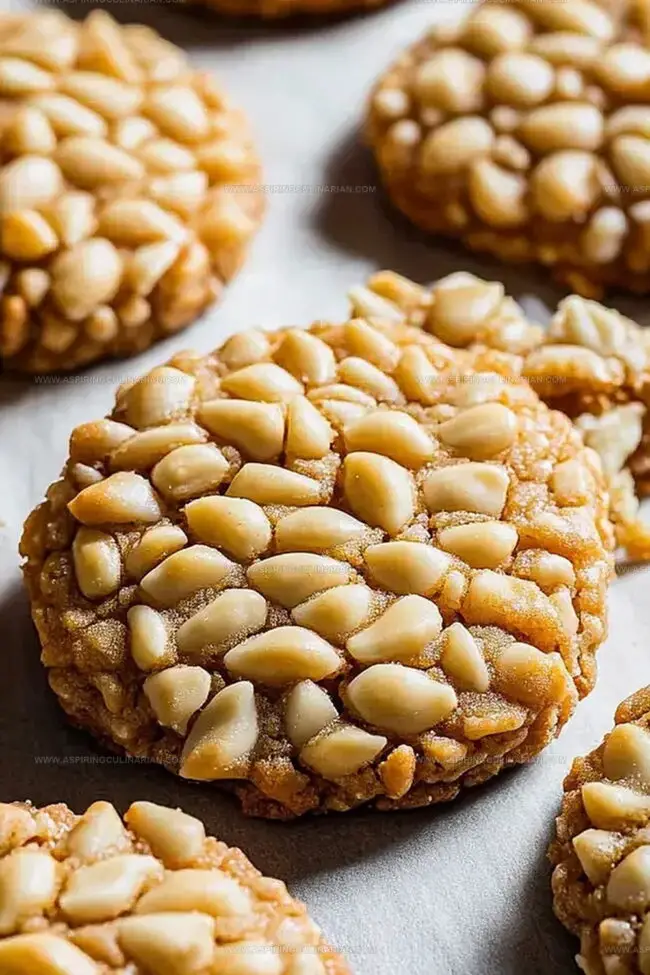
Soft and chewy pignoli cookies dance with the delicate flavor of pine nuts nestled in a classic Italian treat.
These almond-based delights melt in your mouth with each tender bite.
Originating from Sicily, these cookies carry the rich culinary traditions of Italy’s sun-drenched landscapes.
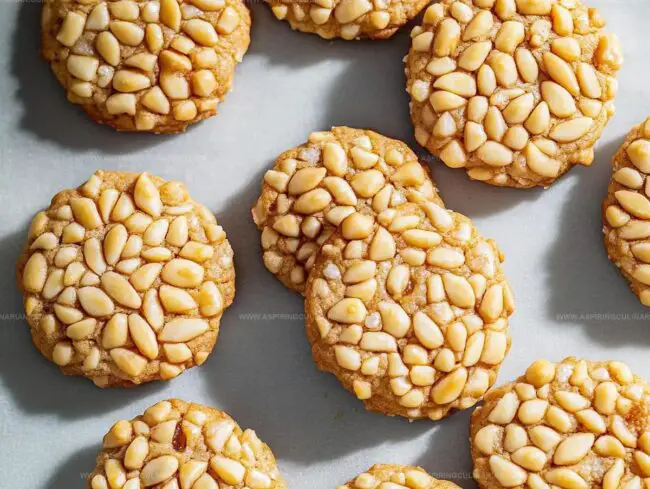
Bakeries and home kitchens alike celebrate the simple yet elegant combination of ground almonds, sugar, and fragrant pine nuts.
The delicate golden edges and soft center make these cookies a perfect companion to espresso or afternoon tea.
Each cookie tells a story of sweet simplicity and Mediterranean comfort.
Prepare to fall in love with this irresistible taste of Italian tradition.
Pignoli Cookies Distinctive Appeal
What’s Needed for Pignoli Cookies
Core Ingredients:Nut Topping:Optional Finishing:How to Prepare Pignoli Cookies
Step 1: Warm Up the Oven
Crank your oven to a toasty 350°F.
Grab a baking sheet and line it with parchment paper to prevent any sticky situations.
Step 2: Blend the Magic Mixture
Toss these ingredients into a food processor:Pulse and blend until everything transforms into a silky smooth concoction.
Take a moment to scrape down the sides of the bowl to ensure everything gets mixed perfectly.
Step 3: Shape Your Cookie Gems
Scoop out dollops of dough and roll them into adorable little balls.
If the mixture feels too clingy, pop it in the refrigerator for a quick chill to make handling easier.
Step 4: Dress Up with Nutty Armor
Roll each dough ball in a generous coating of pine nuts.
Gently press the nuts so they stick like loyal friends to the cookie surface.
Step 5: Bake to Golden Perfection
Arrange your cookie balls with some breathing room – about 2 inches apart on the baking sheet.
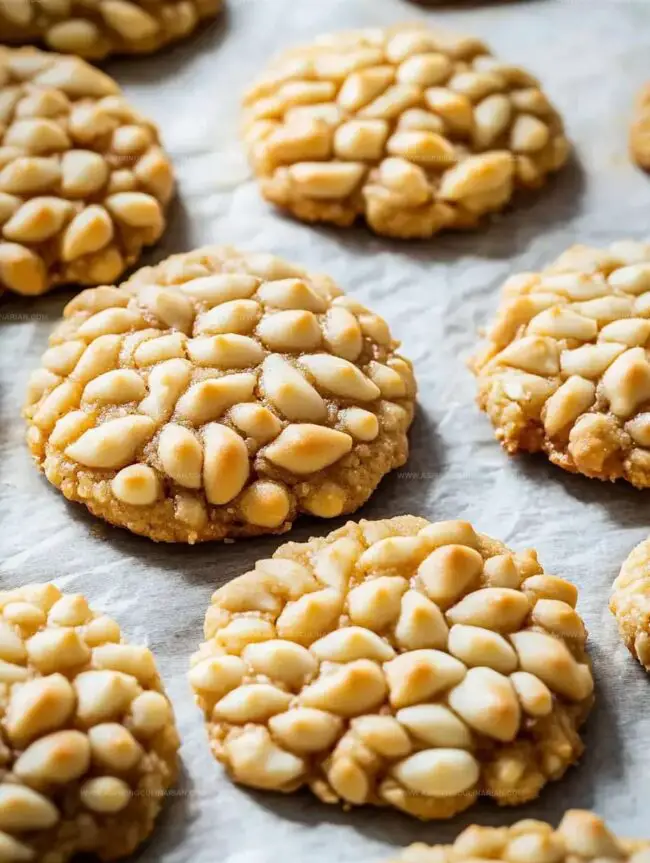
Slide them into the oven and bake until the edges turn a beautiful golden brown and the nuts look toasted and crispy, around 18 minutes.
Step 6: Let Them Rest
Allow your cookies to cool completely right on the baking sheet.
This helps them set and develop their ultimate texture and flavor.
Pro Tips for Pignoli Cookies
Tasty Variations for Pignoli Cookies
Ways to Serve Pignoli Cookies
How to Store Pignoli Cookies Well
FAQs
These cookies are primarily made with almond paste, sugar, egg white, salt, and topped with pine nuts, creating a rich, nutty Italian-style treat.
Yes, pignoli cookies are naturally gluten-free since they do not contain wheat flour, making them a great option for those with gluten sensitivities.
If the dough is sticky, chill it in the refrigerator for a few minutes before rolling into balls, which helps make handling easier and maintains the cookie’s shape.
Store these delicate cookies in an airtight container at room temperature for up to 5 days, keeping them away from moisture to maintain their texture.
Print
Pignoli Cookies Recipe
- Total Time: 33 minutes
- Yield: 12 1x
Description
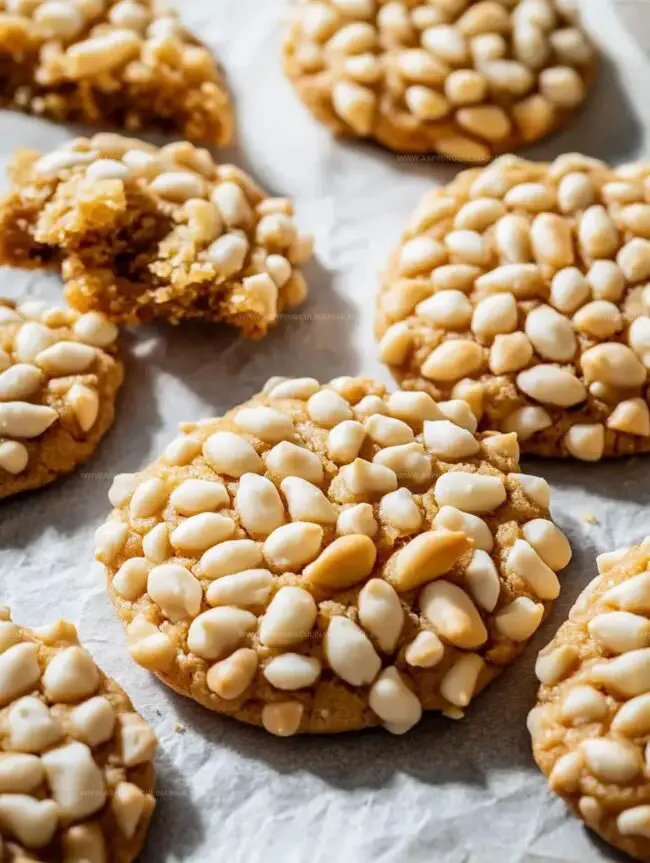
Sicilian pignoli cookies bring Mediterranean charm to classic Italian desserts, blending almond paste and pine nuts into delicate sweet bites. Pine-studded pastries melt deliciously on palates, offering you a perfect balance of nutty richness and delicate texture.
Ingredients
Main Ingredients:
- 7 ounces (198g) almond paste
- 1 cup (140g) pine nuts
- 1 large egg white
Supporting Ingredients:
- 1/2 cup (100g) granulated sugar
- 1/4 teaspoon kosher salt
Instructions
- Preheat the oven to 350°F and prepare a baking sheet with parchment paper for optimal cookie release.
- Combine almond paste, sugar, egg white, and salt in a food processor, blending until the mixture achieves a smooth, uniform consistency. Pause to scrape down the sides of the bowl midway through mixing.
- Portion the dough into 12 equal rounds, each weighing approximately 25 grams. If the mixture feels too soft or sticky, refrigerate briefly to firm up.
- Gently roll each dough ball in pine nuts, applying light pressure to ensure the nuts adhere completely to the surface.
- Arrange the nut-covered dough balls on the prepared baking sheet, spacing them roughly 2 inches apart to allow for spreading during baking.
- Bake for 18 minutes, watching for golden edges and toasted pine nuts as indicators of doneness.
- Remove from the oven and allow cookies to cool entirely on the baking sheet, which helps them set and develop a delicate, crisp texture before serving.
Notes
- Chill Dough Quickly pop the dough in the freezer for 5-10 minutes if it feels too soft or sticky, ensuring clean and easy cookie shaping.
- Pine Nut Precision Toast pine nuts lightly before rolling to enhance their nutty flavor and create a more complex taste profile.
- Gluten-Free Friendly These cookies are naturally gluten-free, making them perfect for those with wheat sensitivities or celiac diets.
- Storage Hack Store cookies in an airtight container at room temperature for up to a week, separating layers with parchment paper to prevent sticking.
- Prep Time: 15 minutes
- Cook Time: 18 minutes
- Category: Desserts, Snacks
- Method: Baking
- Cuisine: Italian
Nutrition
- Serving Size: 12
- Calories: 152
- Sugar: 8 g
- Sodium: 25 mg
- Fat: 10 g
- Saturated Fat: 1 g
- Unsaturated Fat: 9 g
- Trans Fat: 0 g
- Carbohydrates: 15 g
- Fiber: 1 g
- Protein: 3 g
- Cholesterol: 0 mg
Lena Martinez
Contributing Writer & Culinary Educator
Expertise
Southwestern and Latin American cuisines, Vegetarian and plant-based recipe development, Culinary education and community outreach
Education
Santa Fe Community College, Santa Fe, NM
Certificate in Culinary Arts
Emphasized Southwestern cuisine and sustainable cooking practices
Lena grew up surrounded by the colors, spices, and traditions of the Southwest – flavors that sparked her love for bold, honest cooking. After earning her Culinary Arts certificate at Santa Fe Community College, she made it her mission to teach home cooks how to create flavorful, plant-powered meals without the fuss.
Her recipes are packed with vibrant ingredients, simple steps, and the kind of heart that turns a regular meal into something you’ll want to share. Outside the kitchen, Lena spends her time wandering farmers’ markets, trading family recipes, and helping young chefs find their voice through food.