Irresistible Pillsbury Biscuit Garlic Butter Cheese Bombs Recipe
Pillsbury biscuit garlic butter cheese bombs pack an explosive flavor punch that will leave taste buds dancing with delight.
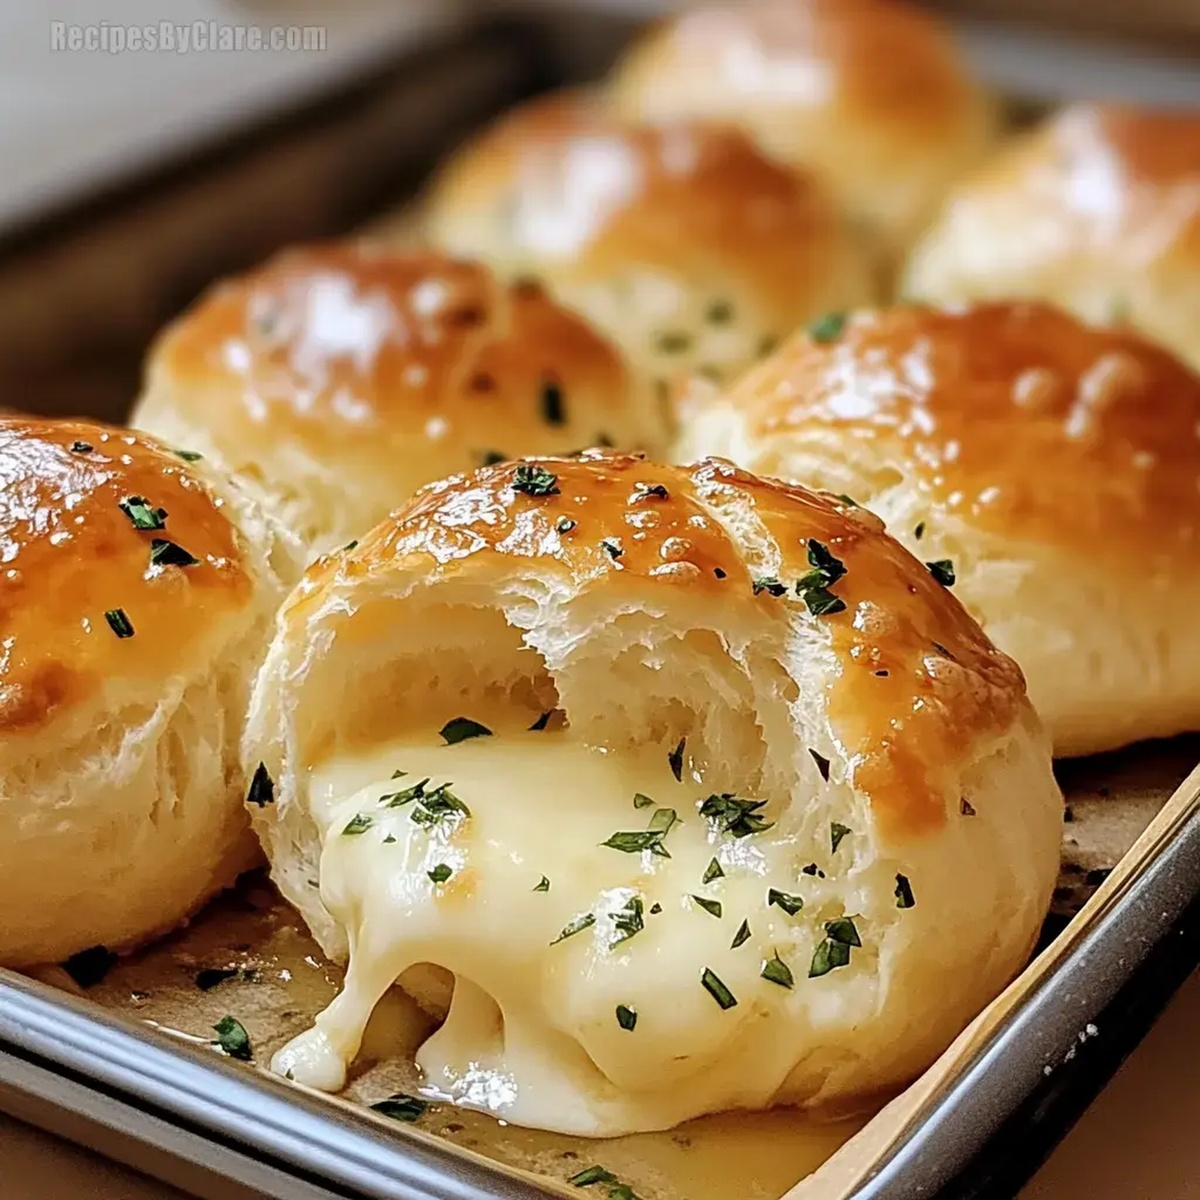
Little pockets of cheesy goodness burst with savory potential in this ridiculously simple recipe.
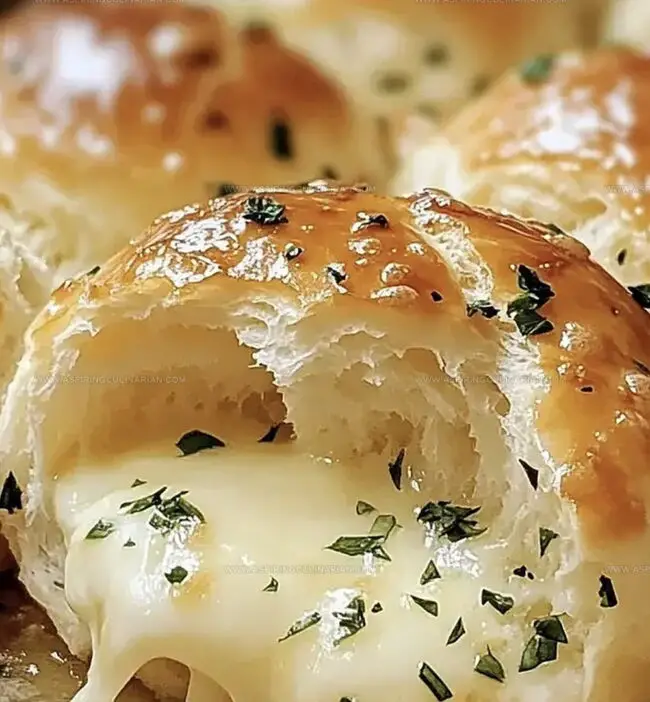
Melted butter cascades over golden-brown surfaces, creating an irresistible aroma that fills your kitchen.
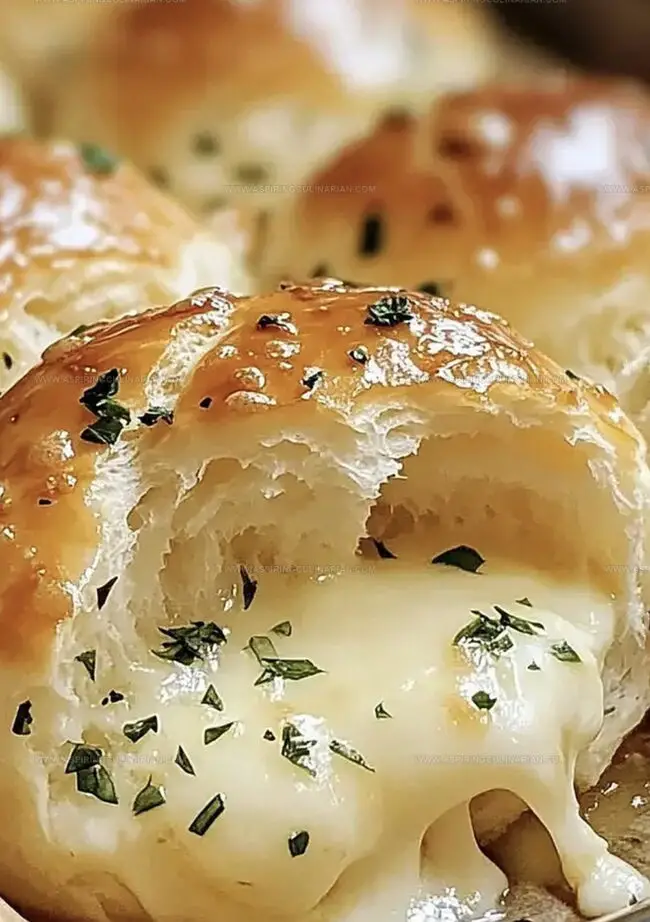
cheese oozes from tender biscuit edges, promising a mouthwatering experience that seems almost too good to be true.
Each bite delivers a perfect balance of crispy exterior and molten interior that makes hearts skip a beat.
Comfort food reaches new heights with these delectable treats that require minimal effort but deliver maximum satisfaction.
You won’t be able to resist trying this crowd-pleasing recipe that turns ordinary ingredients into something extraordinary.
Pillsbury Biscuit Garlic Butter Cheese Bombs Flavor Highlights
What You’ll Need for Biscuit Cheese Bombs
Main Ingredients:Seasoning Ingredients:Binding and Coating Ingredients:Serving Suggestion:Baking Pillsbury Garlic Cheese Bombs from Scratch
Step 1: Fire Up the Oven
Get your oven roaring hot at 375F (190C).
This will ensure a perfectly crispy exterior for your delicious bombs.
Step 2: Transform the Dough
Gently flatten each biscuit into a tender round using your hands or a rolling pin.
Make sure the dough is smooth and even.
Step 3: Hide the Cheese Treasure
Nestle a half mozzarella stick right in the center of each biscuit circle.
This will create a gooey, melty surprise inside.
Step 4: Create Sealed Pockets
Carefully fold the dough around the cheese, pinching the edges firmly.
Seal every tiny opening to prevent cheese from escaping during baking.
Step 5: Prepare the Baking Surface
Line a baking sheet with parchment paper or lightly coat with oil.
Arrange your cheese-filled dough bombs seam-side down, ensuring they don’t touch.
Step 6: Whip Up Flavor Boost
In a small bowl, combine:Stir until ingredients are perfectly blended.
Step 7: Glaze with Goodness
Generously brush the herbed butter mixture over each biscuit bomb.
This will create a golden, aromatic coating.
Step 8: Bake to Perfection
Slide the baking sheet into the oven and bake for 12-15 minutes.
Watch for a beautiful golden-brown color that signals they’re ready.
Step 9: Serve and Enjoy
Pull out the bombs and serve immediately.
Pair with marinara sauce for an extra flavor punch that will make taste buds dance.
Tips for Gooey, Buttery Cheese Bombs Every Time
New Ideas for Your Next Batch of Cheese Bombs
Serving Pillsbury Cheese Bombs for Snacks or Parties
Storage Tips for Biscuit Garlic Butter Cheese Bombs
FAQs
Yes, you can swap mozzarella with cheddar, pepper jack, or any melting cheese that fits inside the biscuit dough.
Garlic powder works perfectly fine and is more convenient. If you prefer fresh garlic, mince it finely and mix with melted butter.
Yes, these garlic butter cheese bombs are most delicious when served hot and fresh out of the oven, when the cheese is melty and stretchy.
Pinch the biscuit dough edges tightly and completely seal the mozzarella inside. Also, place the bombs seam-side down on the baking sheet to help prevent cheese leakage.
Print
Pillsbury Biscuit Garlic Butter Cheese Bombs Recipe
- Total Time: 30 minutes
- Yield: 8 1x
Description
Pillsbury biscuit garlic butter cheese bombs deliver pure comfort with a cheesy, garlicky punch. Crispy on the outside, melty inside, these irresistible bites will elevate your appetizer game and leave guests craving more.
Ingredients
Main Ingredients:
- 1 can Pillsbury biscuits
- 8 sticks mozzarella cheese, halved
Cheese and Butter Coating:
- 4 tablespoons (59 ml) melted butter
Seasoning:
- 1 teaspoon (5 g) garlic powder
- 1 teaspoon (1 g) dried Italian herbs
Serving Sauce:
- Marinara sauce
Instructions
- Preheat the oven to 375°F (190°C), ensuring the rack is positioned in the center for even cooking.
- Gently flatten each biscuit into a thin, uniform circular shape using fingertips or a rolling pin, creating a smooth surface.
- Position a half mozzarella stick precisely in the center of each biscuit round, leaving adequate margin around the edges.
- Carefully fold the dough edges over the cheese, meticulously sealing the entire circumference to prevent cheese leakage during baking.
- Arrange the sealed cheese bombs seam-side down on a parchment-lined baking sheet, spacing them slightly apart to allow proper heat circulation.
- Create a savory butter coating by whisking melted butter with fragrant garlic powder and aromatic Italian herbs until thoroughly combined.
- Generously brush the herbed butter mixture across the surface of each biscuit bomb, ensuring complete and even coverage.
- Transfer the baking sheet to the preheated oven and bake for 12-15 minutes, watching for a golden-brown exterior and puffy texture.
- Remove from oven and let cool momentarily before serving alongside warm marinara sauce for an irresistible dipping experience.
Notes
- Cheese Selection Experiment with different cheese varieties like cheddar or pepper jack for unique flavor profiles.
- Dough Handling Ensure biscuit dough is cold and firm for easier manipulation and tighter sealing.
- Moisture Prevention Pinch dough edges thoroughly to prevent cheese from leaking during baking.
- Dietary Adaptations Use gluten-free biscuit dough or plant-based cheese for alternative diet options.
- Prep Time: 15 minutes
- Cook Time: 15 minutes
- Category: Breakfast, Snacks, Appetizer
- Method: Baking
- Cuisine: American
Nutrition
- Serving Size: 8
- Calories: 230 kcal
- Sugar: 1 g
- Sodium: 430 mg
- Fat: 13 g
- Saturated Fat: 7 g
- Unsaturated Fat: 5 g
- Trans Fat: 0.3 g
- Carbohydrates: 18 g
- Fiber: 1 g
- Protein: 8 g
- Cholesterol: 35 mg
Nathaniel Brooks
Founder & Recipe Developer
Expertise
Farm-to-table cuisine, Seasonal recipe development, Culinary storytelling
Education
Ivy Tech Community College – Indianapolis, IN
Culinary Arts / Hospitality Administration & Events
Focused on hands-on training in classical and modern culinary techniques.
Nathaniel’s story starts in the foothills of the Appalachian Mountains, where farm stands, backyard gardens, and old family recipes shaped his love for real food. After graduating from Ivy Tech Community College in Indianapolis, he spent years working in farm-to-table kitchens, learning how to turn local, seasonal ingredients into something memorable.
Today, Nathaniel pours that same spirit into every single recipe on Aspiring Culinarian – recipes that feel real, comforting, and connected to the land. When he’s not in the kitchen, you’ll find him foraging wild herbs, chasing sunsets with his camera, or writing about the flavors that shaped his roots.