The Dreamy Pistachio Cheesecake Brownies Recipe You Need Now
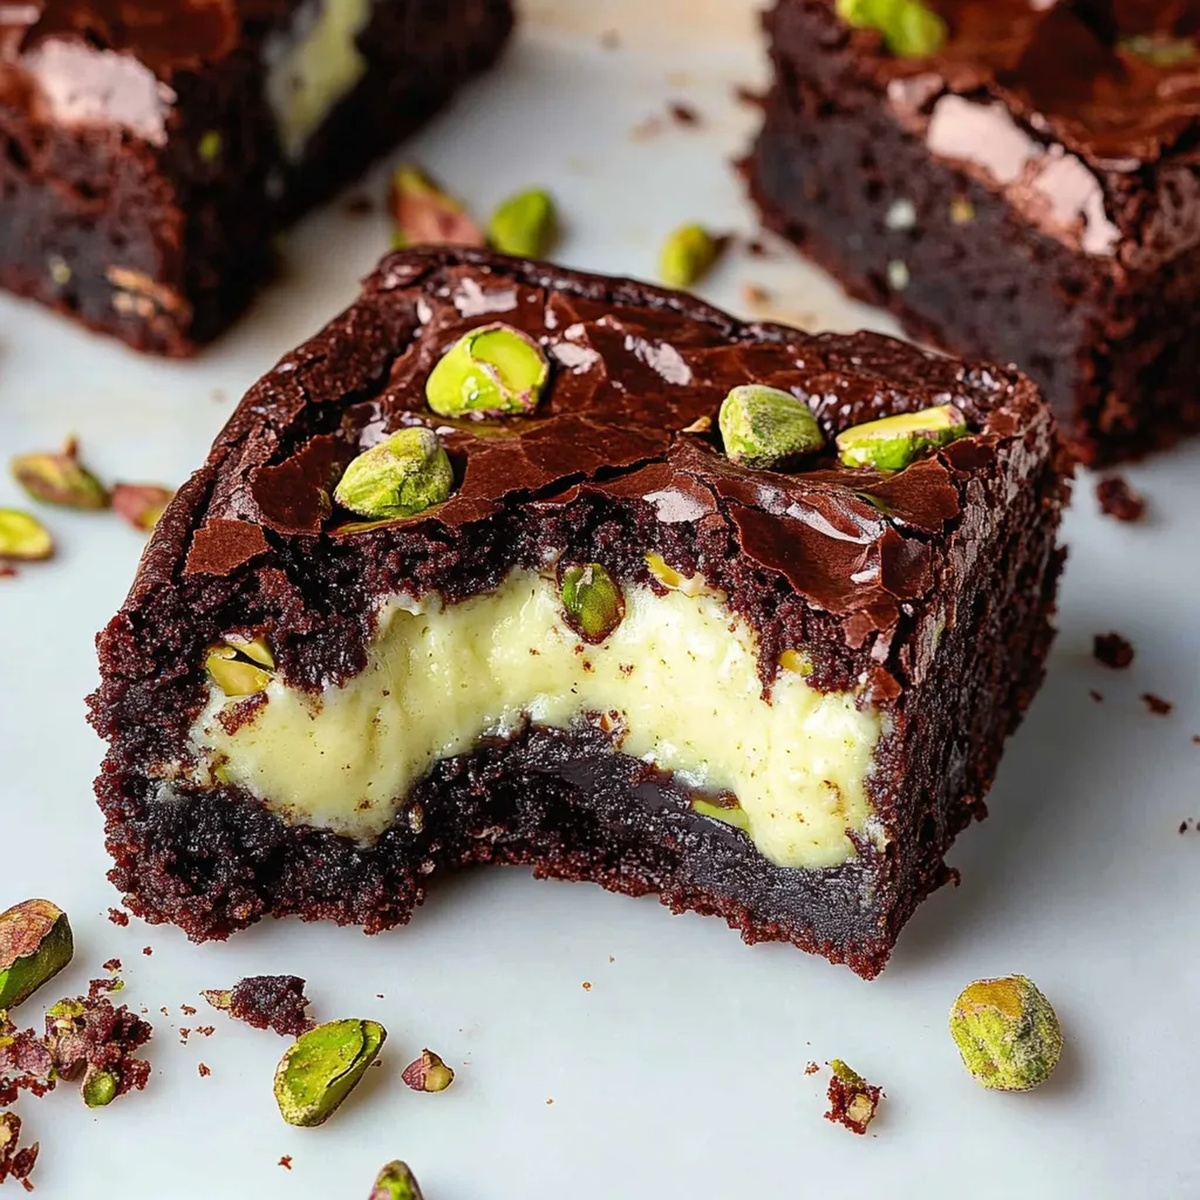
Decadent chocolate meets nutty elegance in these irresistible pistachio cheesecake brownies that blend rich, fudgy layers with a creamy, emerald-green twist.
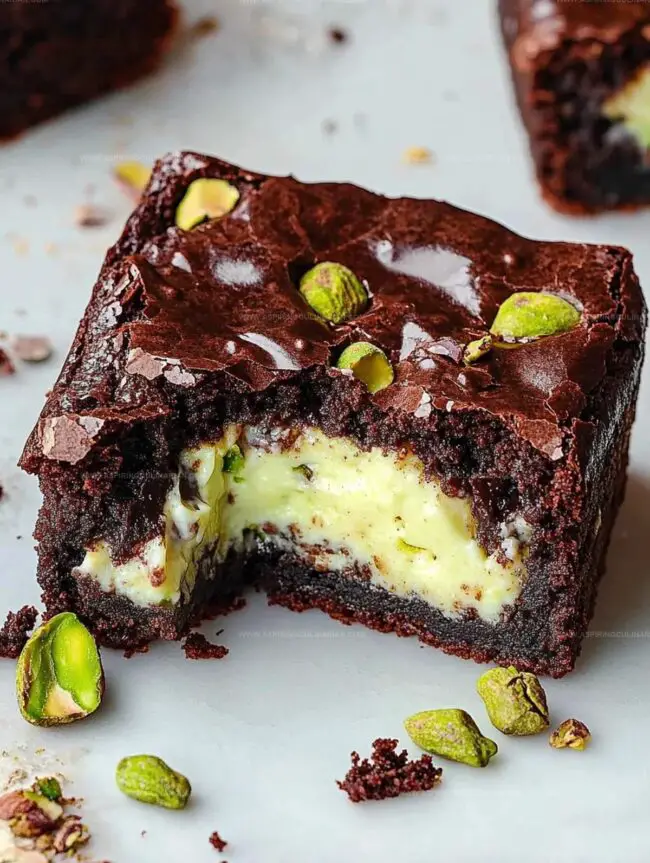
The silky cheesecake swirls effortlessly through dense chocolate, creating a mesmerizing marbled effect that catches every eye.
Pistachios add a delightful crunch and subtle earthiness to this indulgent dessert.
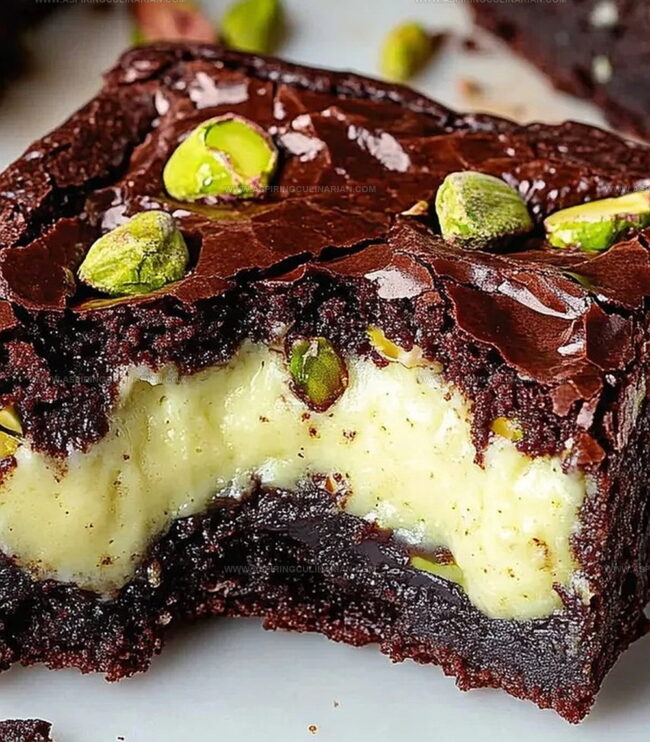
Each bite promises a symphony of textures and flavors that dance across your palate.
Smooth cream cheese mingles with intense chocolate, while chopped pistachios provide a satisfying contrast.
These brownies elevate the classic dessert into a gourmet experience that will impress even the most discerning sweet tooth.
You won’t be able to resist cutting a slice and savoring every luxurious moment.
Pistachio Cheesecake Brownies: Special Batch Qualities
Everything Needed for Pistachio Brownies
Brownie Base:Wet Ingredients:Cheesecake and Topping Layer:Baking Instructions for Cheesecake Brownies
Step 1: Whip Up Cheesecake Mixture
Grab your cream cheese and beat it until silky smooth.
Gently fold in the following ingredients:Mix until everything is just combined.
Pop the mixture into the refrigerator to chill while you prepare the brownie base.
Step 2: Create Brownie Foundation
Grab an 8×8 inch baking pan and line it with parchment paper, allowing some overhang for easy removal.
Melt together:In a separate bowl, whisk together:Blend these ingredients for about 3 minutes until the mixture becomes creamy and slightly lighter in color.
Step 3: Craft Brownie Batter
Carefully fold the melted chocolate mixture into the egg mixture.
Gradually incorporate the dry ingredients:Gently fold until just combined, being careful not to overmix.
Step 4: Assemble Decadent Layers
Spread half of the brownie batter across the prepared pan.
Drop dollops of:Cover with the remaining brownie batter, creating a marbled effect.
Step 5: Bake to Perfection
Sprinkle chopped chocolate on top.
Bake in a preheated oven at 340°F:The brownies are done when a toothpick comes out with a few moist crumbs.
Let cool completely before cutting into squares.
Tips for Nutty, Creamy Brownie Success

Flavor Variations for Pistachio Brownies
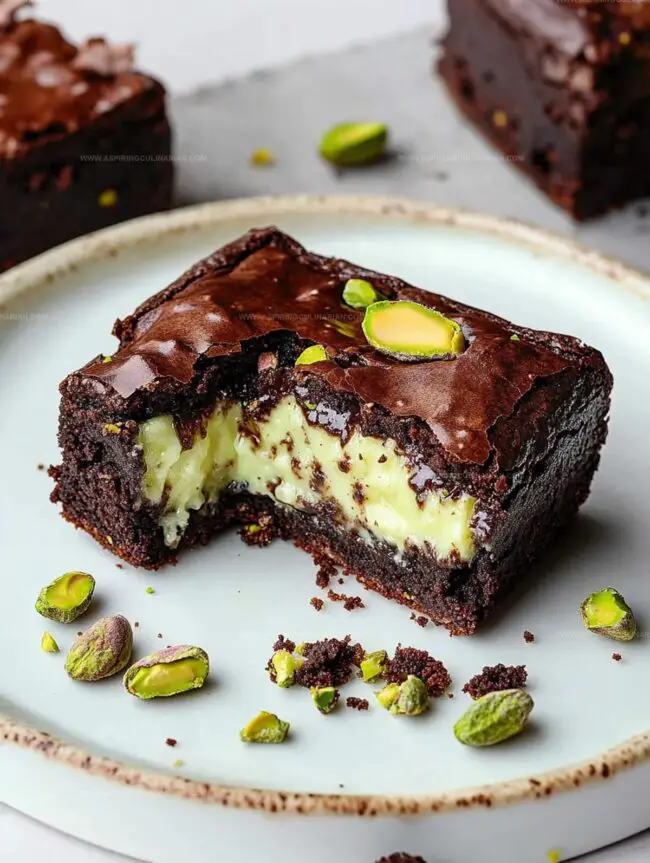
Serving Cheesecake Brownies for Dessert
Dessert Companion Delights: Elevate your Pistachio Cheesecake Brownies experience
Storing Pistachio Brownies Properly
FAQs
Beating cream cheese until smooth and mixing ingredients gently ensures a silky, luxurious texture without overmixing, which can lead to a grainy consistency.
Look for slightly set edges with a soft center. The brownies should have a slight jiggle when gently shaken, indicating a fudgy texture. A toothpick inserted near the edge should come out with a few moist crumbs.
Yes, you can swap dark, milk, or semi-sweet chocolate based on your preference. Each type will slightly alter the brownie’s richness and sweetness, so choose according to your taste.
Print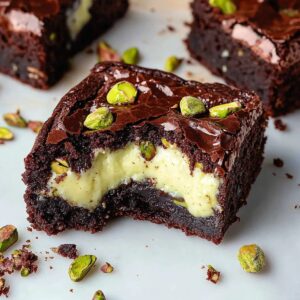
Pistachio Cheesecake Brownies Recipe
- Total Time: 1 hour 5 minutes
- Yield: 12 1x
Description
Creamy pistachio cheesecake brownies blend rich chocolate with nutty elegance, creating a luxurious dessert that marries indulgence and sophistication. Chocolate lovers will savor each velvety bite of this irresistible sweet treat.
Ingredients
Main Ingredients:
- 6 ounces (170 grams) dark chocolate (50-60% cocoa)
- 1 1/4 cups (156 grams) all-purpose flour
- 1/2 cup (50 grams) cocoa powder
- 3 medium eggs
- 8 ounces (226 grams) full-fat cream cheese
- 10 tablespoons pistachio spread
Sugars and Sweeteners:
- 1 cup (200 grams) granulated sugar
- 1/3 cup (67 grams) light brown sugar
- 1/3 cup (67 grams) granulated sugar
Additional Ingredients:
- 3/4 cup (170 grams) unsalted butter
- 1 tablespoon vanilla extract
- 1 teaspoon vanilla extract
- 1 small/medium egg
- 1 heaped tablespoon all-purpose flour
- 1/4 teaspoon salt
- 2 ounces (57 grams) dark chocolate for topping
Instructions
- Prepare the creamy pistachio cheesecake filling by whipping cream cheese until velvety smooth, then gently incorporate remaining ingredients. Chill the mixture in the refrigerator to set and enhance flavor complexity.
- Prepare the baking vessel by carefully lining an 8×8 inch pan with parchment paper, ensuring complete coverage for easy removal. Simultaneously, create a luxurious chocolate base by delicately melting chocolate and butter together.
- Craft the brownie foundation by vigorously whisking eggs, sugars, and vanilla until the mixture transforms into a light, airy, and creamy consistency – approximately 3 minutes of consistent mixing.
- Integrate the molten chocolate into the egg mixture, folding gently to maintain the delicate air bubbles. Gradually introduce sifted dry ingredients, maintaining a smooth and uniform texture without overmixing.
- Construct the layered masterpiece by spreading half the brownie batter as the initial foundation. Artfully distribute dollops of chilled pistachio cheesecake and pistachio spread across the surface.
- Complete the layering process by carefully covering the cheesecake layer with remaining brownie batter, creating a marbled effect. Garnish the top with scattered chopped chocolate pieces for added texture and visual appeal.
- Bake in a preheated oven at 340°F, adjusting cooking time to desired consistency: 27 minutes for ultra-fudgy texture or 30-35 minutes for a more set, structured brownie.
Notes
- Customize Texture by adjusting baking time, shorter for gooey brownies and longer for firmer edges.
- Stabilize Cheesecake Layer by ensuring cream cheese is room temperature before mixing to prevent lumps.
- Enhance Flavor by toasting pistachios lightly before adding to spread, which deepens their nutty richness.
- Dietary Adaptation can be achieved by substituting gluten-free flour blend and using dairy-free cream cheese alternatives for more inclusive dessert.
- Prep Time: 30 minutes
- Cook Time: 35 minutes
- Category: Desserts, Snacks
- Method: Baking
- Cuisine: American
Nutrition
- Serving Size: 12
- Calories: 406
- Sugar: 25 g
- Sodium: 150 mg
- Fat: 27 g
- Saturated Fat: 12 g
- Unsaturated Fat: 15 g
- Trans Fat: 0 g
- Carbohydrates: 37 g
- Fiber: 2 g
- Protein: 6 g
- Cholesterol: 91 mg
Lena Martinez
Contributing Writer & Culinary Educator
Expertise
Southwestern and Latin American cuisines, Vegetarian and plant-based recipe development, Culinary education and community outreach
Education
Santa Fe Community College, Santa Fe, NM
Certificate in Culinary Arts
Emphasized Southwestern cuisine and sustainable cooking practices
Lena grew up surrounded by the colors, spices, and traditions of the Southwest – flavors that sparked her love for bold, honest cooking. After earning her Culinary Arts certificate at Santa Fe Community College, she made it her mission to teach home cooks how to create flavorful, plant-powered meals without the fuss.
Her recipes are packed with vibrant ingredients, simple steps, and the kind of heart that turns a regular meal into something you’ll want to share. Outside the kitchen, Lena spends her time wandering farmers’ markets, trading family recipes, and helping young chefs find their voice through food.