
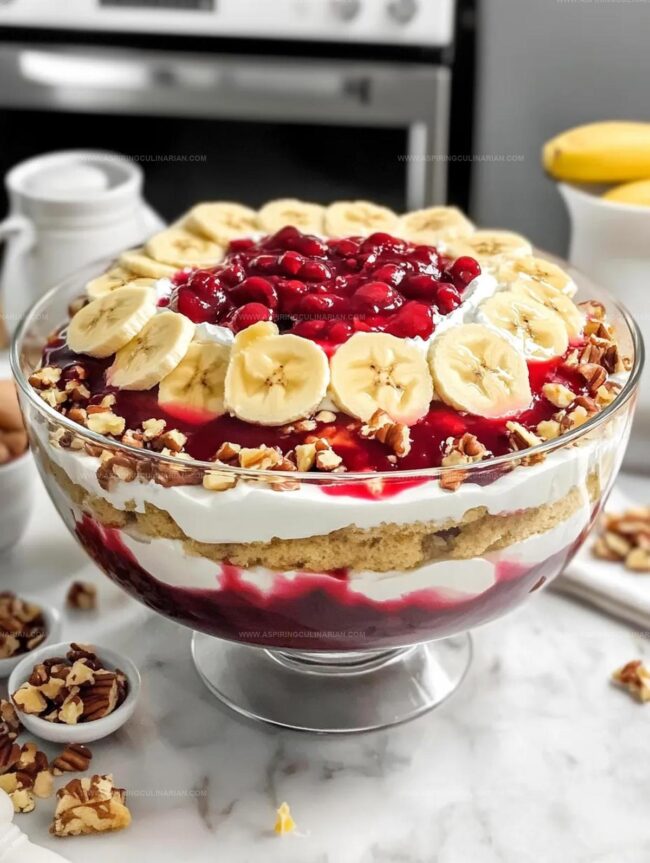
Perfect Party Punch Bowl Cake Recipe: A Crowd-Pleasing Treat
Sweet layers of nostalgia and comfort come together in this classic punch bowl cake that delights taste buds with every spoonful.
Southern kitchens have long treasured this simple yet magical dessert that blends creamy textures and rich flavors.
Alternating soft cake pieces with luscious pudding create a dreamy harmony that melts in your mouth.
Layers of vanilla pudding, whipped cream, and tender cake chunks promise a dessert experience that feels like a warm embrace.
This crowd-pleasing treat works perfectly for potlucks, family gatherings, or when you need something special to brighten an ordinary day.
Each bite tells a story of comfort and joy, inviting you to savor every delectable moment.
Prepare to fall in love with a dessert that turns ordinary ingredients into something extraordinary.
What Makes Punch Bowl Cake Crowd-Pleasing
Must-Have Ingredients for Punch Bowl Cake
Cake Base:Creamy Layers:Fruit and Nut Layers:Steps for a Fluffy Punch Bowl Cake
Step 1: Bake The Delicious Cake
Preheat the oven to 350 degrees Fahrenheit.
Grab a 9×13 baking dish and generously spray it with baker’s spray.
In a medium mixing bowl, combine:Mix the ingredients with a handheld mixer until smooth with no yellow streaks.
Spread the batter evenly in the prepared dish.
Bake for 25 minutes or until a toothpick comes out clean.
Let the cake cool completely at room temperature.
Step 2: Whip Up The Creamy Pudding
In a medium mixing bowl, blend instant pudding with milk using a handheld mixer.
Mix on medium-low speed until the pudding starts to thicken and becomes smooth.
Step 3: Create The First Layer
Cube the cooled cake.
In a 4-quart bowl, create the first layer by:Step 4: Build The Final Layer
Repeat the previous layer process with the remaining ingredients.
Top the final layer with chopped pecans for a delightful crunch.
Step 5: Chill And Enjoy
Cover the punch bowl cake and refrigerate for at least 2 hours.
This allows the flavors to meld and creates a refreshing dessert perfect for any gathering.
Tips for Assembling the Ultimate Punch Cake
Creative Punch Bowl Cake Flavors to Try
Delicious Ways to Serve Punch Bowl Cake
Keeping Punch Bowl Cake Fresh for Days
FAQs
Absolutely! This punch bowl cake is perfect for preparing in advance. You can assemble it up to 24 hours before serving, which actually helps the flavors meld together and makes the cake more delicious.
You’ll need a 4-quart bowl or punch bowl, a handheld mixer, and basic baking tools like measuring cups and a spatula. No fancy equipment required to create this delightful dessert.
Yes! This punch bowl cake serves a crowd and looks impressive. It’s easy to transport, can be made ahead, and looks beautiful when served in a clear bowl, making it perfect for parties and potlucks.
Print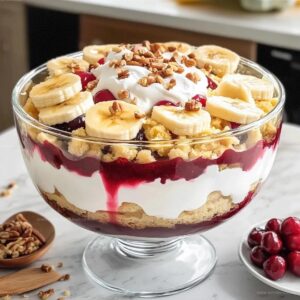
Punch Bowl Cake Recipe
- Total Time: 55 minutes
- Yield: 12 1x
Description
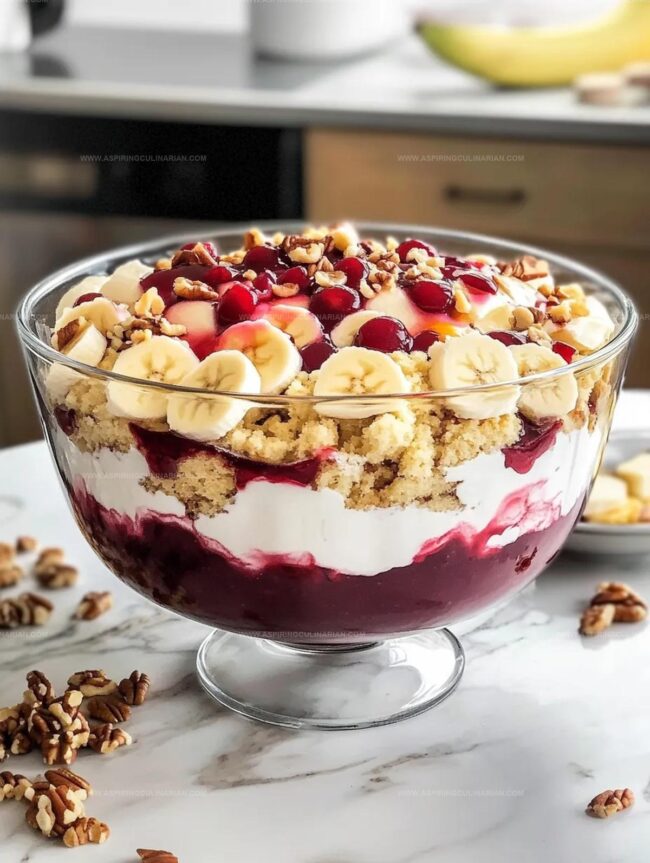
Sweet layers of Southern charm define this Punch Bowl Cake—a delightful dessert that blends creamy pudding, fresh fruit, and cake crumbles into one irresistible treat. Guests will swoon over each spoonful of this classic Southern delight that promises pure indulgence.
Ingredients
Main Ingredients:
- 15.25 ounces (432 grams) yellow cake mix
- 40 ounces (1134 grams) crushed pineapple, well-drained
- 42 ounces (1191 grams) cherry pie filling
- 4 medium bananas, sliced
Liquid and Binding Ingredients:
- 1 cup (240 milliliters) water
- 1/2 cup (120 milliliters) vegetable oil
- 3 large eggs, room temperature
- 4 cups (960 milliliters) cold whole milk
Topping and Garnish Ingredients:
- 6.8 ounces (193 grams) instant vanilla pudding mix
- 16 ounces (454 grams) whipped topping, thawed
- 1/3 cup (40 grams) chopped pecans
Instructions
- Prepare the cake foundation by preheating the oven to 350°F. Thoroughly coat a 9×13 baking dish with non-stick spray. Combine cake mix, water, oil, and eggs in a mixing bowl, blending with an electric mixer until smooth and uniform.
- Pour the cake batter into the prepared baking dish, spreading evenly. Bake for approximately 25 minutes, verifying doneness by inserting a toothpick that comes out clean. Allow the cake to cool completely at room temperature.
- Create the pudding base by whisking instant pudding mix with milk using an electric mixer on medium-low speed until the mixture thickens and becomes creamy.
- Begin layering the dessert by cutting the cooled cake into uniform cubes. Crumble half the cake pieces across the bottom of a 4-quart bowl, establishing the first foundational layer.
- Carefully spread half the vanilla pudding over the cake cubes, ensuring even coverage. Top the pudding with a generous layer of drained pineapple pieces.
- Arrange a layer of sliced bananas atop the pineapple. Generously distribute cherry pie filling across the banana layer, creating a vibrant fruity surface.
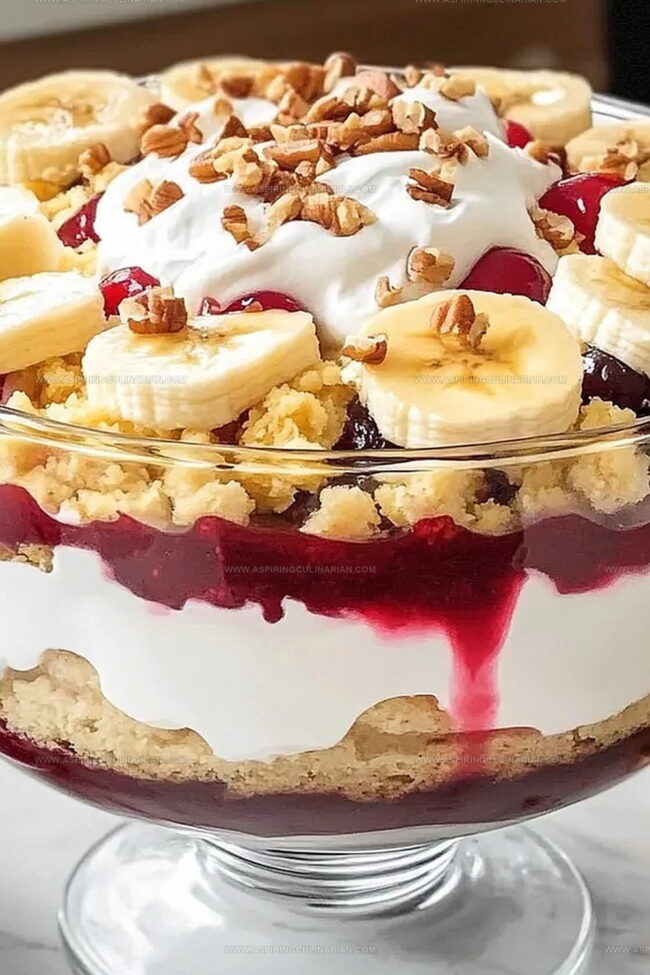
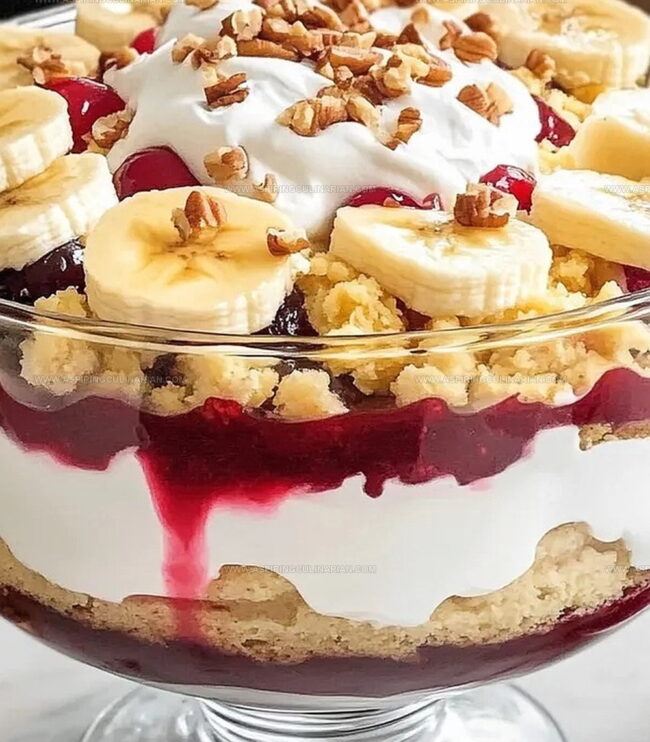
- Cover the cherry layer with half the thawed whipped topping, creating a smooth and creamy texture.
- Repeat the entire layering sequence with the remaining cake cubes, pudding, pineapple, bananas, cherry pie filling, and whipped topping.
- Finish the dessert by sprinkling chopped pecans across the top layer of whipped topping for added crunch and visual appeal.
- Refrigerate the punch bowl cake for a minimum of 2 hours to allow flavors to meld and the dessert to set completely before serving.
Notes
- Cake Mix Magic Swap out yellow cake mix with white or even gluten-free alternatives for dietary preferences without compromising texture.
- Pudding Perfection Use sugar-free instant pudding to reduce overall sugar content and create a lighter dessert version.
- Nut-Free Option Replace pecans with toasted coconut flakes or omit entirely for those with nut allergies while maintaining crunch and flavor.
- Make-Ahead Marvel This dessert tastes even better when prepared a day in advance, allowing flavors to meld and develop deeper, more complex taste profiles.
- Prep Time: 30 minutes
- Cook Time: 25 minutes
- Category: Desserts, Snacks
- Method: Baking
- Cuisine: American
Nutrition
- Serving Size: 12
- Calories: 325
- Sugar: 30 g
- Sodium: 250 mg
- Fat: 12 g
- Saturated Fat: 2 g
- Unsaturated Fat: 8 g
- Trans Fat: 0 g
- Carbohydrates: 49 g
- Fiber: 1 g
- Protein: 4 g
- Cholesterol: 45 mg
Lena Martinez
Contributing Writer & Culinary Educator
Expertise
Southwestern and Latin American cuisines, Vegetarian and plant-based recipe development, Culinary education and community outreach
Education
Santa Fe Community College, Santa Fe, NM
Certificate in Culinary Arts
Emphasized Southwestern cuisine and sustainable cooking practices
Lena grew up surrounded by the colors, spices, and traditions of the Southwest – flavors that sparked her love for bold, honest cooking. After earning her Culinary Arts certificate at Santa Fe Community College, she made it her mission to teach home cooks how to create flavorful, plant-powered meals without the fuss.
Her recipes are packed with vibrant ingredients, simple steps, and the kind of heart that turns a regular meal into something you’ll want to share. Outside the kitchen, Lena spends her time wandering farmers’ markets, trading family recipes, and helping young chefs find their voice through food.