Easy Quesabirria Tacos Recipe: Crispy, Cheesy Fiesta in a Bite
Tacos have transformed street food culture, and this mouthwatering quesabirria tacos recipe delivers an explosion of authentic Mexican flavors.
Tender, slow-cooked beef melts into crispy tortillas with irresistible cheese and rich consommé.
Each bite promises a delectable journey through traditional culinary techniques that originated in Jalisco.
The magic happens when marinated beef transforms into succulent, shredable meat with deep, complex spices.
Red-stained tortillas cradle juicy meat and melted cheese, creating a sensational experience that captures Mexico’s vibrant food heritage.
These tacos blend crispy textures with intense, warming flavors that will transport you straight to a bustling Mexican street market.
You won’t be able to resist the temptation of these incredible, flavor-packed quesabirria tacos.
Why Quesabirria Tacos Are Impossible to Resist
Quesabirria Tacos: Ingredient Essentials
Meat Base:Seasonings:Liquid and Tortilla Components:Tools You’ll Need for Authentic Quesabirria Tacos
How to Cook and Assemble Quesabirria Tacos
Step 1: Infuse Beef with Flavor
Generously coat beef cubes with a robust blend of:Pour beef broth or water just enough to submerge the meat completely.
Step 2: Slow Cook The Beef
Bring liquid to a rolling boil, then immediately reduce heat to low.
Allow beef to gently simmer, transforming into tender, succulent strands.
This process requires patience, typically 2-3 hours, until meat becomes fork-tender and easily pulls apart.
Step 3: Transform Meat into Delectable Strands
Carefully remove beef from cooking liquid.
Using two forks, pull meat apart into fine, juicy shreds.
Keep the flavorful cooking liquid nearby for later use.
Step 4: Craft Mouthwatering Tacos
Quickly dip corn tortillas into the hot beef liquid, creating a rich, moisture-rich base.
Layer tortillas with freshly shredded beef.
Optional toppings include:Step 5: Elevate The Taco Experience
For an extra flavor explosion, dunk assembled tacos into reserved beef liquid before serving.
This final touch adds depth and intensity to your quesabirria tacos.
Top Tips for Rich, Flavorful Quesabirria Tacos
Fresh Ways to Enjoy Quesabirria Tacos
Tasty Sides to Serve with Quesabirria Tacos
Storing Quesabirria Tacos for Future Enjoyment
FAQs
Chuck roast or beef short ribs work perfectly because they have enough fat content to become super tender during slow cooking, creating rich and juicy meat that shreds easily.
The recipe uses mild spices like chili powder and cumin, which provide warm flavor without intense heat. You can adjust spice levels by adding more or less chili powder based on your preference.
Yes! Use the same seasoning method and cook on low for 6-8 hours. The slow cooker helps break down meat fibers, making them incredibly tender and flavorful.
Print
Quesabirria Tacos Recipe
- Total Time: 1 hour 20 minutes
- Yield: 4 1x
Description
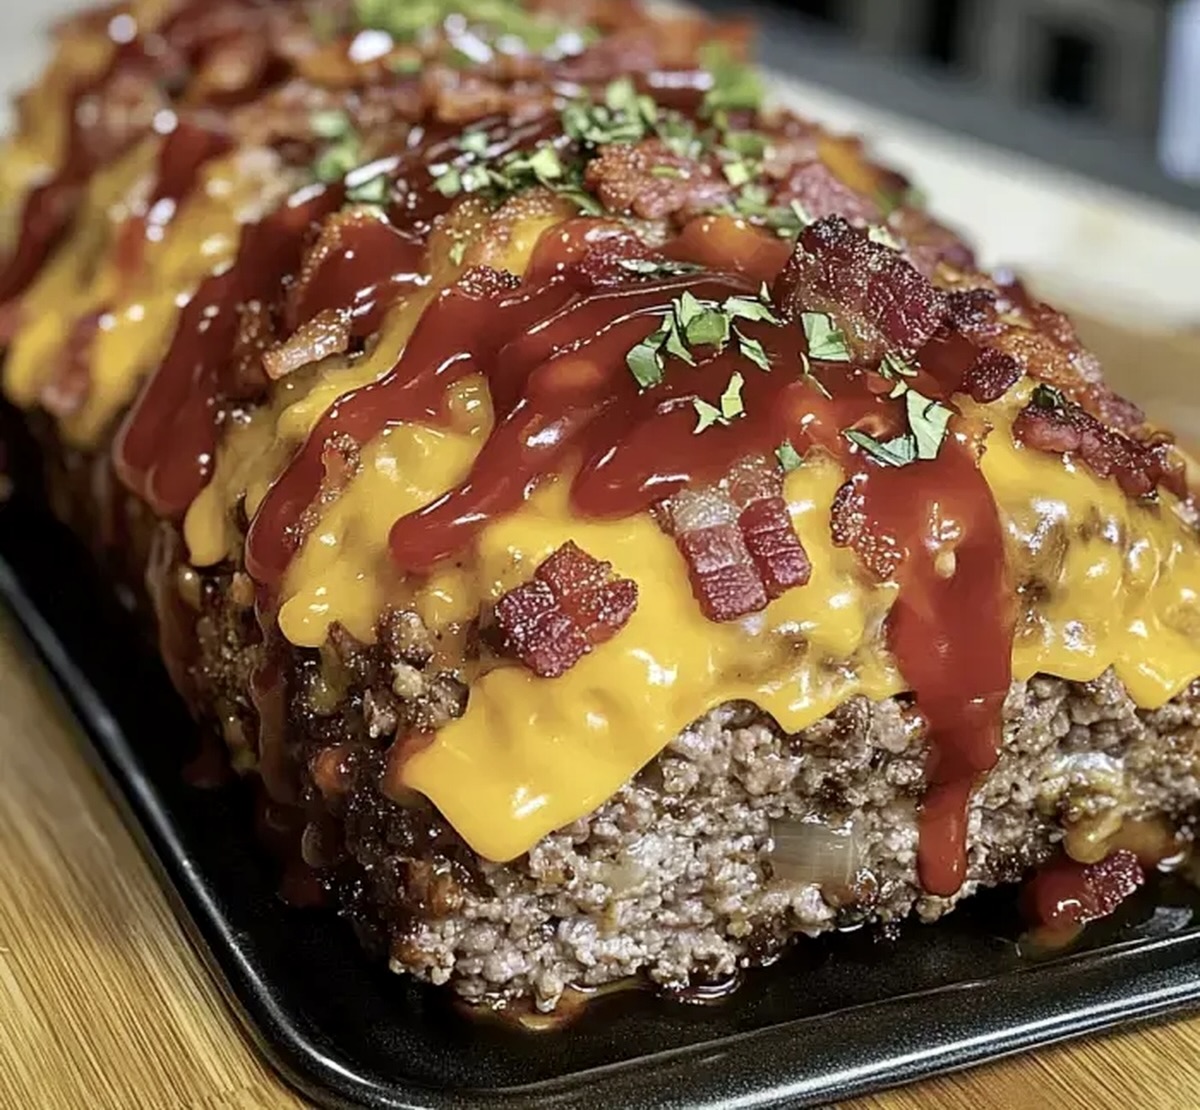
Sensational quesabirria tacos bring Mexico’s rich culinary heritage to home kitchens with tender braised beef and melted cheese. Crispy tortillas wrapped around spicy, slow-cooked meat create an irresistible dish you’ll crave again and again.
Ingredients
Main Ingredients:
- 1.5 pounds ground beef
- 8 slices bacon, cooked and crumbled
- 1 cup sharp cheddar cheese, shredded
- 2 eggs, beaten
- 1 onion, finely chopped
Binding and Flavor Enhancers:
- 0.5 cup bread crumbs
- 2 tablespoons Worcestershire sauce
- 2 cloves garlic, minced
- Salt and pepper to taste
Topping Ingredients:
- 0.5 cup ketchup
- 0.25 cup ketchup (for topping)
- 0.25 cup mustard
- 1 tablespoon mustard (for topping)
- 2 tablespoons brown sugar (for topping)
Instructions
- Preheat the oven to 350°F (175°C) and lightly coat a loaf pan with cooking spray to prevent sticking.
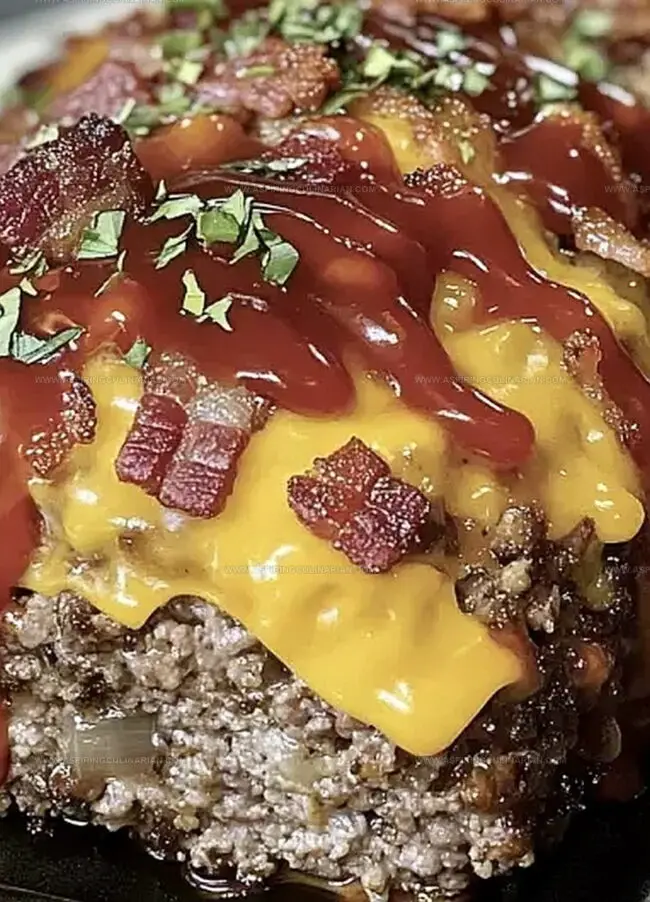
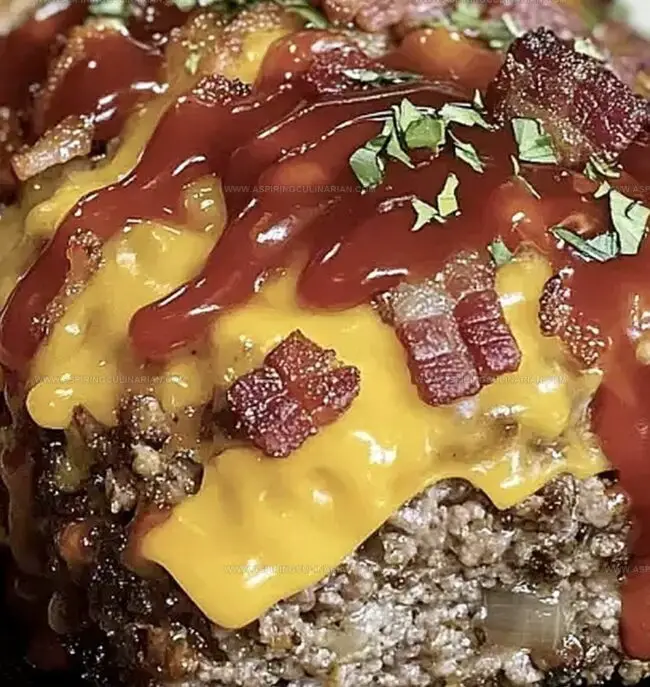
- In a spacious mixing bowl, combine ground beef with crumbled bacon, creating a rich protein base. Add shredded cheddar cheese for depth of flavor and moisture.
- Incorporate bread crumbs to help bind the mixture, then mix in ketchup, mustard, and Worcestershire sauce for tangy complexity.
- Fold in finely chopped onion and minced garlic to enhance the aromatic profile of the meatloaf.
- Crack and whisk eggs, then blend thoroughly into the meat mixture to ensure proper consistency and binding.
- Season with salt and pepper, mixing until all ingredients are evenly distributed and well incorporated.
- Carefully transfer the seasoned mixture into the prepared loaf pan, pressing gently to create an even surface.
- For the topping, whisk together ketchup, mustard, and brown sugar in a separate bowl to create a sweet and tangy glaze.
- Spread the topping evenly across the meatloaf surface, ensuring complete coverage for maximum flavor.
- Bake in the preheated oven for 60 minutes, or until the internal temperature reaches 160°F and the topping caramelizes.
- Remove from oven and allow the meatloaf to rest for 10 minutes, which helps retain moisture and makes slicing easier.
- Slice and serve warm, enjoying the complex layers of flavor and tender texture.
Notes
- Meat Blend Experiment with mixing different ground meats like beef, pork, and veal for richer flavor complexity and improved texture.
- Low-Carb Adaptation Replace bread crumbs with almond flour or crushed pork rinds to make the meatloaf keto-friendly and reduce carbohydrate content.
- Moisture Maintenance Add grated zucchini or finely chopped mushrooms to boost moisture and prevent the meatloaf from becoming dry during baking.
- Spice Customization Incorporate additional herbs like thyme, rosemary, or smoked paprika to elevate the overall taste profile and introduce regional culinary variations.
- Prep Time: 20 minutes
- Cook Time: 1 hour
- Category: Lunch, Dinner, Snacks
- Method: Baking
- Cuisine: Mexican
Nutrition
- Serving Size: 4
- Calories: 726
- Sugar: 12 g
- Sodium: 850 mg
- Fat: 47 g
- Saturated Fat: 17 g
- Unsaturated Fat: 24 g
- Trans Fat: 1 g
- Carbohydrates: 36 g
- Fiber: 2 g
- Protein: 41 g
- Cholesterol: 218 mg
Lena Martinez
Contributing Writer & Culinary Educator
Expertise
Southwestern and Latin American cuisines, Vegetarian and plant-based recipe development, Culinary education and community outreach
Education
Santa Fe Community College, Santa Fe, NM
Certificate in Culinary Arts
Emphasized Southwestern cuisine and sustainable cooking practices
Lena grew up surrounded by the colors, spices, and traditions of the Southwest – flavors that sparked her love for bold, honest cooking. After earning her Culinary Arts certificate at Santa Fe Community College, she made it her mission to teach home cooks how to create flavorful, plant-powered meals without the fuss.
Her recipes are packed with vibrant ingredients, simple steps, and the kind of heart that turns a regular meal into something you’ll want to share. Outside the kitchen, Lena spends her time wandering farmers’ markets, trading family recipes, and helping young chefs find their voice through food.