Colorful Rainbow Rice Krispie Treats Recipe: Joyful Childhood Fun
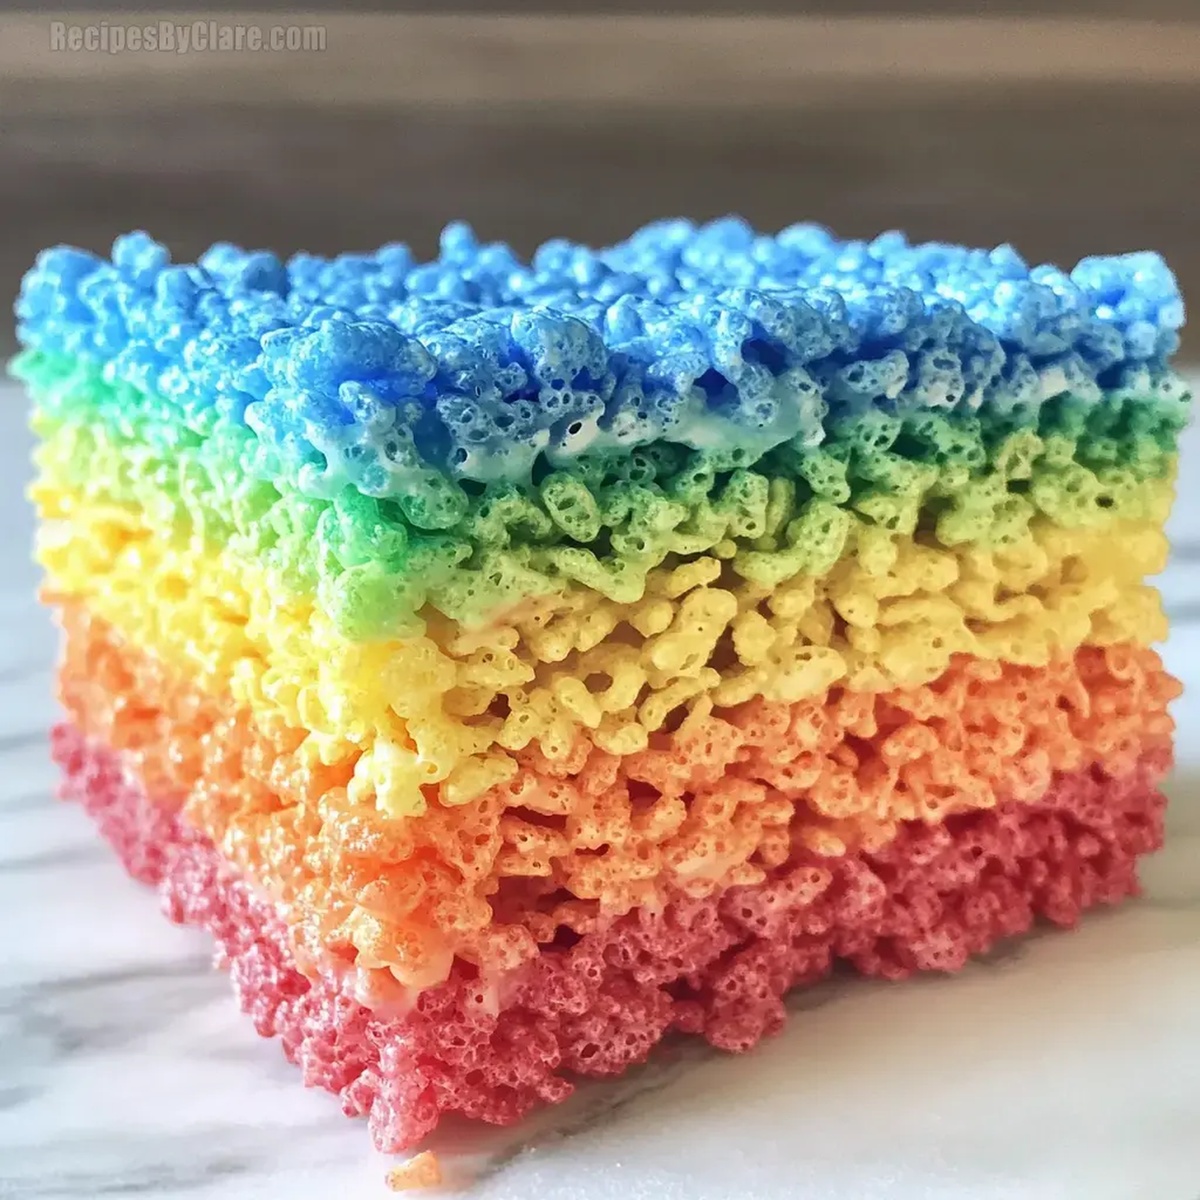
Colorful rainbow rice krispie treats burst with childhood nostalgia and playful energy.
Marshmallow magic melts into a sweet canvas waiting for your creative touch.
Sprinkles dance across the surface, promising delightful moments of joy.
Kids and adults alike will fall in love with these vibrant squares.
Memories of school bake sales and summer parties come flooding back.
Unexpected bursts of color make these treats impossible to resist.
You can whip up this simple dessert in just minutes, making it perfect for spontaneous celebrations.
FAQs
Use gel food coloring instead of liquid food coloring. Gel colors are more concentrated, providing brighter and more intense hues without changing the treat’s texture.
Yes, but adjust your ingredients proportionally. A 9×13 inch pan will create thinner layers, while a smaller pan will make thicker, more compact layers. Ensure each color layer is evenly distributed.
Work quickly and let each layer slightly cool before adding the next. Gently press down each layer with a spatula or parchment paper to create clean, distinct color boundaries.
Rainbow Rice Krispie Treats: Kid-Approved Fun
Gather for Rainbow Rice Krispie Treats
Main Ingredients:Color Ingredients:Preparation Ingredient:Make Rainbow Rice Krispie Treats Quick
Step 1: Grease The Pan
Grab a 9×5 inch loaf pan and spray it generously with non-stick cooking spray.
This ensures your vibrant layers will slide out smoothly when you’re ready to serve.
Step 2: Create Red Layer
Melt marshmallows and butter in the microwave until they transform into a gooey, smooth mixture.
Stir in red food coloring to create a brilliant crimson shade.
Mix in Rice Krispies cereal until every piece is coated with the red marshmallow mixture.
Step 3: Press Red Layer
Carefully spread the red mixture evenly across the bottom of the prepared pan.
Use clean hands or a spatula to press down firmly, creating a compact, smooth base layer.
Step 4: Build Orange Layer
Repeat the melting process with fresh marshmallows and butter, this time adding orange food coloring.
Fold in Rice Krispies and gently layer the orange mixture on top of the red layer, pressing down to create a distinct color separation.
Step 5: Continue Color Layers
Follow the same process for each remaining color:Carefully add each color, pressing down gently to maintain clean, crisp layer lines.
Step 6: Chill And Set
Place the pan in the freezer for approximately 30 minutes.
This helps the layers set and makes cutting easier.
Step 7: Slice And Serve
Remove from the freezer and slice into beautiful rainbow-colored treats.
Enjoy the vibrant, sweet creation that’s sure to bring smiles to everyone’s faces!
Tips for Colorful Krispie Treats
New Flavors for Rainbow Rice Krispies
Serve Up Rainbow Rice Krispie Treats
Stash Rainbow Rice Krispie Treats for Later
Print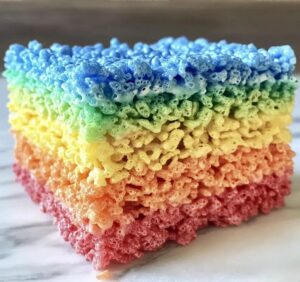
Rainbow Rice Krispie Treats Recipe
- Total Time: 50 minutes
- Yield: 12 1x
Description
Colorful rainbow rice krispie treats bring childhood nostalgia and playful sweetness to dessert tables. Marshmallow magic and buttery crunch combine with vibrant sprinkles, creating a delightful snack you’ll savor with pure joy.
Ingredients
Main Ingredients:
- 8.75 cups Rice Krispies cereal
- 2 bags (10 ounces/280 grams each) mini marshmallows
Binding Ingredients:
- 5 tablespoons (74 milliliters) butter, softened
Coloring Ingredients:
- Red gel food coloring
- Orange gel food coloring
- Yellow gel food coloring
- Green gel food coloring
- Blue gel food coloring
Instructions
- Lightly coat a 9×5 inch loaf pan with non-stick cooking spray to ensure easy removal of the layered treats.
- Melt one-third of the marshmallows with butter in the microwave for 60 seconds, stirring until smooth. Blend in red food coloring to create a vibrant crimson hue.
- Gently fold Rice Krispies into the red marshmallow mixture, ensuring even distribution. Carefully press the red layer into the bottom of the prepared pan, creating a compact and even base.
- Repeat the melting process for each subsequent color (orange, yellow, green, blue), using fresh marshmallows and butter for each layer. Carefully spread and press each colored mixture on top of the previous layer, maintaining distinct color boundaries.
- Place the layered treat in the freezer for approximately 30 minutes to set and firm up the layers. Remove from the freezer, slice into neat squares, and serve immediately to enjoy the colorful, sweet creation.
Notes
- Grease pan thoroughly to prevent sticking and ensure easy removal of layered treats.
- Use gel food coloring for vibrant, intense colors that won’t water down the marshmallow mixture.
- Work quickly when layering colors to maintain clean, distinct color separation.
- Allow each layer to cool slightly before adding the next to prevent color bleeding and maintain crisp color boundaries.
- Prep Time: 20 minutes
- Cook Time: 30 minutes
- Category: Snacks, Desserts
- Method: None
- Cuisine: American
Nutrition
- Serving Size: 12
- Calories: 146
- Sugar: 10 g
- Sodium: 58 mg
- Fat: 4 g
- Saturated Fat: 2.5 g
- Unsaturated Fat: 1.5 g
- Trans Fat: 0 g
- Carbohydrates: 26 g
- Fiber: 0.3 g
- Protein: 1.2 g
- Cholesterol: 10 mg
Nathaniel Brooks
Founder & Recipe Developer
Expertise
Farm-to-table cuisine, Seasonal recipe development, Culinary storytelling
Education
Ivy Tech Community College – Indianapolis, IN
Culinary Arts / Hospitality Administration & Events
Focused on hands-on training in classical and modern culinary techniques.
Nathaniel’s story starts in the foothills of the Appalachian Mountains, where farm stands, backyard gardens, and old family recipes shaped his love for real food. After graduating from Ivy Tech Community College in Indianapolis, he spent years working in farm-to-table kitchens, learning how to turn local, seasonal ingredients into something memorable.
Today, Nathaniel pours that same spirit into every single recipe on Aspiring Culinarian – recipes that feel real, comforting, and connected to the land. When he’s not in the kitchen, you’ll find him foraging wild herbs, chasing sunsets with his camera, or writing about the flavors that shaped his roots.