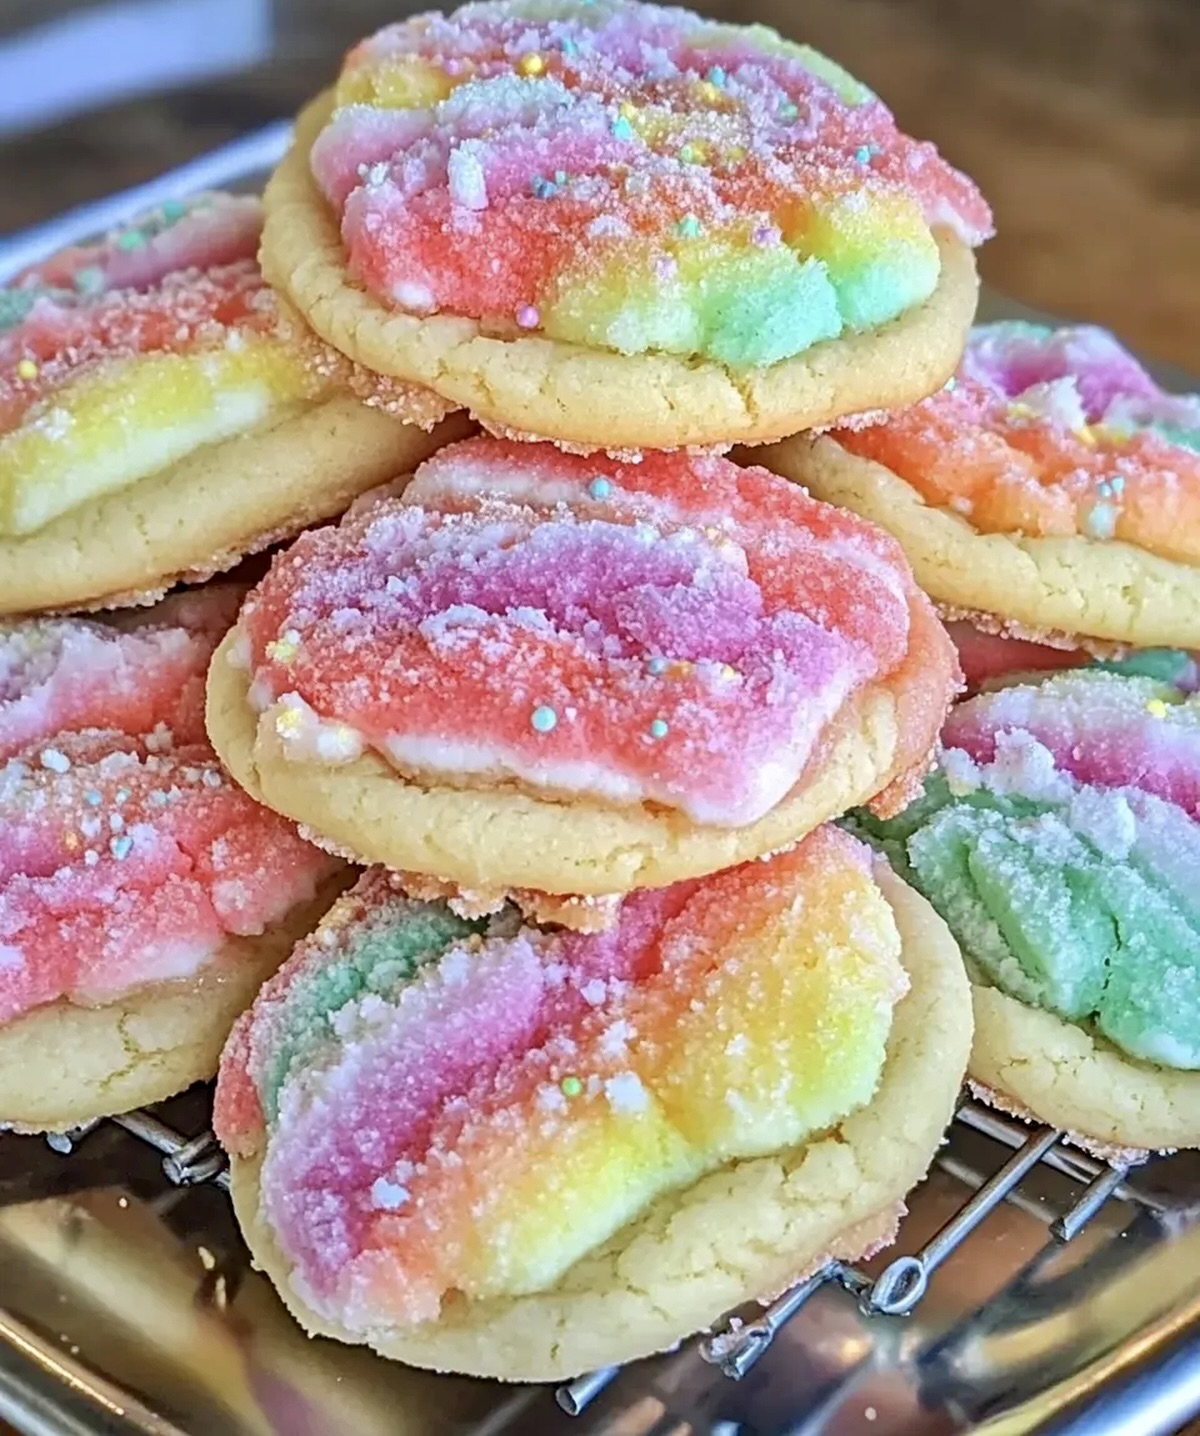
Dreamy Rainbow Sherbet Cookies Recipe for Sweet Smiles
Sweet summer memories dance through my rainbow sherbet cookies, blending childhood nostalgia with delightful bakery magic.
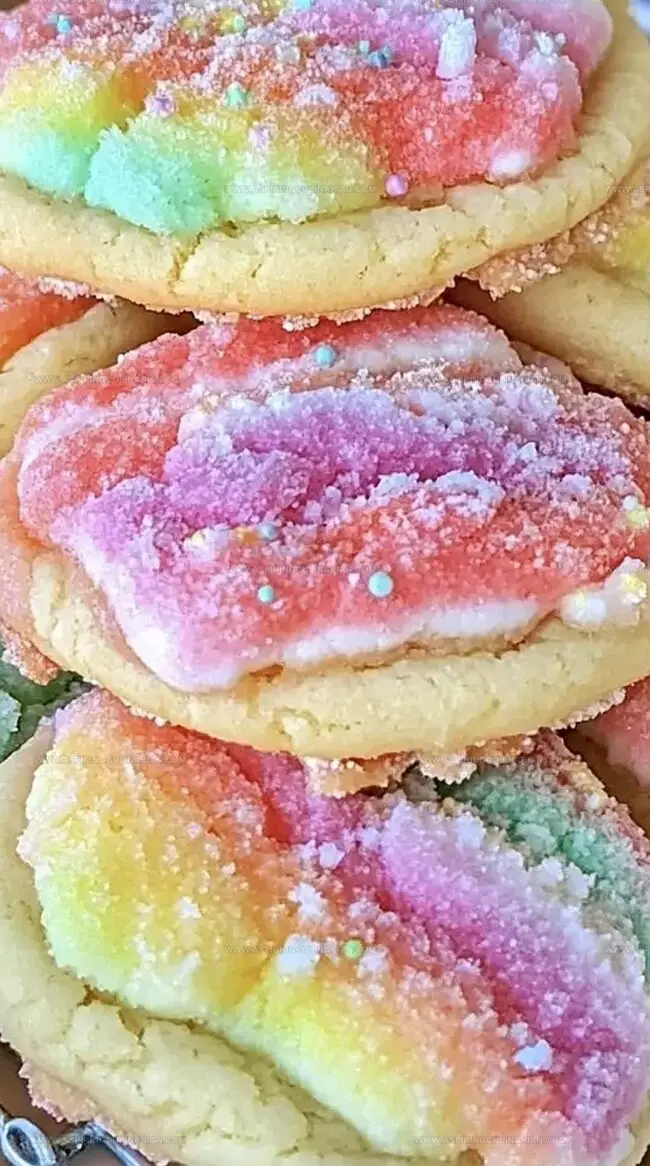
Colorful sprinkles peek from soft, buttery edges like playful confetti.
Pastel swirls promise a delectable adventure that captures the essence of warm afternoons.
Crafting these treats feels like painting with delicious flavors and joyful textures.
Soft, pillowy centers melt with creamy sherbet-inspired notes that surprise and delight.
Each bite connects you to carefree moments of pure sugary happiness.
You’ll want to share these whimsical cookies with everyone who loves a taste of pure joy.
Rainbow Sherbet Cookies Reasons to Brighten Your Day
What to Gather for Baking Sherbet Cookies
Main Ingredients:Flavor Enhancers:Leavening and Seasoning:Additional Ingredients:Instructions for Baking Colorful Sherbet Cookies

Step 1: Warm Up The Oven
Preheat your oven to 350F (175C) and prepare a baking sheet with parchment paper for a smooth cookie-making adventure.
Step 2: Create A Creamy Base
In a spacious mixing bowl, blend softened butter, granulated sugar, and powdered sugar until the mixture becomes fluffy and light as a cloud.
Step 3: Introduce Liquid Ingredients
Gently fold in eggs one at a time, ensuring each is fully incorporated.
Stir in vanilla extract, and if you’re feeling adventurous, add lime or raspberry extracts for an extra burst of flavor.
Step 4: Prepare Dry Components
In a separate bowl, whisk together:Blend these ingredients until they’re perfectly combined.
Step 5: Merge Wet And Dry Mixtures
Slowly add the dry ingredients to the wet mixture, stirring carefully until just combined.
Avoid overmixing to keep the cookies tender.
Step 6: Create Color Sections
Divide the dough into 3 or 4 equal portions, preparing for a vibrant cookie experience.
Step 7: Add Brilliant Colors
Incorporate food coloring into each dough portion, mixing thoroughly to create vivid, distinct colors reminiscent of rainbow sherbet.
Step 8: Shape Colorful Cookies
Roll small balls from each colored dough.
Gently press different colored doughs together, creating a marbled, multicolored effect while keeping colors distinct.
Step 9: Arrange On Baking Sheet
Place the colorful dough balls on the prepared baking sheet, leaving ample space between each cookie.
Step 10: Flatten Gently
Use your palm to lightly press down on each cookie ball, creating a slightly flattened shape.
Step 11: Bake To Perfection
Slide the baking sheet into the oven and bake for 10-12 minutes.
Look for slightly golden edges and a set appearance.
Step 12: Cool Down
Allow cookies to rest on the baking sheet for a few moments, then transfer to a wire rack for complete cooling.
Step 13: Create Optional Glaze
Whisk together:Add food coloring if you want an extra pop of color.
Step 14: Decorate With Flair
Drizzle the prepared glaze over the cooled cookies, letting it set and add a final touch of sweetness.
Cookie Tips for Vibrant and Chewy Texture
Playful Variations for Rainbow Sherbet Cookie Batches
How to Serve Rainbow Cookies for Fun Events
Keeping Sherbet Cookies Fresh in Storage
FAQs
Gently roll small dough balls from each color and press them together lightly, keeping colors distinct. Avoid overmixing or kneading the dough too much to maintain separate color zones.
Yes, you can use natural food coloring made from fruit or vegetable extracts. Brands like India Tree or natural gel colors work well and provide vibrant colors without artificial ingredients.
Gel food coloring is recommended because it provides intense color without adding extra liquid to the dough. Liquid food coloring can make the dough too wet and affect the cookie texture.
Print
Rainbow Sherbet Cookies Recipe
- Total Time: 42 minutes
- Yield: 24 1x
Description
Sweet nostalgia meets modern baking with these rainbow sherbet cookies, blending childhood memories and delightful flavors. Colorful swirls of pastel dough create a whimsical treat you can’t resist enjoying with friends and family.
Ingredients
Main Ingredients:
- 1 cup (225 g) unsalted butter, softened
- 1 cup (200 g) granulated sugar
- 2 large eggs
- 2 1/2 cups (315 g) all-purpose flour
Flavoring and Extracts:
- 1/2 cup (100 g) powdered sugar
- 1 teaspoon vanilla extract
- 1/2 teaspoon lime extract (optional)
- 1/2 teaspoon raspberry or strawberry extract (optional)
- Food coloring (pink, orange, green, or your favorite sherbet colors)
Leavening and Seasoning:
- 1 teaspoon baking powder
- 1/2 teaspoon baking soda
- 1/4 teaspoon salt
Icing:
- 1 cup (120 g) powdered sugar
- 2–3 tablespoons milk
- 1/2 teaspoon vanilla extract
- Additional food coloring (optional)
Instructions
- Prepare the oven to 350°F (175°C) and line a baking sheet with parchment paper for optimal cookie baking.
- In a spacious mixing bowl, blend softened butter with granulated and powdered sugars until the mixture becomes airy and whipped.
- Incorporate eggs individually, thoroughly mixing after each addition, then blend in vanilla and optional citrus or berry extracts.
- In a separate container, sift together flour, leavening agents, and salt to ensure even distribution of dry ingredients.
- Gently fold the dry ingredient mixture into the butter mixture, stirring until just combined to maintain a tender cookie texture.
- Separate the dough into three or four distinct portions, preparing for vibrant color integration.
- Introduce food coloring to each dough section, carefully mixing until the hues are uniform and vivid.
- Craft small dough spheres from each colored portion, artfully pressing them together to create marbled, multicolored cookie orbs.
- Arrange the colorful dough balls on the prepared baking sheet, allowing sufficient space between each for spreading.
- Delicately press down on each ball to create a slightly flattened shape using your palm or a gentle touch.
- Transfer the baking sheet to the preheated oven and bake for 10-12 minutes, watching for golden-tinged edges and set centers.
- Allow cookies to rest on the baking sheet momentarily, then transition to a wire cooling rack for complete cooling.
- For an optional glaze, whisk powdered sugar with milk and vanilla until smooth, adding food coloring if desired for extra vibrancy.
- Once cookies are completely cooled, drizzle the prepared icing over the top, allowing it to set and create a decorative finish.
Notes
- Always use room temperature butter for smoother, fluffier cookie dough that creams more evenly.
- When dividing dough, use gel food coloring for more vibrant, consistent colors without changing dough consistency.
- Chill colored dough sections for 15-20 minutes before forming cookies to prevent color bleeding and maintain distinct color patterns.
- For gluten-free version, replace all-purpose flour with 1:1 gluten-free baking flour blend, ensuring same texture and taste.
- Prep Time: 30 minutes
- Cook Time: 12 minutes
- Category: Desserts, Snacks
- Method: Baking
- Cuisine: American
Nutrition
- Serving Size: 24
- Calories: 152
- Sugar: 12 g
- Sodium: 56 mg
- Fat: 8 g
- Saturated Fat: 5 g
- Unsaturated Fat: 3 g
- Trans Fat: 0 g
- Carbohydrates: 20 g
- Fiber: 0.4 g
- Protein: 2 g
- Cholesterol: 33 mg
Nathaniel Brooks
Founder & Recipe Developer
Expertise
Farm-to-table cuisine, Seasonal recipe development, Culinary storytelling
Education
Ivy Tech Community College – Indianapolis, IN
Culinary Arts / Hospitality Administration & Events
Focused on hands-on training in classical and modern culinary techniques.
Nathaniel’s story starts in the foothills of the Appalachian Mountains, where farm stands, backyard gardens, and old family recipes shaped his love for real food. After graduating from Ivy Tech Community College in Indianapolis, he spent years working in farm-to-table kitchens, learning how to turn local, seasonal ingredients into something memorable.
Today, Nathaniel pours that same spirit into every single recipe on Aspiring Culinarian – recipes that feel real, comforting, and connected to the land. When he’s not in the kitchen, you’ll find him foraging wild herbs, chasing sunsets with his camera, or writing about the flavors that shaped his roots.