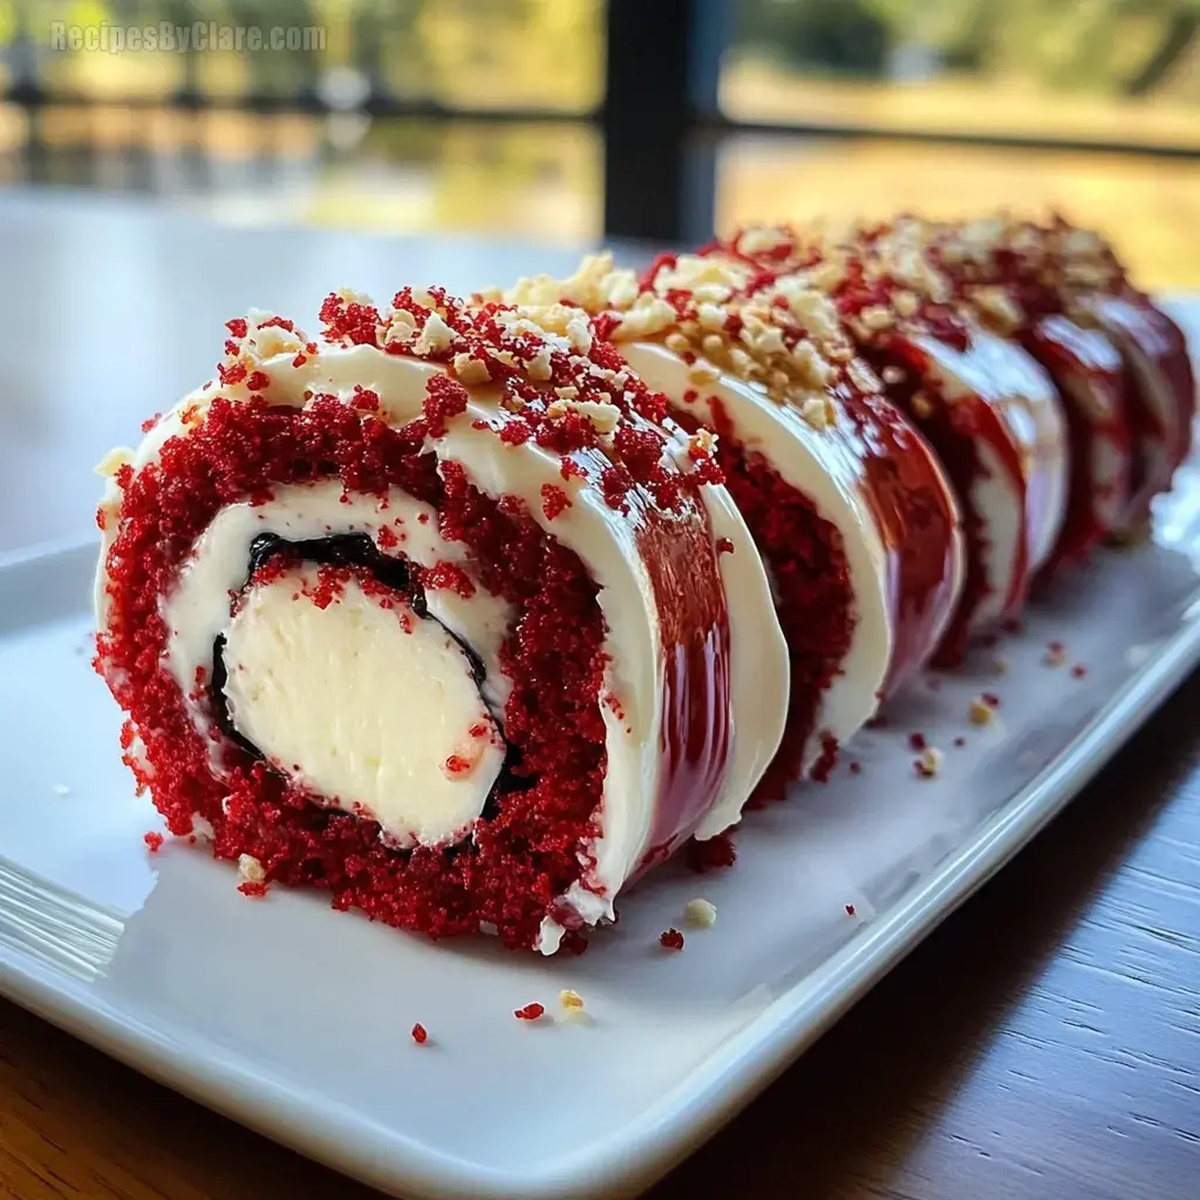
Sweet Red Velvet Cheesecake Sushi Roll Dessert Recipe
Indulging in red velvet cheesecake sushi rolls promises a delightful culinary adventure that blends unexpected flavors.
Sweet meets savory in this creative dessert fusion.
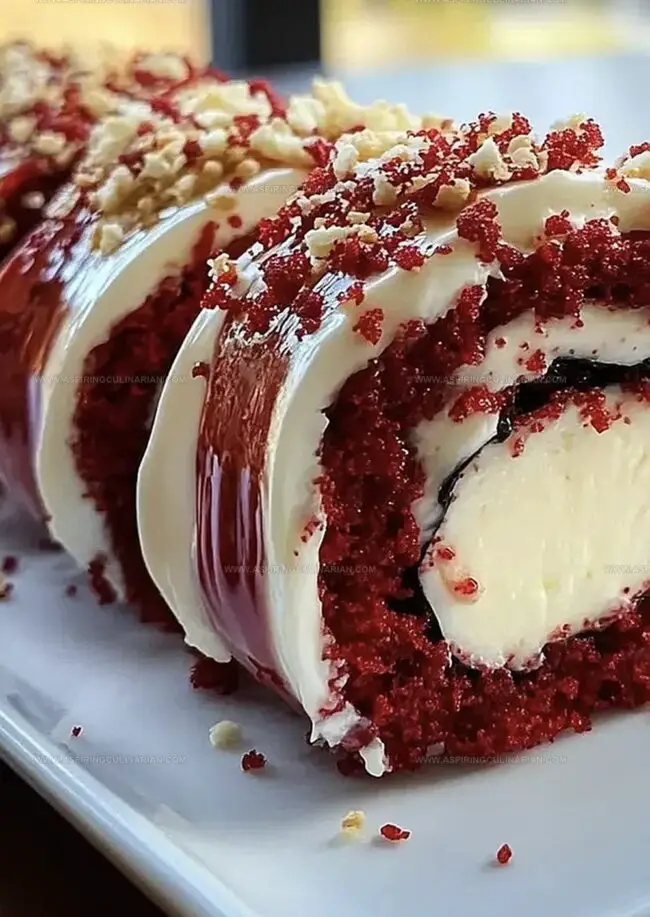
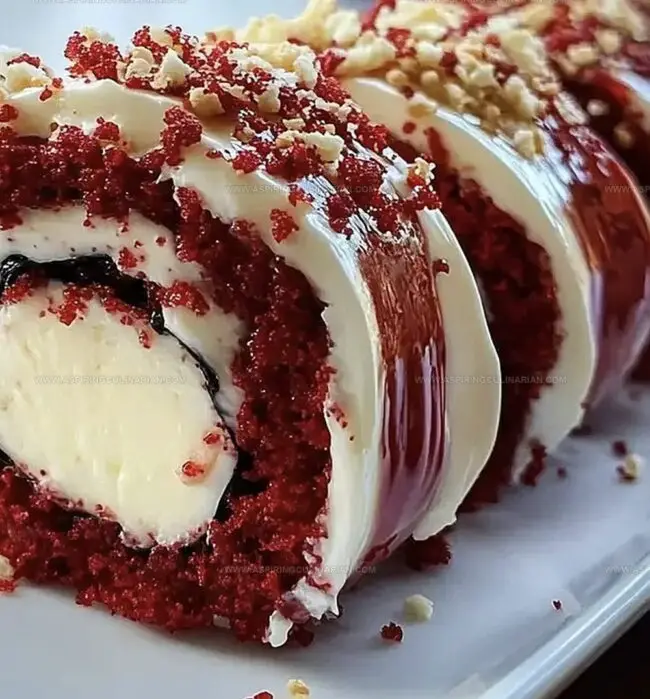
Creamy cheesecake nestles inside vibrant red velvet cake, wrapped with precision and care.
Delicate slices reveal layers of rich, velvety texture that dance across your palate.
Guests will marvel at this playful twist on traditional desserts.
Each bite combines classic comfort with modern whimsy.
You’ll want to savor every decadent morsel of this unique treat.
Reasons to Try Red Velvet Sushi Dessert
Red Velvet Sushi Dessert Ingredients Guide
Cake Base:Filling:Toppings and Decorations:Making Red Velvet Cheesecake Sushi Dessert
Step 1: Prepare Baking Surface
Line a 10×15-inch jelly roll pan with parchment paper.
Make sure the paper covers the entire surface smoothly to prevent sticking.
Step 2: Mix Cake Base
Combine red velvet cake mix ingredients:Blend until the mixture is smooth and free of lumps.
Step 3: Spread Cake Layer
Pour the cake batter into the prepared pan.
Use a spatula to spread the mixture evenly, ensuring a consistent thickness across the entire surface.
Step 4: Bake Cake Foundation
Place the pan in a preheated oven at 350°F.
Bake for 12-15 minutes, checking doneness by inserting a toothpick into the center.
The toothpick should come out clean when the cake is fully baked.
Step 5: Prepare Sugar-Dusted Towel
Sprinkle a clean kitchen towel generously with powdered sugar.
This will prevent the cake from sticking during the rolling process.
Step 6: Create Cake Roll Base
Carefully invert the baked cake onto the sugar-dusted towel.
Gently remove the parchment paper.
While the cake is still warm, roll it inside the towel, creating a cylindrical shape.
Allow the cake to cool completely in this rolled position.
Step 7: Whip Creamy Filling
In a mixing bowl, blend cream cheese and butter until they become smooth and creamy.
Gradually incorporate:Mix until the filling reaches a consistent, spreadable texture.
Step 8: Unroll And Fill
Carefully unroll the cooled cake.
Spread the cream cheese filling evenly across the entire surface, ensuring complete coverage.
Step 9: Final Roll And Chill
Gently re-roll the cake, making sure the filling remains intact.
Wrap the roll in plastic wrap and refrigerate for at least one hour to set.
Step 10: Chocolate Embellishment
Melt white chocolate and drizzle it elegantly over the top of the rolled dessert.
Step 11: Decorative Finishing
Sprinkle chopped pecans over the roll.
Add a decorative drizzle of raspberry or strawberry sauce for extra visual appeal.
Step 12: Serve And Enjoy
Slice the roll into individual portions.
Arrange on a serving plate and delight in your homemade red velvet cheesecake sushi roll.
Red Velvet Sushi Dessert Extra Tips
Red Velvet Sushi Dessert Flavor Swaps
Serving Red Velvet Sushi Dessert Creatively
Red Velvet Sushi Dessert Storage Tips
FAQs
The deep red color comes from food coloring mixed into the traditional chocolate-based cake batter. Cocoa powder provides a subtle chocolate flavor that gives the cake its distinctive taste.
Rolling the cake while warm prevents cracking and helps create a flexible cake that can be easily shaped without breaking. The powdered sugar on the towel prevents sticking and helps form a smooth roll.
Absolutely! You can prepare the roll up to 2 days in advance. Keep it wrapped in plastic wrap in the refrigerator. The flavors actually blend better when it sits for a few hours before serving.
Print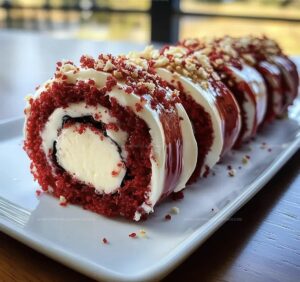
Red Velvet Cheesecake Sushi Roll Dessert Recipe
- Total Time: 45 minutes
- Yield: 8 1x
Description
Culinary magic meets indulgence in this red velvet cheesecake sushi roll, blending classic American dessert with Japanese-inspired presentation. Creamy cheesecake wrapped in crimson cake layers promises a delightful sensory journey you’ll savor with each delectable bite.
Ingredients
Main Ingredients:
- 1 box red velvet cake mix (or homemade red velvet cake)
- 8 ounces (226 grams) cream cheese, softened
- 3 large eggs
- 1/2 cup (120 milliliters) vegetable oil
- 1 cup (240 milliliters) water
Filling and Topping Ingredients:
- 1/4 cup (57 grams) unsalted butter, softened
- 1 cup (120 grams) powdered sugar (for filling)
- 1 teaspoon vanilla extract
- 1 teaspoon vanilla extract (for filling)
- 1/4 cup (30 grams) pecans, chopped
- 1/4 cup (42 grams) white chocolate, melted
- 2 tablespoons (30 milliliters) raspberry or strawberry sauce (for drizzling)
- Powdered sugar (for dusting)
Garnish:
(None additional beyond above categories)
Instructions
- Heat oven to 350F (175C) and line a 10×15-inch jelly roll pan with parchment paper, ensuring complete coverage.
- Mix red velvet cake batter according to package instructions, combining eggs, oil, water, and vanilla extract until smooth and consistent.
- Evenly distribute cake batter across prepared pan, using a spatula to create a uniform layer without air pockets.
- Bake cake for 12-15 minutes, checking doneness by inserting a toothpick near the center, which should emerge clean and dry.
- Generously dust a clean kitchen towel with powdered sugar to prevent cake from sticking during rolling process.
- Carefully invert hot cake onto sugared towel, gently removing parchment paper, then methodically roll cake within towel while still warm to create initial shape.
- Allow cake to cool completely inside towel, maintaining rolled configuration.
- Prepare cream cheese filling by beating cream cheese and butter until silky smooth, gradually incorporating powdered sugar and vanilla extract.
- Delicately unroll cooled cake and spread cream cheese mixture evenly across entire surface, leaving small margin around edges.
- Cautiously re-roll cake, maintaining gentle pressure to secure filling without squeezing out excess.
- Wrap rolled cake in plastic wrap and refrigerate for minimum one hour to set and firm filling.
- Melt white chocolate and drizzle decoratively across cake’s exterior.
- Garnish with chopped pecans and raspberry or strawberry sauce for elegant presentation.
- Slice into uniform portions and serve chilled.
Notes
- Choose high-quality cocoa powder for a rich, deep red velvet flavor that enhances the overall taste of the dessert.
- Ensure cream cheese is at room temperature to create a smooth, lump-free filling that spreads easily across the cake.
- Use a kitchen towel dusted with powdered sugar to prevent the delicate cake from sticking and cracking during the rolling process.
- Consider making a gluten-free version by substituting the cake mix with a gluten-free alternative and using almond flour for added texture.
- Prep Time: 30 minutes
- Cook Time: 15 minutes
- Category: Desserts
- Method: Baking
- Cuisine: Fusion
Nutrition
- Serving Size: 8
- Calories: 402 kcal
- Sugar: 35 g
- Sodium: 280 mg
- Fat: 28 g
- Saturated Fat: 11 g
- Unsaturated Fat: 16 g
- Trans Fat: 0.5 g
- Carbohydrates: 34 g
- Fiber: 1 g
- Protein: 6 g
- Cholesterol: 70 mg
Nathaniel Brooks
Founder & Recipe Developer
Expertise
Farm-to-table cuisine, Seasonal recipe development, Culinary storytelling
Education
Ivy Tech Community College – Indianapolis, IN
Culinary Arts / Hospitality Administration & Events
Focused on hands-on training in classical and modern culinary techniques.
Nathaniel’s story starts in the foothills of the Appalachian Mountains, where farm stands, backyard gardens, and old family recipes shaped his love for real food. After graduating from Ivy Tech Community College in Indianapolis, he spent years working in farm-to-table kitchens, learning how to turn local, seasonal ingredients into something memorable.
Today, Nathaniel pours that same spirit into every single recipe on Aspiring Culinarian – recipes that feel real, comforting, and connected to the land. When he’s not in the kitchen, you’ll find him foraging wild herbs, chasing sunsets with his camera, or writing about the flavors that shaped his roots.