Irresistible Red Velvet Cinnamon Rolls with Cream Cheese Icing Recipe
These delectable red velvet cinnamon rolls with cream cheese icing promise a delightful twist on classic breakfast pastries.
Soft, pillowy dough swirls with rich cocoa and hints of crimson charm every baker’s heart.
Decadent layers melt together, creating a sensational morning treat that feels like pure indulgence.
Sweet aromas will drift through your kitchen, tempting everyone nearby with their irresistible warmth.
cream cheese frosting adds a luxurious touch, transforming ordinary rolls into something extraordinary.
Baking these rolls becomes an experience of love and culinary creativity.
You’ll want to savor each heavenly bite and share this remarkable recipe with those closest to you.
Red Velvet Cinnamon Rolls with Cream Cheese Icing: A Must-Try
Everything for Red Velvet Cinnamon Roll Icing
Primary Ingredients:Dough Enhancers:Filling and Topping Components:Red Velvet Cinnamon Roll Baking Directions
Step 1: Activate The Yeast
Dissolve yeast in warm milk and let it sit until it becomes frothy and bubbly.
This process helps wake up the yeast and prepare it for creating a fluffy dough.
Step 2: Create Dough Base
In a large mixing bowl, combine:Mix ingredients thoroughly until well blended.
Add flour, cocoa powder, salt, and red food coloring.
Knead the dough on a floured surface for 8-10 minutes until smooth and elastic.
Transfer to a greased bowl, cover with a clean kitchen towel, and allow to rise in a warm spot for 1-2 hours until the dough doubles in size.
Step 3: Whip Up Cinnamon Filling
In a separate bowl, blend:Mix until ingredients are completely combined and create a smooth, spreadable mixture.
Step 4: Shape The Rolls
Roll out the risen dough on a floured surface into a rectangular shape.
Spread the cinnamon filling evenly across the entire surface.
Carefully roll the dough tightly from the long edge, creating a log.
Slice the log into 1½ to 2-inch sections.
Place rolls in a greased baking dish and let rise for an additional 30-45 minutes.
Step 5: Bake To Perfection
Preheat oven to 350°F.
Bake rolls for 25-30 minutes until golden brown on top.
Remove from oven and let cool slightly.
Step 6: Craft Cream Cheese Icing
In a medium bowl, beat together:Add powdered sugar and vanilla, mixing until smooth.
Gradually incorporate milk to achieve desired icing consistency.
Step 7: Finish And Serve
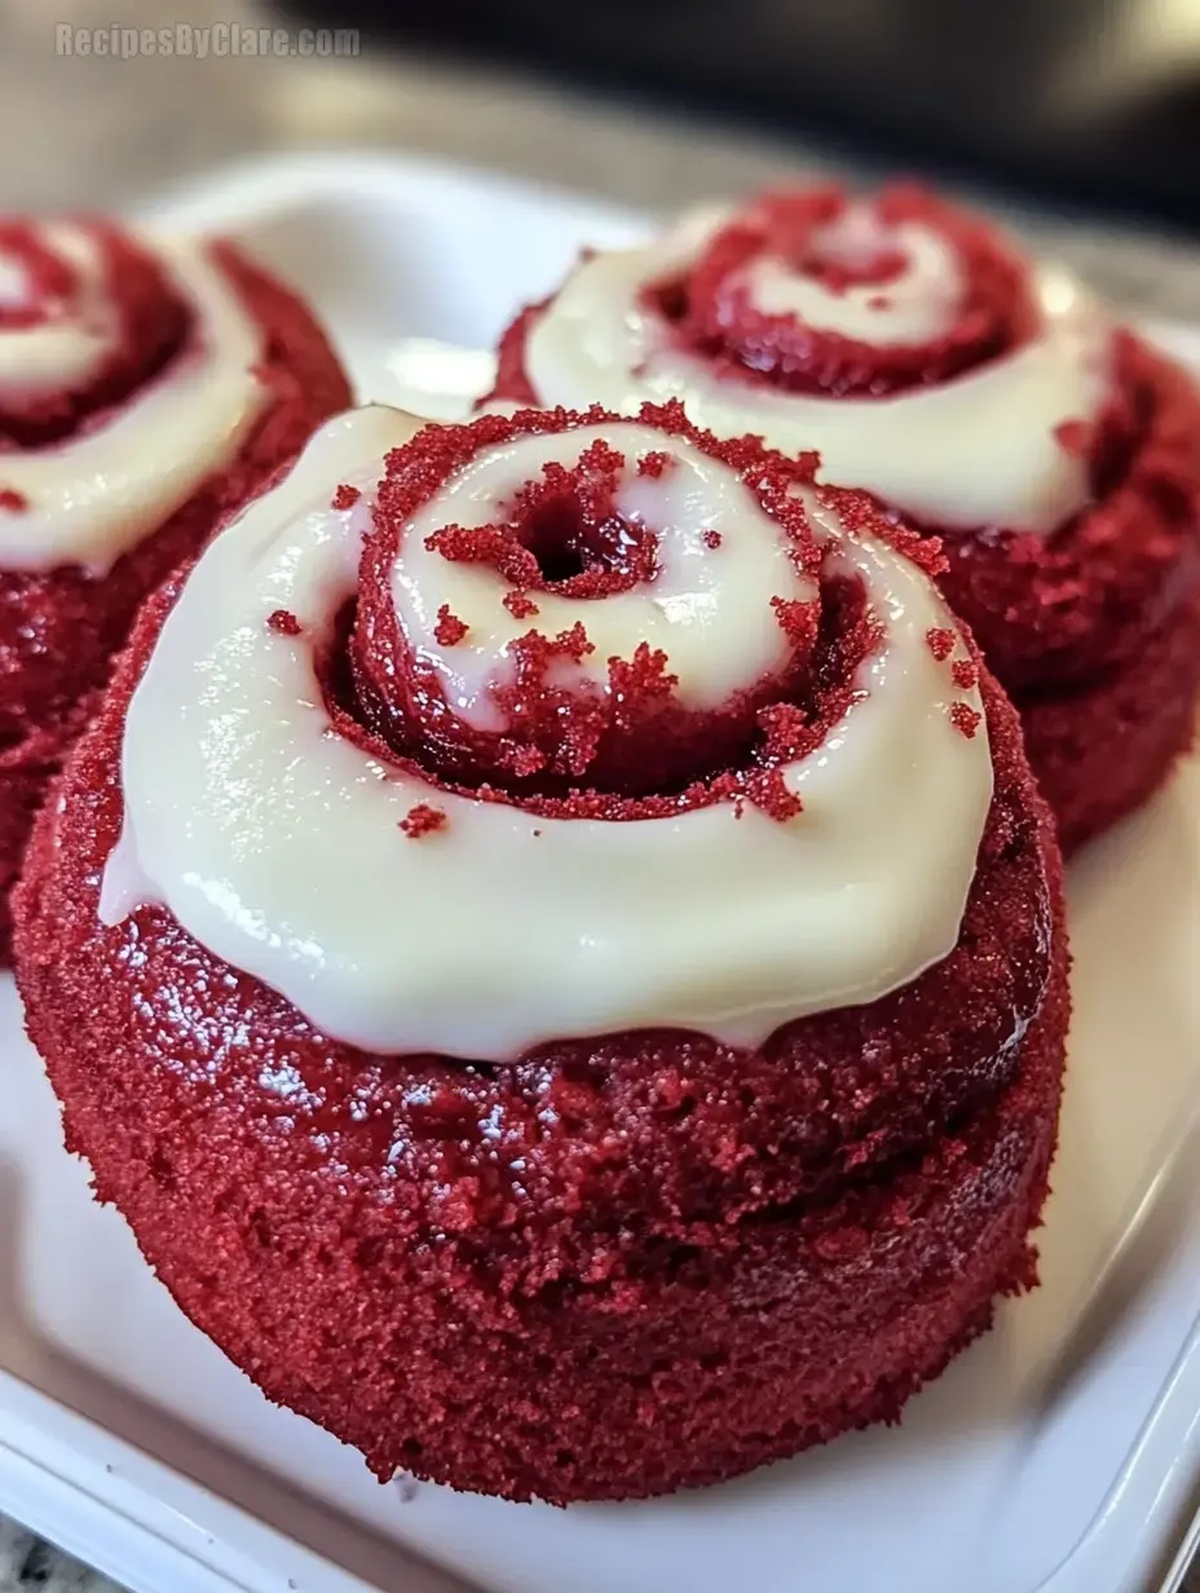
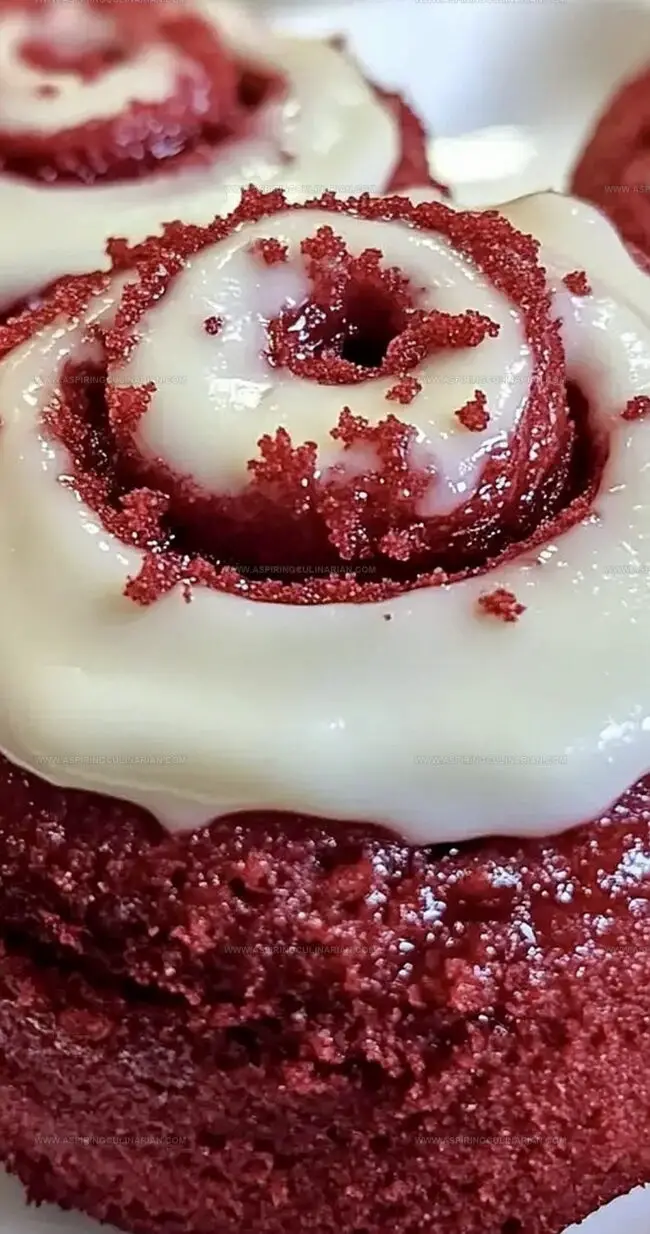
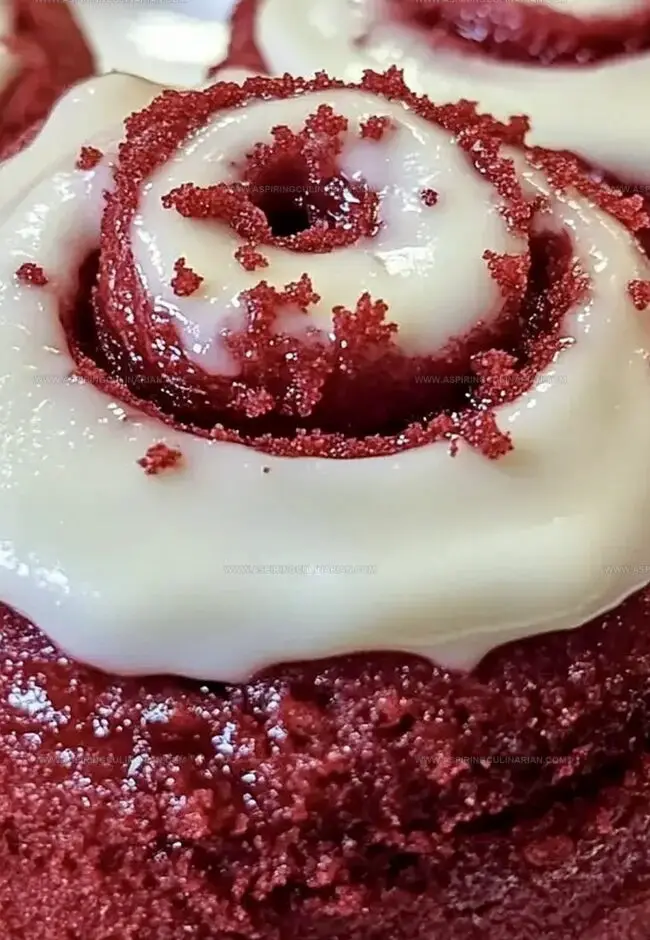
Drizzle cream cheese icing generously over warm rolls.
Serve immediately and enjoy the decadent red velvet treat.
Pro Tips for Soft, Swirled Red Velvet Rolls
Cinnamon Roll Variations for Red Velvet Fans
Serving Red Velvet Cinnamon Rolls with Coffee
Keeping Red Velvet Cinnamon Rolls Soft and Fluffy
FAQs
Red velvet cinnamon rolls feature cocoa powder and red food coloring, giving them a distinctive deep red color and subtle chocolate flavor that sets them apart from traditional cinnamon rolls.
The yeast is active when it becomes frothy and bubbly after 5 minutes in warm milk. If it doesn’t foam or look active, your yeast might be old or the milk temperature was incorrect.
Yes, you can prepare the dough in advance. After kneading, let it rise, then refrigerate overnight. In the morning, let it come to room temperature and proceed with rolling and filling.
Print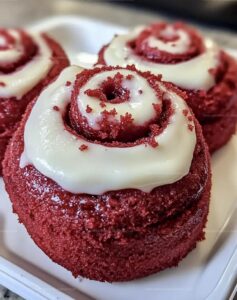
Red Velvet Cinnamon Rolls Cream Cheese Icing Recipe
- Total Time: 2 hours 45 minutes
- Yield: 12 1x
Description
Indulgent red velvet cinnamon rolls dance with rich cream cheese icing, bringing Southern charm to classic breakfast pastries. Warm spices and luxurious cocoa swirl together, promising a delightful morning treat you’ll savor with pure bliss.
Ingredients
Dough Ingredients:
- 1 cup (240 milliliters) warm milk (110°F/43°C)
- 2 1/4 teaspoons active dry yeast
- 1/4 cup (50 grams) granulated sugar
- 1/4 cup (57 grams) melted butter
- 1 large egg
- 1 egg yolk
- 3 cups (375 grams) all-purpose flour
- 1 tablespoon cocoa powder
- 1 teaspoon salt
- 1 teaspoon red food coloring
Filling Ingredients:
- 1/2 cup (113 grams) unsalted butter, softened
- 1 cup (220 grams) brown sugar, packed
- 2 tablespoons ground cinnamon
Icing Ingredients:
- 4 ounces (113 grams) cream cheese, softened
- 1/4 cup (57 grams) unsalted butter, softened
- 1 1/2 cups (180 grams) powdered sugar
- 1 teaspoon vanilla extract
- 2–3 tablespoons milk (adjust for desired consistency)
Instructions
- Activate the yeast by dissolving it in warm milk (110°F) for 5 minutes until foamy and fragrant. In a large mixing bowl, whisk together sugar, melted butter, whole egg, and extra egg yolk, then incorporate the activated yeast mixture.
- Create the dough by gradually mixing in flour, cocoa powder, salt, and red food coloring until a soft, vibrant crimson dough forms. Knead thoroughly on a lightly floured surface for 8-10 minutes until the texture becomes smooth and elastic.
- Transfer the dough to a greased bowl, cover with a clean kitchen towel, and allow to rise in a warm environment for 1-2 hours until the volume doubles.
- Prepare the filling by blending softened butter, brown sugar, and ground cinnamon until completely uniform.
- Roll the risen dough into a rectangular shape approximately 1/4 inch thick. Spread the cinnamon filling evenly across the surface, leaving a small margin around the edges.
- Carefully roll the dough tightly from the long side, creating a compact log. Slice into 1½ to 2-inch thick rounds using a sharp knife.
- Arrange the rolls in a greased baking dish, ensuring slight separation between each piece. Cover and let rise again for 30-45 minutes.
- Preheat the oven to 350°F (175°C). Bake the rolls for 25-30 minutes until they develop a golden-brown top and appear slightly puffy.
- While cooling, prepare the cream cheese icing by beating cream cheese and butter until silky. Gradually incorporate powdered sugar and vanilla, adjusting consistency with milk.
- Once slightly cooled, generously drizzle the cream cheese icing over the warm rolls and serve immediately.
Notes
- Activate yeast carefully by using lukewarm milk, ensuring it’s not too hot to kill the active cultures.
- Choose high-quality cocoa powder for a rich, deep red velvet flavor that complements the cinnamon notes.
- Try dairy-free alternatives like almond milk and vegan butter for a plant-based version of these indulgent rolls.
- Control rising time and temperature by placing the dough in a warm, draft-free area to achieve optimal texture and volume.
- Prep Time: 2 hours 15 minutes
- Cook Time: 30 minutes
- Category: Breakfast, Snacks, Desserts
- Method: Baking
- Cuisine: American
Nutrition
- Serving Size: 12
- Calories: 357 kcal
- Sugar: 23 g
- Sodium: 154 mg
- Fat: 18 g
- Saturated Fat: 9 g
- Unsaturated Fat: 8 g
- Trans Fat: 0.3 g
- Carbohydrates: 43 g
- Fiber: 1 g
- Protein: 5 g
- Cholesterol: 57 mg
Nathaniel Brooks
Founder & Recipe Developer
Expertise
Farm-to-table cuisine, Seasonal recipe development, Culinary storytelling
Education
Ivy Tech Community College – Indianapolis, IN
Culinary Arts / Hospitality Administration & Events
Focused on hands-on training in classical and modern culinary techniques.
Nathaniel’s story starts in the foothills of the Appalachian Mountains, where farm stands, backyard gardens, and old family recipes shaped his love for real food. After graduating from Ivy Tech Community College in Indianapolis, he spent years working in farm-to-table kitchens, learning how to turn local, seasonal ingredients into something memorable.
Today, Nathaniel pours that same spirit into every single recipe on Aspiring Culinarian – recipes that feel real, comforting, and connected to the land. When he’s not in the kitchen, you’ll find him foraging wild herbs, chasing sunsets with his camera, or writing about the flavors that shaped his roots.