
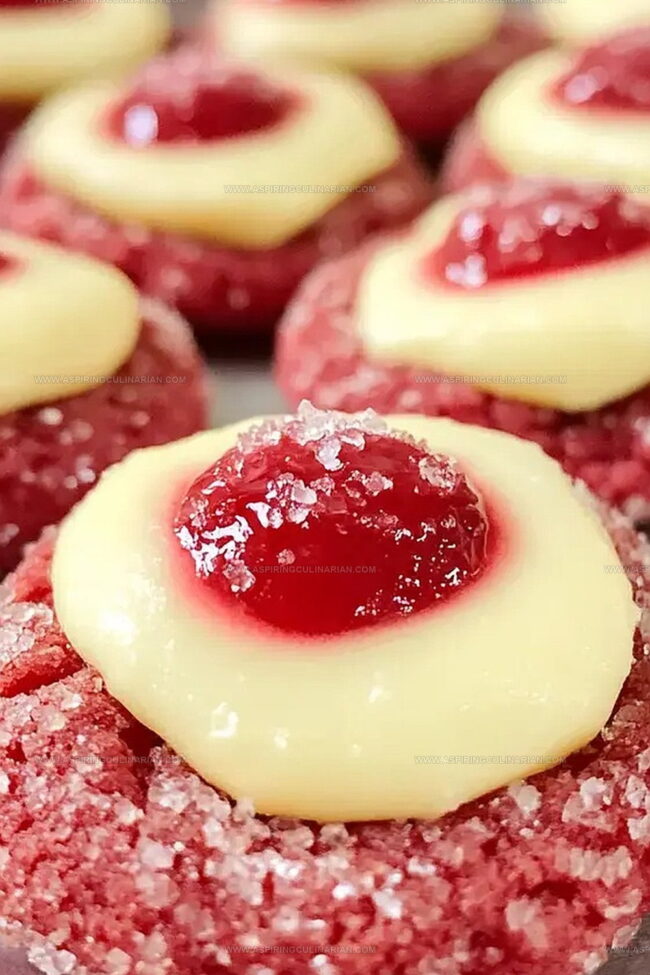
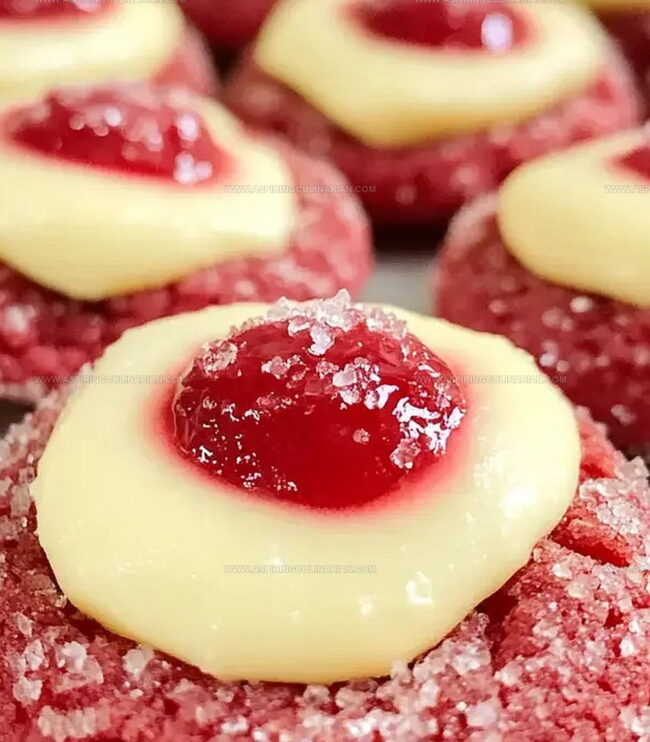
Try These Dreamy Red Velvet Thumbprint Cookies Recipe Today
Sweet aromas of red velvet thumbprint cookies dance through kitchens, promising delectable moments of pure indulgence.
Soft crimson dough embraces creamy centers with elegant charm.
Delicate and rich, these treats blend comfort with sophistication.
Chocolate undertones complement the luxurious texture, creating an irresistible experience.
Crumbly edges give way to smooth, velvety interiors that melt gracefully.
Baking these cookies becomes a delightful journey of culinary creativity.
You’ll love how simple ingredients transform into something magical.
Dive into this recipe and let your taste buds celebrate!
Why Creamy Christmas Cookie Magic Always Impresses Guests
All Essential Ingredients for Creamy Christmas Cookie Magic
Dry Ingredients:Wet Ingredients:Finishing and Coloring Ingredients:How to Prepare Creamy Christmas Cookie Magic Recipes

Step 1: Whisk Dry Ingredients
Grab a medium bowl and thoroughly combine flour, cocoa powder, and a pinch of salt.
Use a whisk to ensure everything is perfectly blended without any lumps.
Step 2: Cream Butter And Sugar
In a separate large mixing bowl, blend softened butter and brown sugar until the mixture becomes light, fluffy, and creamy.
Add egg yolk and vanilla extract, continuing to mix until smooth and well incorporated.
Step 3: Create Vibrant Dough
Gradually fold dry ingredients into the wet mixture.
Add a few drops of red food coloring to transform the dough into a beautiful crimson shade.
Mix until a soft, pliable dough forms.
Step 4: Chill And Prepare
Wrap the dough in plastic wrap and refrigerate for half an hour.
This helps the dough firm up and makes it easier to handle.
Step 5: Warm Up The Oven
Preheat the oven to 300°F.
Line a baking sheet with parchment paper for easy cookie removal.
Step 6: Shape Delightful Cookies
Scoop out small portions of dough and roll into perfect round balls.
Gently roll each ball in granulated sugar for a sparkling exterior.
Step 7: Create Signature Thumbprints
Place cookie balls on the prepared baking sheet, spacing them about 2 inches apart.
Use your thumb to create a gentle indent in the center of each cookie.
Step 8: First Baking Round
Bake the cookies for 10 minutes until they start to set but remain soft.
Step 9: Enhance Cookie Centers
Remove cookies from the oven.
If needed, use the back of a spoon to slightly deepen the thumbprint while cookies are still warm.
Step 10: Prepare Creamy Filling
Whisk together filling ingredients until smooth and glossy.
Step 11: Fill And Finish
Carefully spoon the filling into each cookie’s center.
Return to the oven and bake for an additional 12 minutes until the filling sets.
Step 12: Cool And Enjoy
Allow cookies to cool briefly on the baking sheet, then transfer to a wire rack.
Let them cool completely before serving these festive treats.
Tips and Tricks for Creamy Christmas Cookie Magic
Unique Flavor Variations for Christmas Cookie Magic Fans
Serving Creamy Christmas Cookie Magic at Holiday Parties
Creamy Christmas Cookie Magic: How to Store Properly
FAQs
The key ingredients include flour, cocoa powder, butter, brown sugar, egg yolk, vanilla, and red food coloring. These create a rich, festive cookie with a creamy filling.
Not at all! The recipe is straightforward and requires basic baking skills. The process involves mixing dry and wet ingredients, chilling the dough, and creating thumbprints for the filling.
Yes, you can modify the amount of red food coloring to get your desired color intensity. Some bakers prefer a lighter or deeper red tone depending on their preference.
The cookies are ready when they’re set around the edges and the filling is slightly firm. Baking at 300F helps prevent burning and ensures a soft, delicate texture.
Print
Red Velvet Thumbprint Cookies Recipe
- Total Time: 1 hour 7 minutes
- Yield: 24 1x
Description
Indulgent red velvet thumbprint cookies blend rich cocoa and velvety texture, creating a delightful dessert that melts in your mouth. Creamy chocolate ganache nestled in each buttery cookie center promises pure bliss for holiday gatherings and sweet moments you’ll savor.
Ingredients
Main Ingredients:
- 2 cups all-purpose flour
- 1 cup butter (room temperature)
- 4 oz cream cheese (softened)
- 1/2 cup brown sugar
Flavoring and Coloring Ingredients:
- 4 teaspoons red food coloring
- 2 teaspoons unsweetened cocoa powder
- 1 teaspoon pure vanilla extract
- 1/4 teaspoon pure vanilla extract
Finishing and Binding Ingredients:
- 1/2 cup granulated sugar (for rolling)
- 1/4 cup granulated sugar
- 2 egg yolks (room temperature)
- 1/8 teaspoon salt
- 1/8 teaspoon salt
Instructions
- Combine cocoa powder, flour, and salt in a mixing bowl, ensuring even distribution of dry ingredients.
- Using an electric mixer, cream butter with brown sugar until light and airy, then incorporate egg yolk and vanilla extract, beating until smooth and fluffy.
- Gradually fold dry ingredient mixture into wet ingredients, then introduce red food coloring to achieve a vibrant dough consistency.
- Shape dough into a compact disc, encase in plastic wrap, and refrigerate for 30 minutes to firm up.
- Preheat oven to 300°F and prepare a baking sheet with parchment paper for even heat distribution.
- Scoop dough into small spheres, gently roll in granulated sugar, and arrange on baking sheet with adequate spacing.
- Create a central indentation in each cookie using your thumb, ensuring a consistent depth for filling.
- Bake cookies for 10 minutes, allowing edges to slightly set while maintaining a soft center.
- Remove from oven and carefully reinforce thumbprint indentations if needed, then prepare filling mixture.
- Pipe or spoon filling into cookie centers, ensuring even coverage.
- Return cookies to oven for an additional 12 minutes until filling stabilizes and edges turn golden.
- Allow cookies to rest on baking sheet for few minutes, then transfer to wire cooling rack to complete cooling process.
Notes
- Prevent Dryness Sift cocoa powder and flour together to ensure a lighter, more tender cookie texture.
- Color Precision Add food coloring gradually to control the intensity and achieve a vibrant red without affecting dough consistency.
- Filling Flexibility Swap traditional filling with cream cheese or ganache for alternative flavor profiles that complement the chocolate base.
- Storage Strategy Store cookies in an airtight container with parchment between layers to maintain softness and prevent sticking.
- Prep Time: 45 minutes
- Cook Time: 22 minutes
- Category: Desserts, Snacks
- Method: Baking
- Cuisine: American
Nutrition
- Serving Size: 24
- Calories: 153
- Sugar: 8 g
- Sodium: 43 mg
- Fat: 10 g
- Saturated Fat: 6 g
- Unsaturated Fat: 4 g
- Trans Fat: 0.3 g
- Carbohydrates: 14 g
- Fiber: 1 g
- Protein: 2 g
- Cholesterol: 36 mg
Nathaniel Brooks
Founder & Recipe Developer
Expertise
Farm-to-table cuisine, Seasonal recipe development, Culinary storytelling
Education
Ivy Tech Community College – Indianapolis, IN
Culinary Arts / Hospitality Administration & Events
Focused on hands-on training in classical and modern culinary techniques.
Nathaniel’s story starts in the foothills of the Appalachian Mountains, where farm stands, backyard gardens, and old family recipes shaped his love for real food. After graduating from Ivy Tech Community College in Indianapolis, he spent years working in farm-to-table kitchens, learning how to turn local, seasonal ingredients into something memorable.
Today, Nathaniel pours that same spirit into every single recipe on Aspiring Culinarian – recipes that feel real, comforting, and connected to the land. When he’s not in the kitchen, you’ll find him foraging wild herbs, chasing sunsets with his camera, or writing about the flavors that shaped his roots.