
Easy Roast Beef Cheddar Sliders Recipe That Wows Every Time
Succulent roast beef dancing with sharp cheddar creates an irresistible slider that promises pure comfort.
These mini sandwiches pack incredible flavor in every delightful bite.
The combination of tender, slow-cooked beef and melted cheese turns an ordinary meal into something extraordinary.
Hearty and simple, these sliders work perfectly for game day gatherings or casual weeknight dinners.
Each small sandwich delivers a punch of savory goodness that keeps people coming back for more.
Soft rolls cradle the juicy meat and creamy cheese, making these sliders an instant crowd-pleaser.
Prepare to elevate your sandwich game with this mouthwatering recipe that everyone will love.
Roast Beef & Cheddar Sliders: Flavorful Features
Ingredients for Beef & Cheddar Sliders
Main Protein:Bread Component:Cheese and Sauce Components:Flavor Enhancers:Seasoning Blend:Slider Assembly Instructions
Step 1: Prepare Beef Base
In a small bowl, whisk together beef broth and Worcestershire sauce.
Allow the beef to sit at room temperature to ensure even cooking and maximum flavor absorption.
Step 2: Create Creamy Cheese Sauce
Melt butter in a saucepan, whisk in flour to create a smooth roux.
Gradually pour in hot milk, stirring constantly.
Add seasonings and cheese, whisking until the sauce becomes silky and fully incorporated.
Step 3: Cook Tender Beef
Bring the broth mixture to a rolling boil.
Gently add beef and immediately strain to lock in moisture and tenderness.
Step 4: Build Delicious Sliders
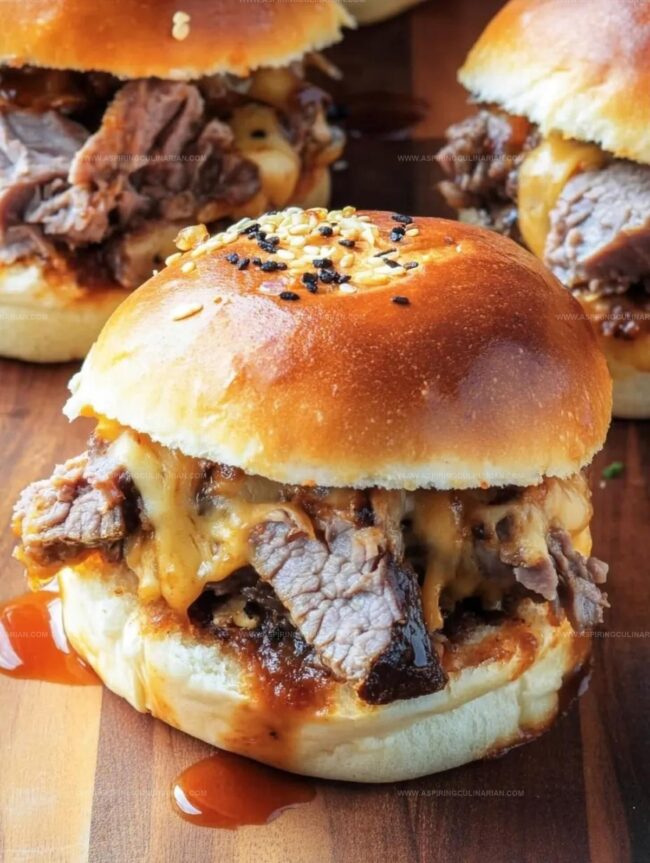
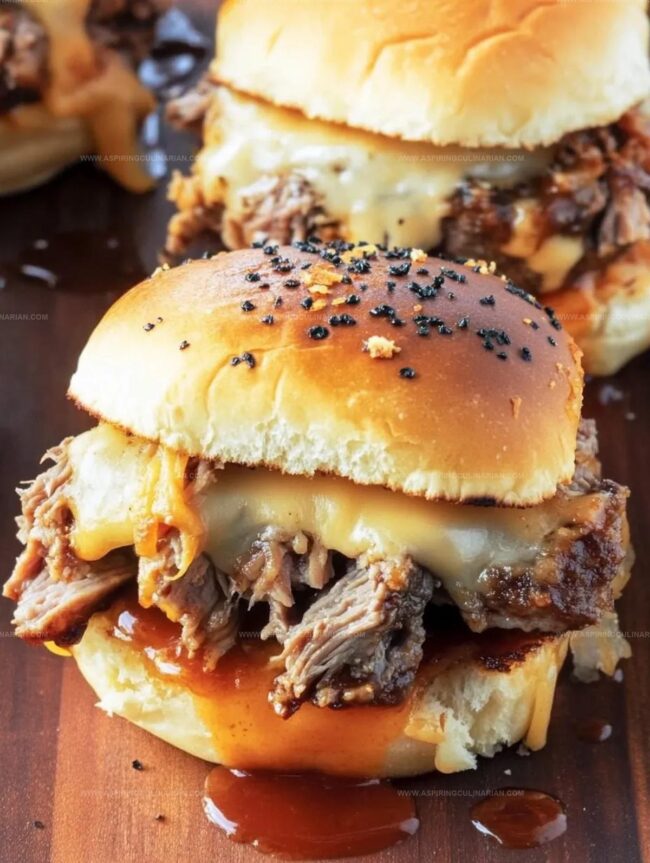
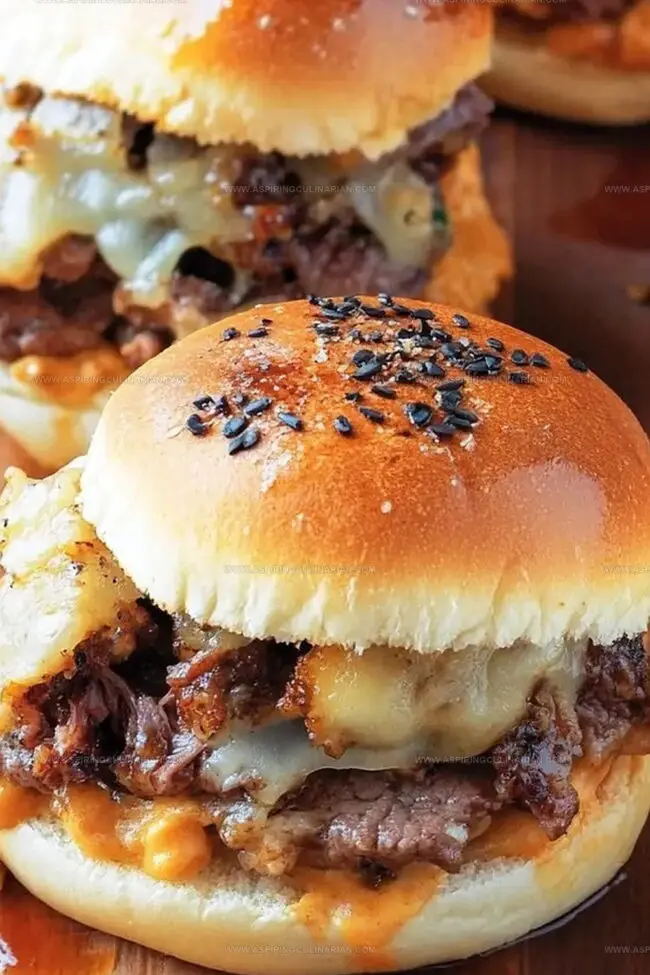
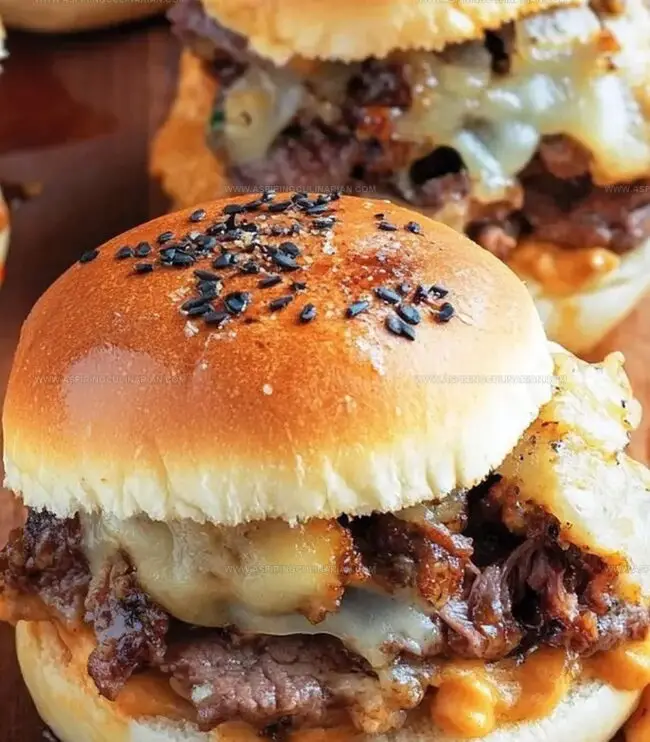
Layer the bottom of each slider roll with Arby’s sauce.
Top with succulent beef and pour the rich cheese sauce over the meat.
Place the slider tops and generously brush with melted butter and seasoning.
Step 5: Bake to Perfection
Cover the sliders and bake at 350°F for 15 minutes.
Remove the cover and continue baking for an additional 10 minutes.
Finish by broiling briefly and brushing with remaining butter for a golden, crispy exterior.
Tips for Warm, Melty Sliders
Fun Slider Variations to Explore
Serving Sliders at Parties
Storing Beef & Cheddar Sliders
FAQs
Thinly sliced roast beef from the deli or leftover pot roast are ideal. Choose lean, tender cuts that will remain juicy and easy to layer in the small slider rolls.
Yes, you can prepare the components in advance. Make the cheese sauce and cook the beef a day before, then assemble and bake just before serving to maintain the best texture and flavor.
No special equipment is required. A standard baking dish, whisk, and oven are all you need to create these delicious sliders. A basic saucepan works great for the cheese sauce.
Quickly heating the beef in the hot broth mixture and not overcooking prevents the meat from becoming tough.
Print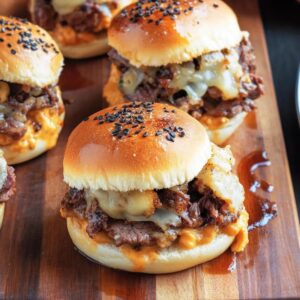
Roast Beef Cheddar Liders Recipe
- Total Time: 55 minutes
- Yield: 12 1x
Description
Mouthwatering roast beef cheddar sliders bring classic comfort to your dinner table. Sharp cheddar and tender beef create a perfect handheld meal you’ll crave again and again.
Ingredients
Beef:
- 1.5 pounds (680 grams) shaved rare roast beef
- 2 cups (473 milliliters) beef broth
- 3 tablespoons (45 milliliters) Worcestershire sauce
Cheese Sauce:
- 2 tablespoons (28 grams) butter
- 2 tablespoons (15 grams) all-purpose flour
- 1 cup (237 milliliters) whole milk
- 1/4 teaspoon kosher salt
- 1/4 teaspoon white pepper
- 1/4 teaspoon dry mustard
- 1 pinch nutmeg
- 1.5 cups (170 grams) shredded sharp white cheddar
Assembly:
- 12 slider rolls
- 2 tablespoons (28 grams) melted butter
- 1–2 tablespoons (15–30 grams) everything bagel seasoning
- Arby’s sauce
Instructions
- Allow beef to rest at room temperature, whisking together beef broth and Worcestershire sauce for enhanced flavor depth.
- Craft a velvety cheese sauce by creating a roux with butter and flour, gradually incorporating hot milk and whisking until thickened and smooth.
- Rapidly heat broth mixture to boiling point, then swiftly submerge beef and immediately strain to preserve optimal tenderness.
- Construct layered sliders by spreading Arby’s sauce on roll bottoms, carefully arranging beef slices, and generously drizzling prepared cheese sauce.
- Position slider tops and delicately brush with seasoned butter mixture, ensuring even coating.
- Cover slider tray and bake at 350°F for 15 minutes, then uncover and continue baking for additional 10 minutes to develop golden edges.
- Finish by placing under broiler briefly to achieve crispy, caramelized top, then brush with remaining butter for glistening presentation.
Notes
- Let meat rest at room temperature for even cooking and maximum tenderness.
- Create a foolproof roux by whisking butter and flour constantly to prevent lumps in cheese sauce.
- Pat beef dry before heating to ensure perfect moisture retention and prevent steaming.
- Use Hawaiian rolls for extra sweetness and soft texture that complements savory beef.
- Brush slider tops with garlic butter for enhanced flavor and golden-brown appearance.
- Prep sliders ahead and refrigerate before baking for convenient make-ahead meal option.
- Replace beef with pulled chicken or jackfruit for alternative protein choices.
- Prep Time: 30 minutes
- Cook Time: 25 minutes
- Category: Lunch, Dinner, Appetizer, Snacks
- Method: Baking
- Cuisine: American
Nutrition
- Serving Size: 12
- Calories: 350
- Sugar: 2 g
- Sodium: 800 mg
- Fat: 20 g
- Saturated Fat: 10 g
- Unsaturated Fat: 8 g
- Trans Fat: 0 g
- Carbohydrates: 25 g
- Fiber: 1 g
- Protein: 18 g
- Cholesterol: 60 mg
Lena Martinez
Contributing Writer & Culinary Educator
Expertise
Southwestern and Latin American cuisines, Vegetarian and plant-based recipe development, Culinary education and community outreach
Education
Santa Fe Community College, Santa Fe, NM
Certificate in Culinary Arts
Emphasized Southwestern cuisine and sustainable cooking practices
Lena grew up surrounded by the colors, spices, and traditions of the Southwest – flavors that sparked her love for bold, honest cooking. After earning her Culinary Arts certificate at Santa Fe Community College, she made it her mission to teach home cooks how to create flavorful, plant-powered meals without the fuss.
Her recipes are packed with vibrant ingredients, simple steps, and the kind of heart that turns a regular meal into something you’ll want to share. Outside the kitchen, Lena spends her time wandering farmers’ markets, trading family recipes, and helping young chefs find their voice through food.