The Juiciest Roasted Stuffed Pears Recipe Everyone Will Adore
Sweet, golden autumn calls for a delightful roasted stuffed pears recipe that transforms ordinary fruit into an elegant dessert.
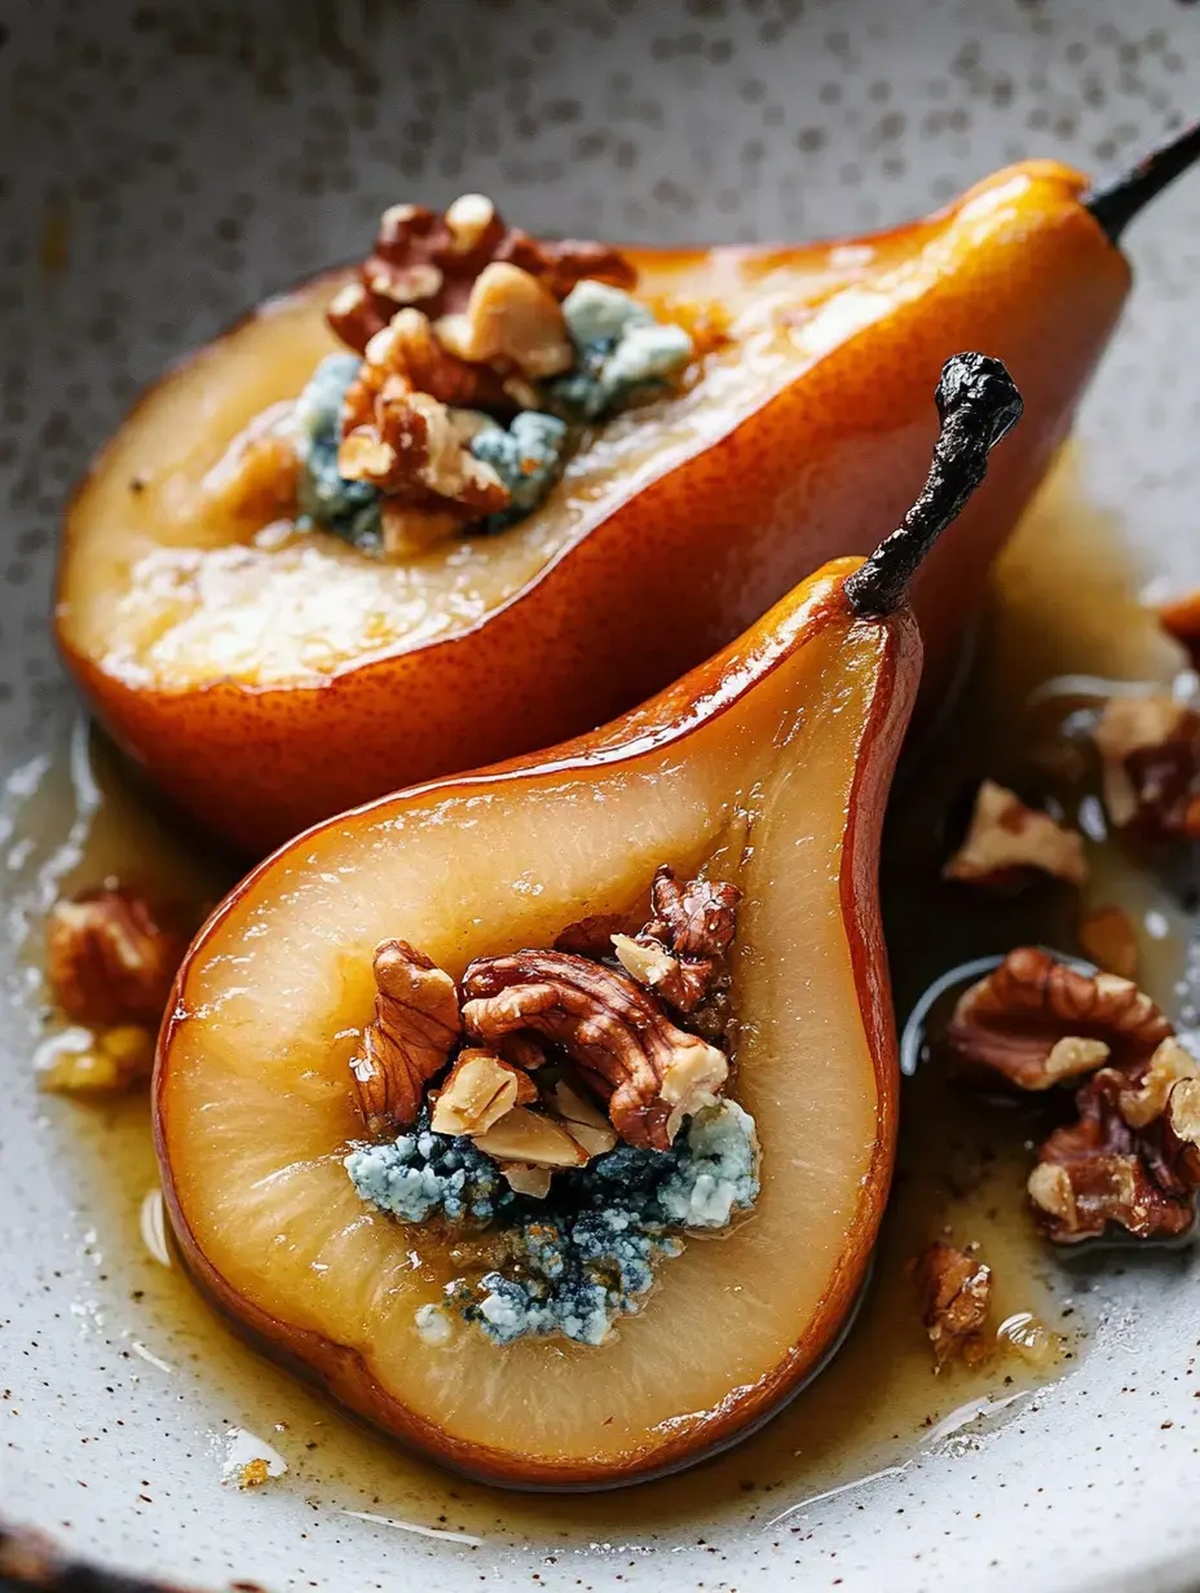
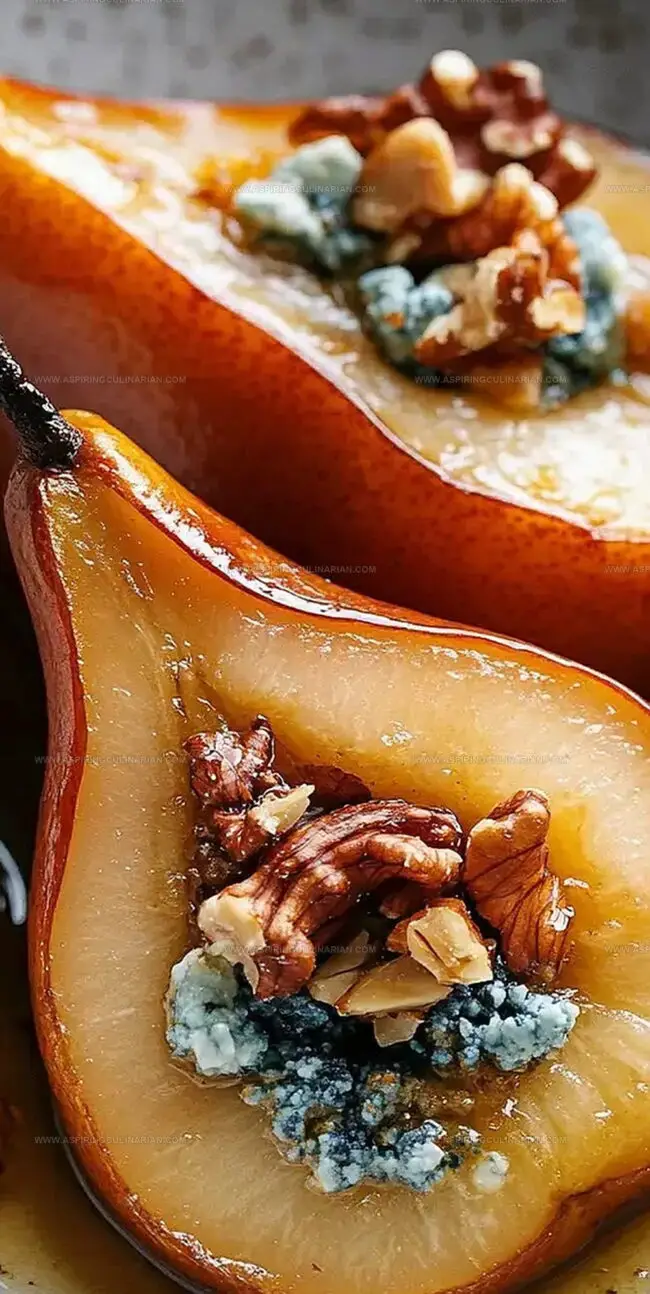
Ripe pears become the perfect canvas for a rich, nutty filling that melts in your mouth.
Warm spices like cinnamon and nutmeg dance through each tender bite, creating a symphony of flavors.
The aroma wafting from the oven promises pure comfort and indulgence.
Nuts and honey blend seamlessly within the soft pear flesh, offering a delectable contrast of textures.
This simple yet sophisticated dessert elevates your table with minimal effort and maximum deliciousness.
Prepare to wow everyone with this irresistible treat that celebrates the best of seasonal ingredients.
Sweet Savory Pears Delicious Touch
Ingredients for Sweet Savory Pears
Main Ingredients:Sweeteners:Kitchen Basics:Preparing Sweet Savory Pears at Home
Step 1: Warm Up The Oven
Crank your oven to a toasty 350°F (180°C).
This warm embrace will transform your pears into a delectable dessert.
Step 2: Slice And Prepare Pears
Gently slice pears lengthwise, keeping their elegant stems attached.
This preserves their beautiful natural shape and adds a rustic charm to your dish.
Step 3: Create Pear Cavities
Using a small spoon, carefully scoop out the core from each pear half.
This creates a perfect little pocket for your delicious filling.
Step 4: Initial Roasting
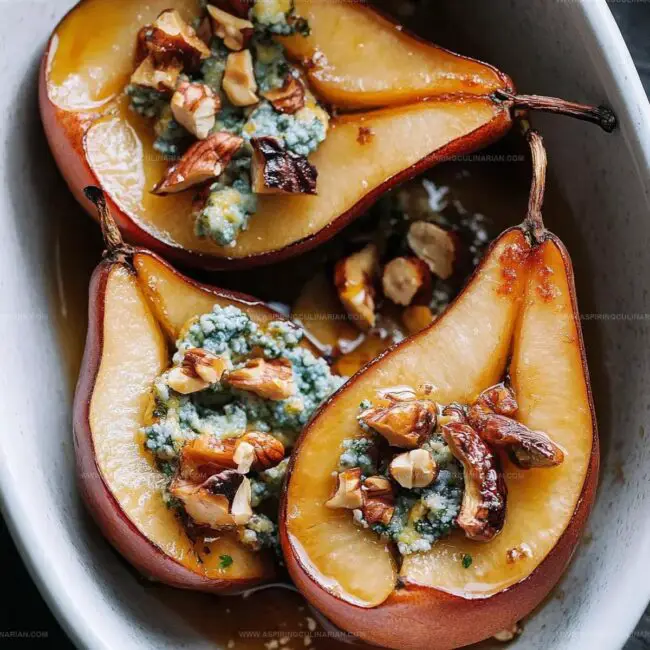
Arrange pear halves cut-side up in a baking dish.
Sprinkle brown sugar generously over the pears.
Cover the dish with aluminum foil, creating a steamy environment that will soften the fruit.
Step 5: First Baking Session
Slide the covered dish into the preheated oven.
Let the pears bake for about 30 minutes until they become wonderfully tender and start to caramelize.
Step 6: Craft The Filling
In a small mixing bowl, combine:Stir these ingredients until they form a creamy, nutty mixture.
Step 7: Final Transformation
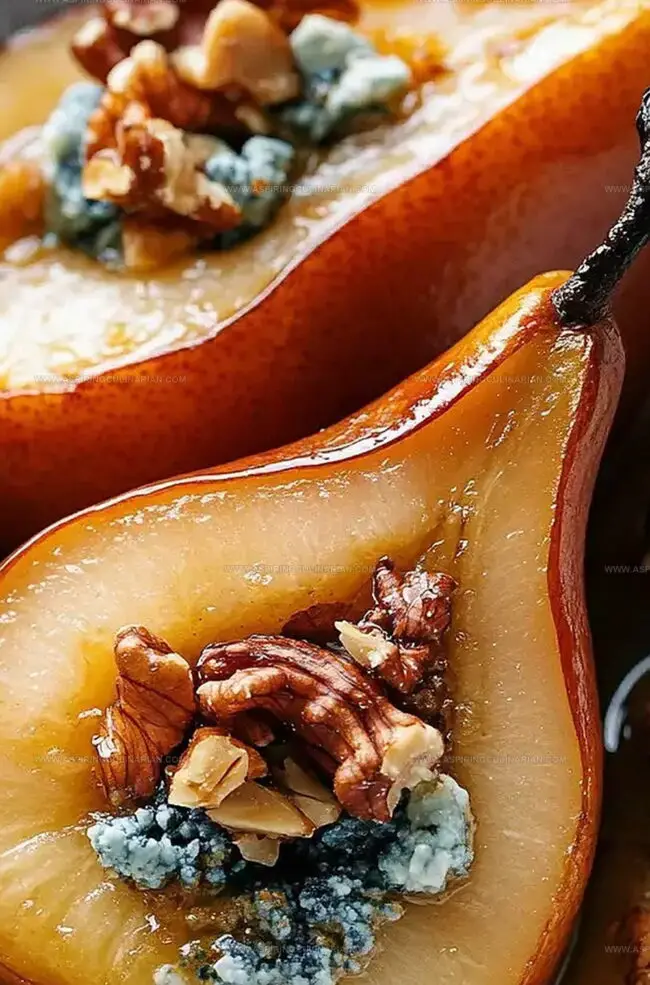
Uncover the pears and generously fill each hollow with the cheese mixture.
Return the dish to the oven and bake uncovered for 10-12 minutes until the cheese melts and becomes gloriously bubbly.
Step 8: Serve And Enjoy
Remove from oven and let cool slightly.
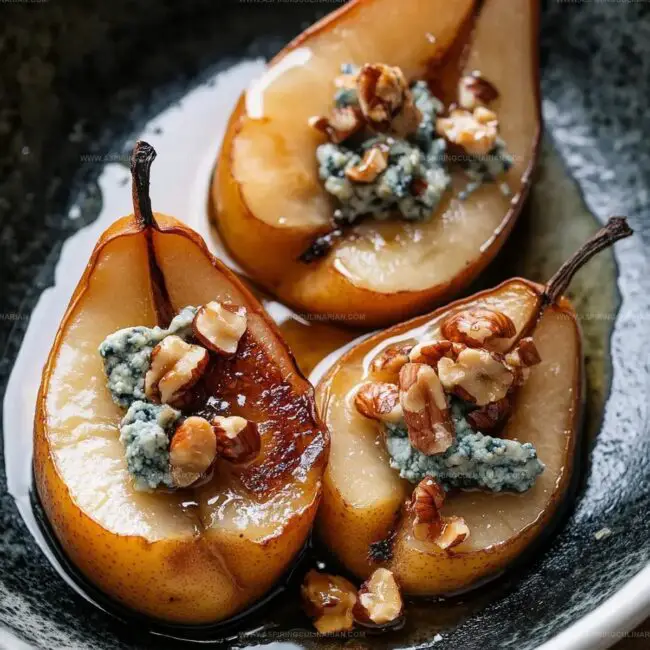
Serve warm as an elegant dessert or sophisticated appetizer that will impress everyone at the table.
Tips for Making Sweet Savory Pears Perfect
Fun Variations for Sweet Savory Pears
Sweet Savory Pears Serving Suggestions
Storage Solutions for Sweet Savory Pears
FAQs
Yes, you can substitute blue cheese with goat cheese, gorgonzola, or even cream cheese for a milder flavor.
No, keep the stems intact as they help maintain the pear’s shape and add a beautiful presentation to the dish.
Choose pears that are slightly soft when gently pressed near the stem, indicating they are ripe and perfect for baking.
Prepare the pears and filling separately, then assemble and bake just before serving to maintain the best texture and flavor.
Print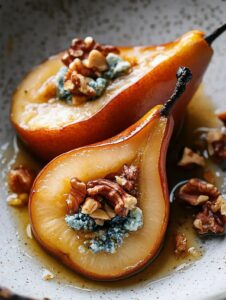
Roasted Stuffed Pears Recipe
- Total Time: 55 minutes
- Yield: 4 1x
Description
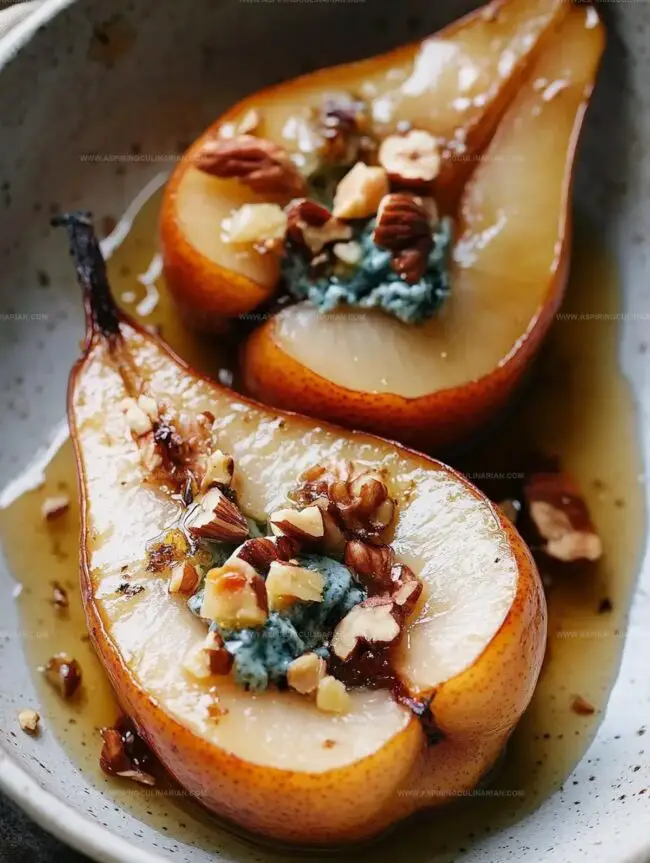
Sumptuous roasted stuffed pears bring Italian elegance to dessert tables with rich mascarpone and nutty walnut fillings. Served warm and drizzled with honey, this elegant treat will transport you to a charming countryside vineyard.
Ingredients
Main Ingredients:
- 4 pears
- 4 tablespoons (60 milliliters) blue cheese, crumbled
- 8 walnuts, coarsely chopped
Sweeteners:
- 2 teaspoons (10 grams) brown sugar
- 2 tablespoons (30 milliliters) honey
Instructions
- Preheat the oven to 180°C, creating an ideal environment for transforming fresh pears into a delectable dessert.
- Carefully slice pears lengthwise, preserving their elegant stems, then gently remove the core from each half using a small spoon or melon baller.
- Arrange the pear halves cut-side up in a baking dish, ensuring they sit comfortably and evenly.
- Generously dust the pear surfaces with brown sugar, creating a caramelizing layer that will enhance their natural sweetness.
- Cover the baking dish with aluminum foil, allowing the pears to steam and soften during the initial 30-minute baking process.
- While pears are baking, craft a luxurious filling by combining crumbled blue cheese, golden honey, and chopped walnuts in a mixing bowl.
- After the initial baking, remove the foil and carefully spoon the blue cheese mixture into the hollowed pear centers.
- Return the pears to the oven, baking uncovered for an additional 10-12 minutes until the cheese melts and becomes slightly golden.
- Remove from the oven and let rest for a few minutes, allowing the flavors to meld and the filling to set before serving.
Notes
- Pear Selection Choose ripe but firm pears like Bosc or Anjou for best texture and flavor absorption.
- Sugar Adjustment Reduce brown sugar for a less sweet version or substitute with coconut sugar for a healthier alternative.
- Cheese Flexibility Swap blue cheese with goat cheese or feta for different flavor profiles and dietary preferences.
- Make-Ahead Tip Prepare pears and filling separately, then assemble and bake just before serving to maintain optimal texture and warmth.
- Prep Time: 15 minutes
- Cook Time: 40 minutes
- Category: Desserts, Snacks
- Method: Baking
- Cuisine: Italian
Nutrition
- Serving Size: 4
- Calories: 220
- Sugar: 22 g
- Sodium: 150 mg
- Fat: 10 g
- Saturated Fat: 2 g
- Unsaturated Fat: 7 g
- Trans Fat: 0 g
- Carbohydrates: 30 g
- Fiber: 4 g
- Protein: 3 g
- Cholesterol: 5 mg
Lena Martinez
Contributing Writer & Culinary Educator
Expertise
Southwestern and Latin American cuisines, Vegetarian and plant-based recipe development, Culinary education and community outreach
Education
Santa Fe Community College, Santa Fe, NM
Certificate in Culinary Arts
Emphasized Southwestern cuisine and sustainable cooking practices
Lena grew up surrounded by the colors, spices, and traditions of the Southwest – flavors that sparked her love for bold, honest cooking. After earning her Culinary Arts certificate at Santa Fe Community College, she made it her mission to teach home cooks how to create flavorful, plant-powered meals without the fuss.
Her recipes are packed with vibrant ingredients, simple steps, and the kind of heart that turns a regular meal into something you’ll want to share. Outside the kitchen, Lena spends her time wandering farmers’ markets, trading family recipes, and helping young chefs find their voice through food.