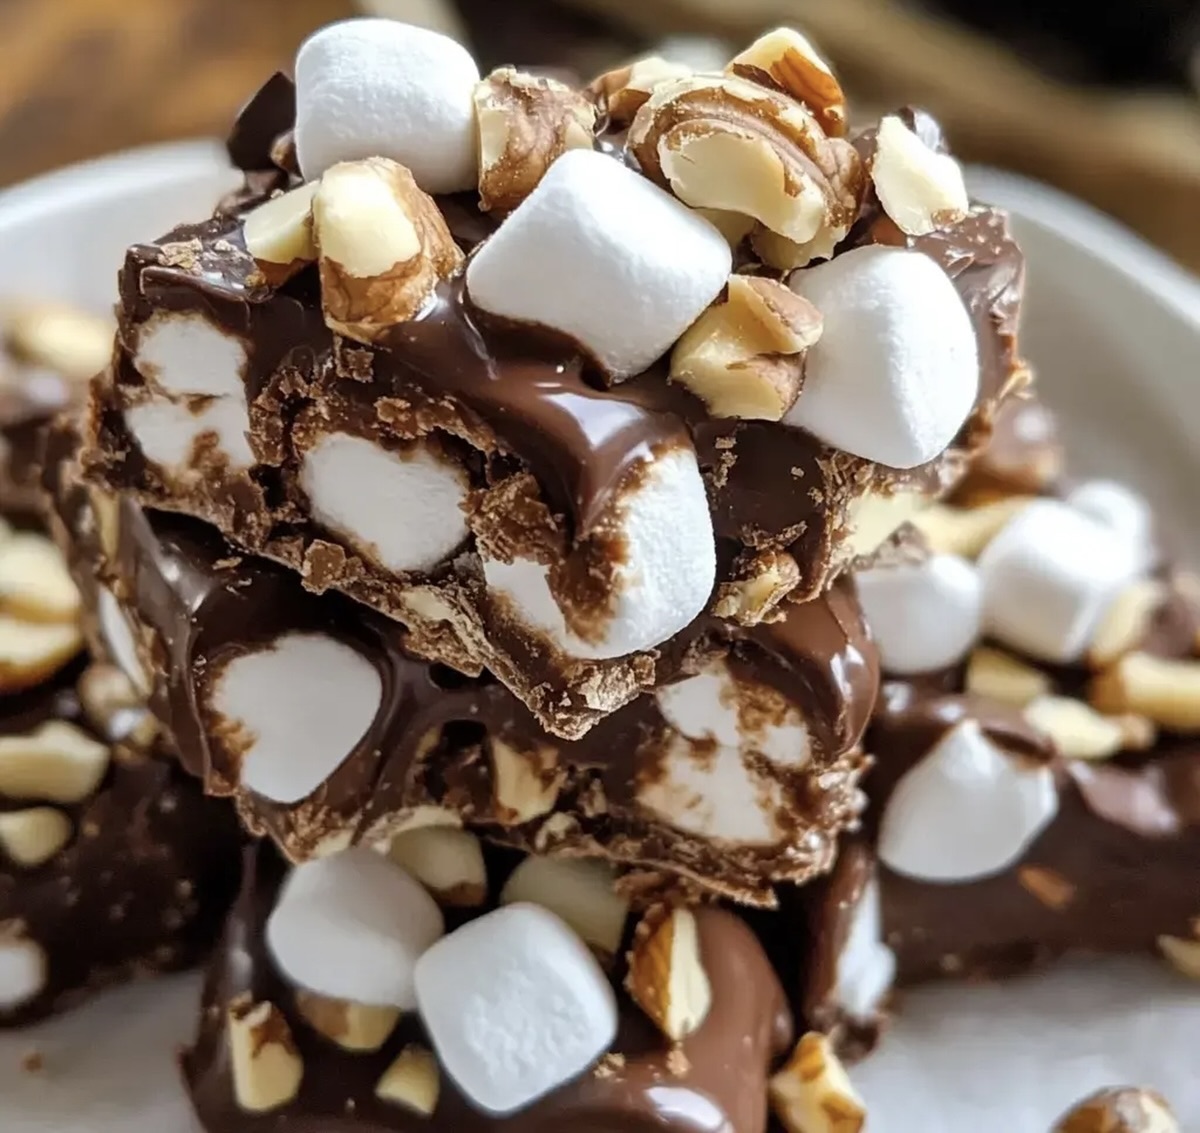
The Sweet & Crunchy Rocky Road Candy Recipe You’ll Adore
Crafting delectable rocky road candy brings pure joy to sweet-toothed adventurers seeking a delightful treat.
Chocolate lovers find themselves enchanted by this classic confection’s irresistible combination of textures and flavors.
Marshmallows, nuts, and rich chocolate merge into a heavenly blend that sparks instant happiness.
Childhood memories often dance alongside each delicious bite, connecting generations through shared culinary pleasure.
Simple ingredients transform into something magical with minimal effort and maximum satisfaction.
Amateur bakers and seasoned chefs alike can whip up this crowd-pleasing dessert in minutes.
You’ll fall head over heels for this mouthwatering creation that promises to become your new favorite indulgence.
Rocky Road Candy Indulgent Qualities for Sweet Tooths
What’s Needed for a Batch of Rocky Road Candy
Main Ingredients:Supporting Ingredients:Preparation Ingredients:Instructions for Mixing Up Rocky Road Candy
Step 1: Prepare Workspace
Grab a microwave-safe bowl, parchment paper, and an 8×8 baking pan.
Line the pan with parchment paper, allowing extra hanging over the sides for easy removal later.
Step 2: Create Chocolate Base
Combine chocolate chips and sweetened condensed milk in the microwave-safe bowl.
Heat in 30-second bursts, stirring between each interval until the mixture becomes completely smooth and glossy.
Step 3: Enhance Flavor
Add vanilla extract to the melted chocolate mixture.
Stir gently to distribute the rich, aromatic flavor throughout the chocolate.
Step 4: Incorporate Mix-Ins
Gently fold in the following ingredients:Ensure the mix-ins are evenly distributed throughout the chocolate base.
Step 5: Transfer and Smooth
Pour the rocky road mixture into the prepared parchment-lined pan.
Use a spatula to spread the mixture evenly, creating a smooth, consistent layer.
Step 6: Chill and Set
Place the pan in the refrigerator.
Allow the candy to set completely, which typically takes about 2 hours.
The candy should become firm and hold its shape when touched.
Step 7: Slice and Serve
Remove the candy from the refrigerator.
Lift the parchment paper to transfer the entire block onto a cutting board.
Use a sharp knife to cut into square or rectangular pieces.
Serve and enjoy the delightful rocky road candy.
Tips for a Perfectly Chewy, Nutty Rocky Road
Mix-In Variations for Rocky Road Candy
How to Serve Rocky Road Candy at Events
Storing Rocky Road Candy for Maximum Freshness
FAQs
Yes, you can substitute milk, dark, or semi-sweet chocolate chips depending on your preference. Each type will create a slightly different flavor profile.
Use 30-second intervals in the microwave and stir between each interval. This helps distribute heat evenly and prevents scorching.
Traditionally, almonds or walnuts are used, but you can also try pecans or peanuts for a unique twist. Chopped nuts add great texture and crunch.
Absolutely! Rocky road candy is a simple, fun recipe that children can help prepare. Just supervise the chocolate melting step to ensure safety.
Print
Rocky Road Candy Recipe
- Total Time: 2 hours 15 minutes
- Yield: 12 1x
Description
Indulgent Rocky Road Candy weaves chocolate, marshmallows, and nuts into a delightful sweet escape. Creamy chocolate embraces crunchy textures, creating a nostalgic treat that melts hearts and satisfies your deepest dessert cravings.
Ingredients
Main Ingredients:
- 2 cups (300 grams) semi-sweet chocolate chips
- 2 cups (100 grams) mini marshmallows
- 1 cup (125 grams) chopped walnuts or peanuts
Liquid Ingredients:
- 1/2 cup (120 milliliters) sweetened condensed milk
Flavor Enhancers:
- 1/2 teaspoon (2.5 milliliters) vanilla extract
Instructions
- Create a smooth chocolate base by gently melting chocolate chips and sweetened condensed milk in a microwave, stirring every 30 seconds until completely blended.
- Enhance the flavor profile by incorporating vanilla extract into the molten chocolate mixture, stirring thoroughly.
- Introduce texture and dimension by carefully folding mini marshmallows and chopped nuts into the chocolate, ensuring even distribution throughout the mixture.
- Transfer the rich chocolate concoction into a parchment-lined 8×8 inch pan, using a spatula to spread the mixture uniformly and create an even surface.
- Place the pan in the refrigerator and allow the rocky road candy to set for approximately 2 hours, or until the mixture becomes firm and fully solidified.
- Once chilled and set, remove from refrigerator and slice into bite-sized squares using a sharp knife, creating clean, precise cuts.
- Serve the rocky road candy at room temperature for optimal flavor and texture, allowing the marshmallows and nuts to soften slightly.
Notes
- Microwave chocolate gently to prevent burning, stirring between each interval for smooth melting.
- Use high-quality chocolate chips for richer, more decadent flavor and better texture.
- Allow mixture to cool slightly before adding marshmallows to prevent them from melting completely.
- Try different nut varieties like almonds, pecans, or pistachios for unique flavor profiles.
- Prep Time: 15 minutes
- Cook Time: 2 hours
- Category: Snacks, Desserts
- Method: Blending
- Cuisine: American
Nutrition
- Serving Size: 12
- Calories: 210
- Sugar: 18 g
- Sodium: 30 mg
- Fat: 13 g
- Saturated Fat: 6 g
- Unsaturated Fat: 5 g
- Trans Fat: 0.1 g
- Carbohydrates: 24 g
- Fiber: 2 g
- Protein: 3 g
- Cholesterol: 10 mg


Nathaniel Brooks
Founder & Recipe Developer
Expertise
Farm-to-table cuisine, Seasonal recipe development, Culinary storytelling
Education
Ivy Tech Community College – Indianapolis, IN
Culinary Arts / Hospitality Administration & Events
Focused on hands-on training in classical and modern culinary techniques.
Nathaniel’s story starts in the foothills of the Appalachian Mountains, where farm stands, backyard gardens, and old family recipes shaped his love for real food. After graduating from Ivy Tech Community College in Indianapolis, he spent years working in farm-to-table kitchens, learning how to turn local, seasonal ingredients into something memorable.
Today, Nathaniel pours that same spirit into every single recipe on Aspiring Culinarian – recipes that feel real, comforting, and connected to the land. When he’s not in the kitchen, you’ll find him foraging wild herbs, chasing sunsets with his camera, or writing about the flavors that shaped his roots.