
The Best Sausage Stuffing Balls Recipe for Cozy Family Dinners
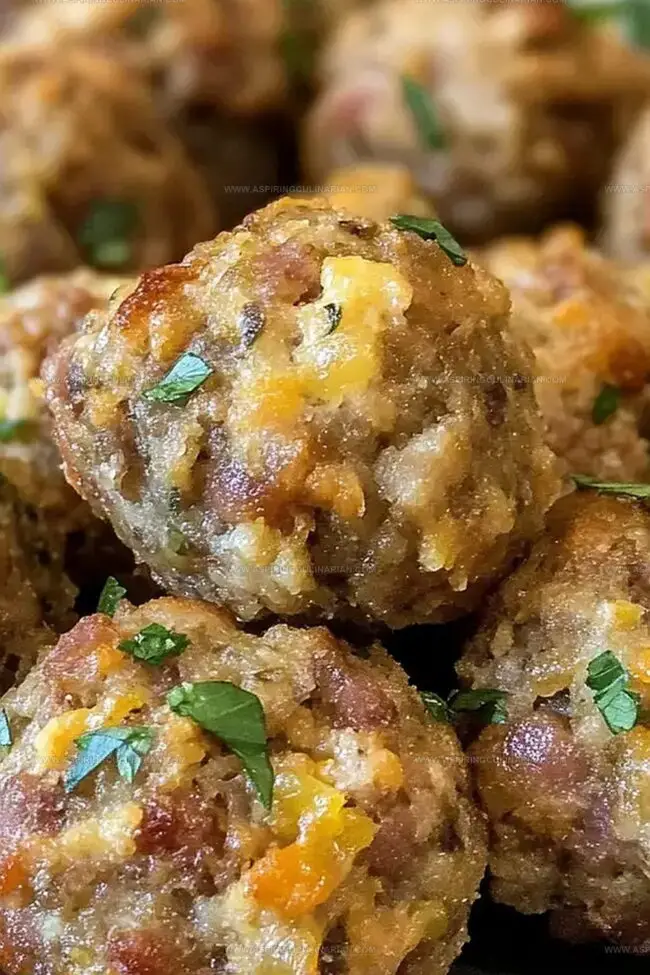
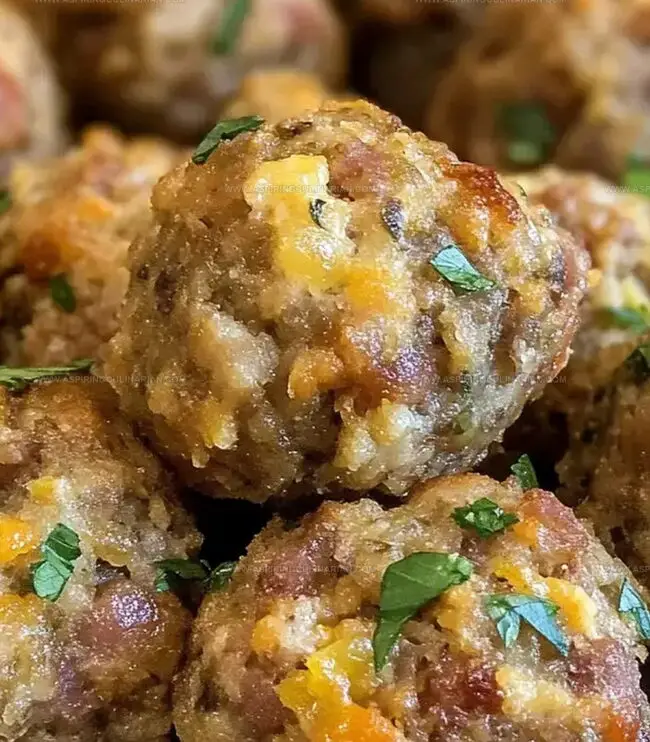
Crispy, golden sausage stuffing balls burst with mouthwatering flavor that makes dinner guests lean forward with anticipation.
Savory herbs mingle with juicy meat and soft bread crumbs in each perfectly crafted bite.
Memories of cozy kitchen gatherings flood back when these delectable morsels emerge from the oven.
Home cooks appreciate how quickly this recipe comes together with simple ingredients.
Smart preparation means minimal cleanup and maximum enjoyment around the table.
Serving these delightful bites guarantees smiles and requests for seconds from everyone present.
Grab a plate and see why these sausage stuffing balls will become your new favorite party appetizer.
Cheesy Sausage Party Bites: The Fun Factor
Must-Haves for Sausage Party Bites
Main Protein:Cheese and Binding:Flavor and Texture Base:Party Bites: Fast Assembly Guide

Step 1: Fire Up the Oven
Crank your oven to a toasty 350°F, getting ready for some serious flavor action.
Step 2: Prep Your Baking Zone
Grab a baking sheet and line it with parchment paper, creating a non-stick paradise for your tasty bites.
Step 3: Craft the Stuffing Base
Whip up the stuffing mix according to the package directions, ensuring a perfect fluffy foundation for your poppers.
Step 4: Create the Flavor Explosion
In a spacious mixing bowl, combine your delicious ingredients:Stir everything together until it’s perfectly blended and looking irresistible.
Step 5: Shape Your Flavor Bombs
Using your hands, roll the mixture into bite-sized balls, each about a tablespoon in size.
Channel your inner chef and make them uniform.
Step 6: Compact the Goodness
Gently but firmly press each ball, ensuring they’re compact and will hold together during baking.
Step 7: Arrange for Deliciousness
Carefully place each popper on the prepared baking sheet, giving them a little breathing room.
Step 8: Bake to Perfection
Slide the baking sheet into the oven and let those poppers bake for 25 minutes.
You’re looking for a golden-brown exterior and completely cooked interior.
Little Tips for Cheesy Sausage Wins
Party Bites – Tasty Twists to Try
Ways to Share Sausage Party Bites
Storing Sausage Bites the Easy Way
FAQs
Look for a golden brown exterior and internal temperature of 160°F. The bites should feel firm when touched and have no pink meat inside.
Absolutely! Try breakfast sausage, Italian sausage, or chorizo for unique flavor variations. Just ensure the meat is fully cooked before mixing with other ingredients.
Pack the balls tightly and make sure ingredients are evenly distributed. If too crumbly, add a bit more cheese or an egg to help bind the mixture.
Print
Sausage Stuffing Balls Recipe
- Total Time: 45 minutes
- Yield: 12 1x
Description
Sausage stuffing balls bring festive Italian-inspired comfort to classic holiday appetizers. Packed with savory sausage, herbs, and cheese, you’ll savor each crispy, golden bite of this crowd-pleasing party starter.
Ingredients
Main Protein Ingredients:
- 1 pound (454 grams) ground breakfast sausage
- 8 slices bacon, cooked and diced
Cheese Ingredient:
- 3 cups (340 grams) cheddar cheese, shredded
Additional Ingredients:
- 6 ounces (170 grams) boxed stuffing mix (or 3 cups homemade stuffing)
Instructions
- Warm the oven to 350°F and position a rack in the center.
- Cover a baking sheet with parchment paper, creating a non-stick surface for the appetizers.
- Prepare the stuffing mix according to the package instructions, ensuring it’s fully cooked and cooled slightly.
- Combine crumbled sausage, crispy bacon pieces, prepared stuffing, and shredded cheese in a spacious mixing bowl.
- Gently form the mixture into compact, uniform bite-sized spheres using your hands, applying light pressure to help them hold together.
- Carefully arrange the formed balls on the prepared baking sheet, spacing them evenly to allow proper heat circulation.
- Transfer the baking sheet to the preheated oven and bake for 25 minutes, rotating the sheet halfway through to ensure even browning.
- Remove from the oven when the bites are golden brown and heated completely through, with a crispy exterior and soft interior.
Notes
- Customize the stuffing mix by using homemade or gluten-free versions for dietary restrictions.
- Try different cheese types like sharp cheddar, gouda, or pepper jack for varied flavor profiles.
- Use lean sausage or turkey sausage to reduce overall fat content while maintaining delicious taste.
- Make ahead and freeze uncooked balls for convenient meal prep, storing in airtight containers for up to one month.
- Prep Time: 20 minutes
- Cook Time: 25 minutes
- Category: Appetizer, Snacks, Dinner
- Method: Baking
- Cuisine: American
Nutrition
- Serving Size: 12
- Calories: 357
- Sugar: 1 g
- Sodium: 560 mg
- Fat: 28 g
- Saturated Fat: 11 g
- Unsaturated Fat: 15 g
- Trans Fat: 0.5 g
- Carbohydrates: 9 g
- Fiber: 1 g
- Protein: 17 g
- Cholesterol: 65 mg
Nathaniel Brooks
Founder & Recipe Developer
Expertise
Farm-to-table cuisine, Seasonal recipe development, Culinary storytelling
Education
Ivy Tech Community College – Indianapolis, IN
Culinary Arts / Hospitality Administration & Events
Focused on hands-on training in classical and modern culinary techniques.
Nathaniel’s story starts in the foothills of the Appalachian Mountains, where farm stands, backyard gardens, and old family recipes shaped his love for real food. After graduating from Ivy Tech Community College in Indianapolis, he spent years working in farm-to-table kitchens, learning how to turn local, seasonal ingredients into something memorable.
Today, Nathaniel pours that same spirit into every single recipe on Aspiring Culinarian – recipes that feel real, comforting, and connected to the land. When he’s not in the kitchen, you’ll find him foraging wild herbs, chasing sunsets with his camera, or writing about the flavors that shaped his roots.