
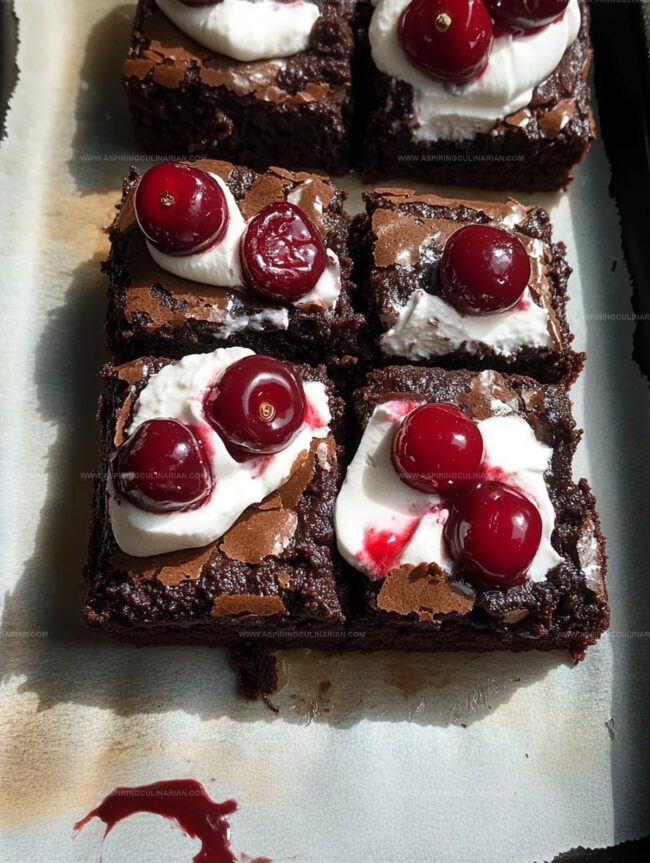
Irresistible Small Batch Black Forest Brownies Recipe for Chocolate Lovers
Chocolate lovers rejoice as these small batch black forest brownies recipe bring decadence to a whole new level.
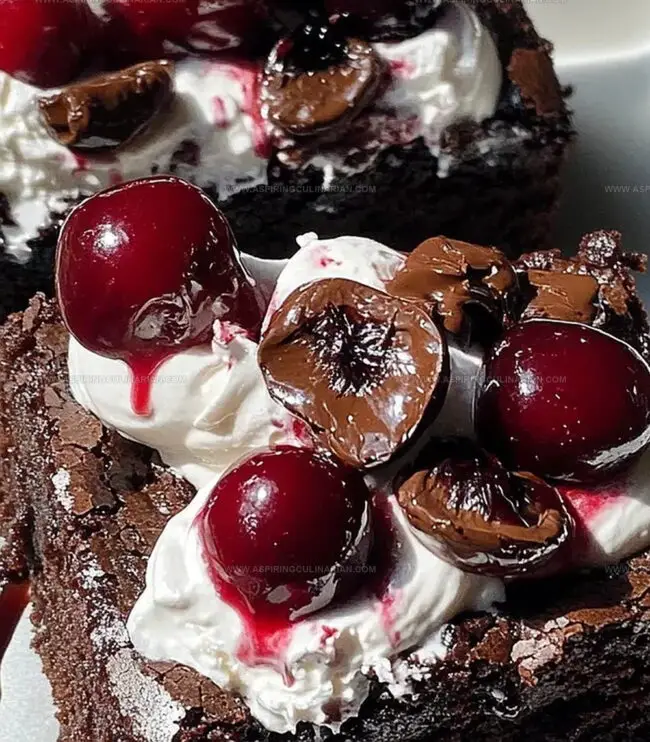
Rich cocoa meets luscious cherries in a compact dessert that packs serious flavor.
Every bite tells a delightful story of deep chocolate and sweet fruit harmony.
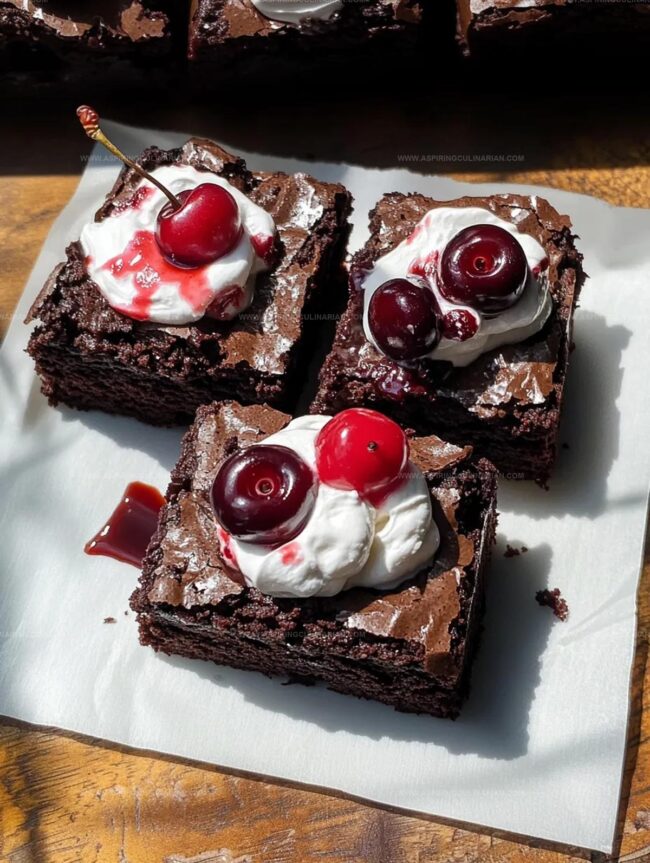
The small batch approach ensures each brownie is perfectly crafted and intensely delicious.
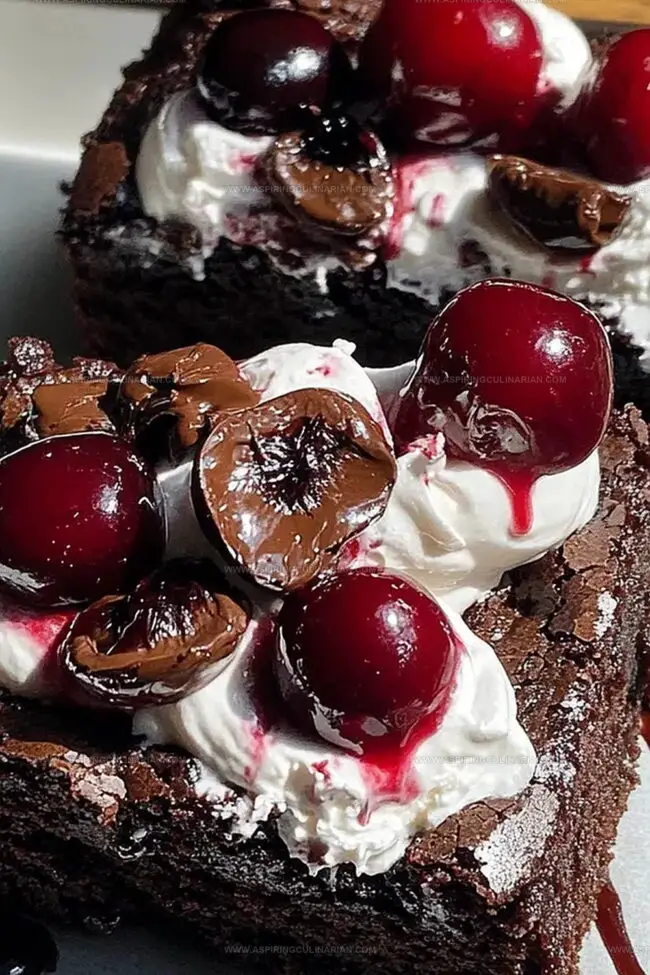
Dark chocolate creates a luxurious base that melts seamlessly with tart cherries.
Layers of indulgence await in this compact treat that’s perfect for intimate gatherings or solo dessert moments.
Prepare to savor a dessert that transforms simple ingredients into an extraordinary culinary experience.
Black Forest Brownies: Reasons to Enjoy
Black Forest Brownies Ingredient List
Main Ingredients:Flavor Enhancers:Topping Ingredients:Black Forest Brownie Instructions
Step 1: Warm Up The Oven
Crank the oven to 350F (175C).
Grab a small baking dish like a 6×6 inch pan or loaf pan.
Line it with parchment paper, letting some hang over the edges so you can easily lift out your delicious creation later.
Step 2: Create Brownie Magic
Grab a microwave-safe bowl and melt the butter until smooth.
Toss in sugar and whisk until everything looks well blended.
Drop in the egg and vanilla extract, whisking until the mixture looks light and dreamy.
Step 3: Mix Dry Ingredients
Sift cocoa powder into the wet mixture.
Add flour and salt.
Gently fold everything together, being super careful not to overmix.
You want your batter to look smooth but not beaten up.
Step 4: Bake To Perfection
Spread the batter evenly across your prepared pan.
Pop it into the oven and bake for 18-22 minutes.
Check doneness by inserting a toothpick – you want a few moist crumbs, not wet batter.
Let the brownies cool completely in the pan.
Step 5: Prepare Cherry Goodness
While brownies are cooling, drain the cherries.
Save 2 tablespoons of the juice for extra flavor magic.
Step 6: Final Delicious Assembly
Once brownies are totally cool, use a fork to poke small holes across the surface.
Drizzle the reserved cherry juice, letting it soak in.
Scatter drained cherries on top.
Add a dollop of whipped cream and sprinkle chocolate shavings if you’re feeling extra fancy.
Serve and enjoy!
Tips for Small-Batch Brownies
Creative Brownie Variations Here
Serving Black Forest Brownies Ideas
Storing Black Forest Brownies Fresh
FAQs
Black Forest Brownies combine rich chocolate brownie base with classic Black Forest cake elements like fresh cherries, cherry juice, and optional whipped cream, creating a decadent dessert that merges brownie and cake traditions.
Canned cherries work best for this recipe because they’re already pitted and have a consistent texture. Fresh or frozen cherries might release too much liquid and alter the brownie’s texture.
Look for a toothpick with a few moist crumbs when inserted into the center. The edges should be slightly set, and the middle should look slightly underbaked – this ensures a fudgy, soft brownie texture.
Print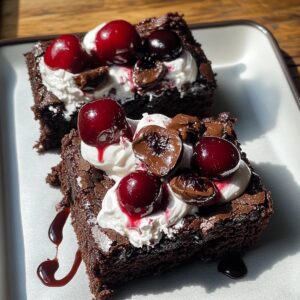
Small Batch Black Forest Brownies Recipe
- Total Time: 35 minutes
- Yield: 2 1x
Description
Indulgent Black Forest Brownies bring German chocolate charm to classic dessert lovers. Rich cocoa, cherries, and whipped cream create a luxurious mini treat you’ll savor with pure delight.
Ingredients
Main Ingredients:
- 1/4 cup (56 grams) unsalted butter
- 1/2 cup (100 grams) granulated sugar
- 1/4 cup (25 grams) cocoa powder
- 1/4 cup (30 grams) all-purpose flour
Binding Ingredients:
- 1 large egg
- 1/2 teaspoon vanilla extract
- 1/8 teaspoon salt
Toppings:
- 1/2 cup (120 milliliters) canned or jarred cherries (drained, juice reserved)
- 2 tablespoons (30 milliliters) cherry juice (from can)
- 1/2 cup (120 milliliters) whipped cream
- Chocolate shavings (optional)
Instructions
- Preheat the oven to 350F (175C) and prepare a 6×6 inch or loaf pan by lining it with parchment paper, ensuring extra overhang for easy brownie removal.
- Melt butter in a microwave-safe bowl, then vigorously whisk in sugar until thoroughly blended. Incorporate egg and vanilla extract, mixing until the mixture becomes smooth and slightly lighter in appearance.
- Sift cocoa powder into the wet ingredients, then gently fold in flour and salt. Mix until ingredients are just combined, avoiding overmixing to maintain a tender texture.
- Transfer batter to the prepared pan, spreading it evenly. Bake for 18-22 minutes, checking doneness with a toothpick that should emerge with a few moist crumbs, not wet batter.
- Allow brownies to cool completely within the pan. Meanwhile, drain cherries, reserving 2 tablespoons of their juice for additional flavor enhancement.
- Once cooled, create multiple small holes across the brownie surface using a fork. Carefully drizzle reserved cherry juice, allowing it to penetrate the brownie.
- Distribute drained cherries evenly over the surface. Optional: top with whipped cream and chocolate shavings for an indulgent finish. Serve and enjoy immediately for optimal taste and texture.
Notes
- Choose high-quality cocoa powder for richer, deeper chocolate flavor that elevates the entire brownie experience.
- Avoid overmixing the batter to prevent tough, dense brownies; gently fold ingredients until just combined for a tender crumb.
- Use room temperature egg for smoother batter integration and more consistent brownie texture.
- For gluten-free option, substitute all-purpose flour with almond flour or gluten-free baking blend, ensuring same measurement proportions.
- Prep Time: 15 minutes
- Cook Time: 20 minutes
- Category: Desserts, Snacks
- Method: Baking
- Cuisine: German
Nutrition
- Serving Size: 2
- Calories: 300
- Sugar: 20 g
- Sodium: 150 mg
- Fat: 15 g
- Saturated Fat: 9 g
- Unsaturated Fat: 4 g
- Trans Fat: 0 g
- Carbohydrates: 36 g
- Fiber: 1 g
- Protein: 3 g
- Cholesterol: 40 mg
Lena Martinez
Contributing Writer & Culinary Educator
Expertise
Southwestern and Latin American cuisines, Vegetarian and plant-based recipe development, Culinary education and community outreach
Education
Santa Fe Community College, Santa Fe, NM
Certificate in Culinary Arts
Emphasized Southwestern cuisine and sustainable cooking practices
Lena grew up surrounded by the colors, spices, and traditions of the Southwest – flavors that sparked her love for bold, honest cooking. After earning her Culinary Arts certificate at Santa Fe Community College, she made it her mission to teach home cooks how to create flavorful, plant-powered meals without the fuss.
Her recipes are packed with vibrant ingredients, simple steps, and the kind of heart that turns a regular meal into something you’ll want to share. Outside the kitchen, Lena spends her time wandering farmers’ markets, trading family recipes, and helping young chefs find their voice through food.