Easy S’mores Seven Layer Bars Recipe: Campfire Magic at Home
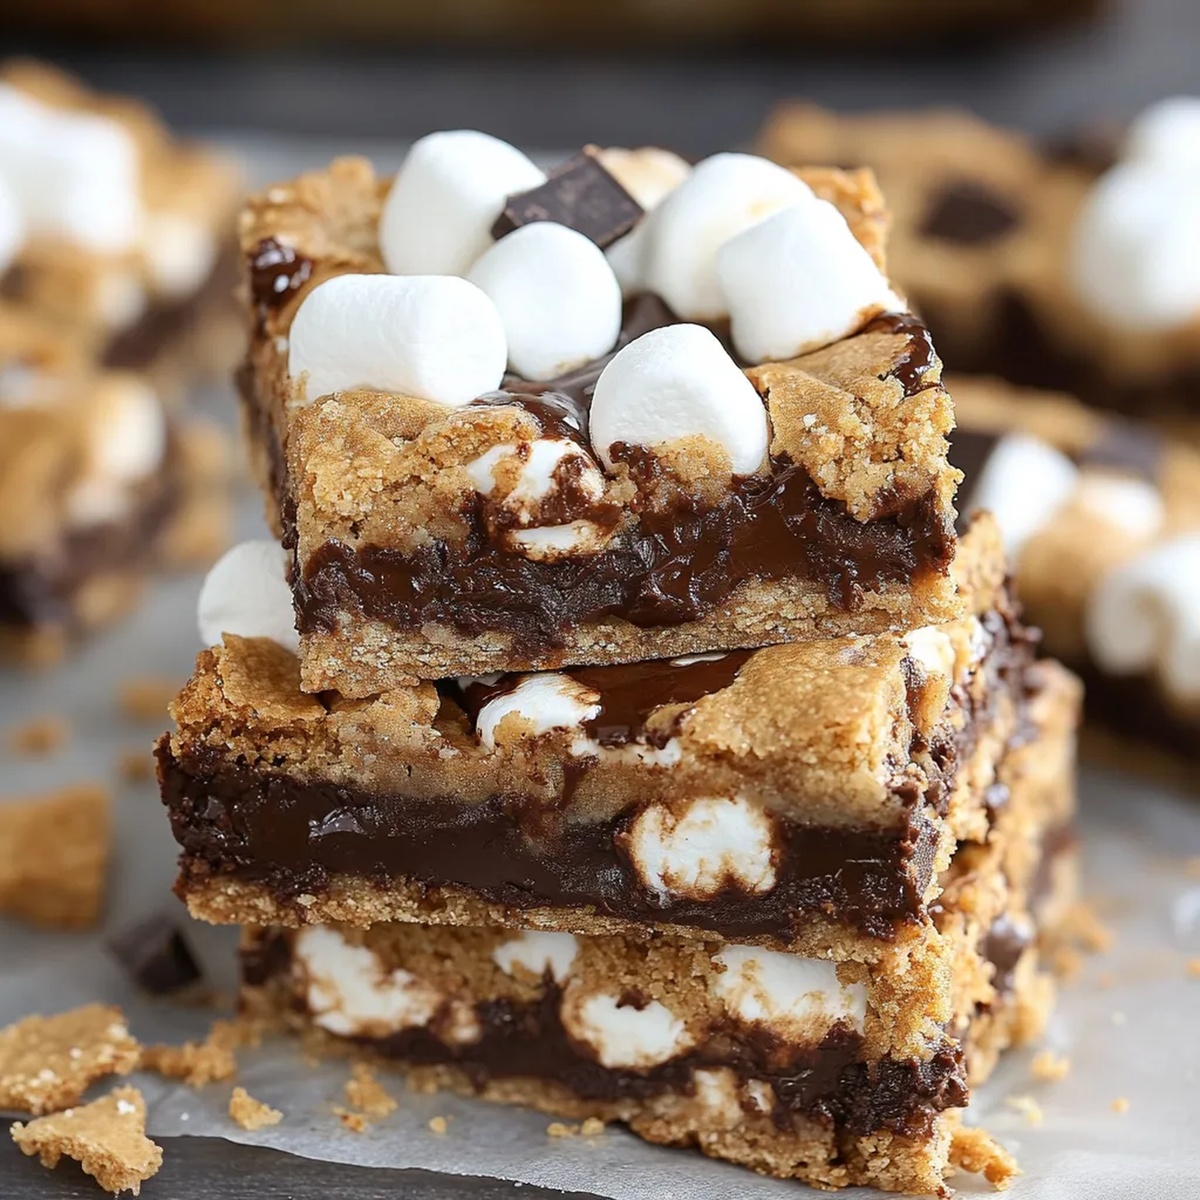
Decadent s’mores seven layer bars combine the best of campfire memories with indulgent dessert magic.
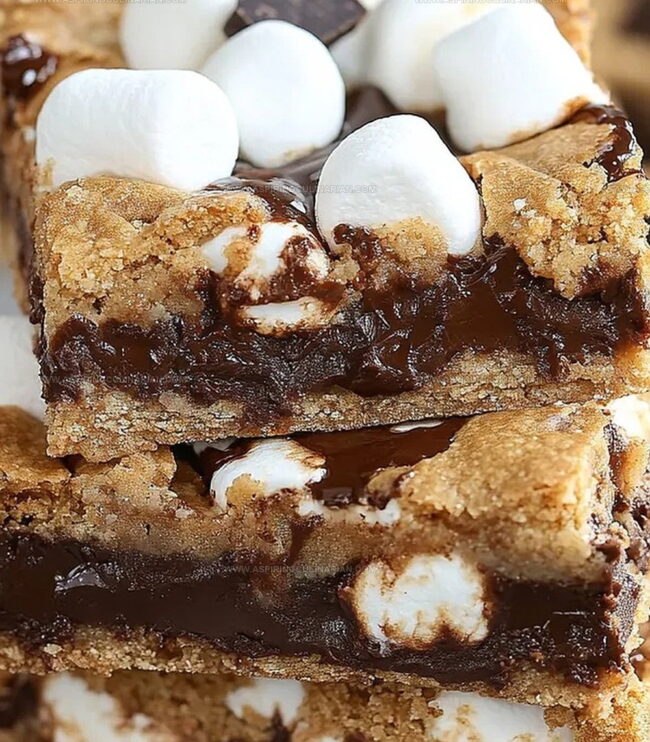
Layers of graham cracker, chocolate, and marshmallow create a nostalgic treat that melts hearts and satisfies sweet cravings.
Classic ingredients stack together in a delightful symphony of textures and flavors.
Each bite brings a delicious reminder of summer nights and cozy gatherings.
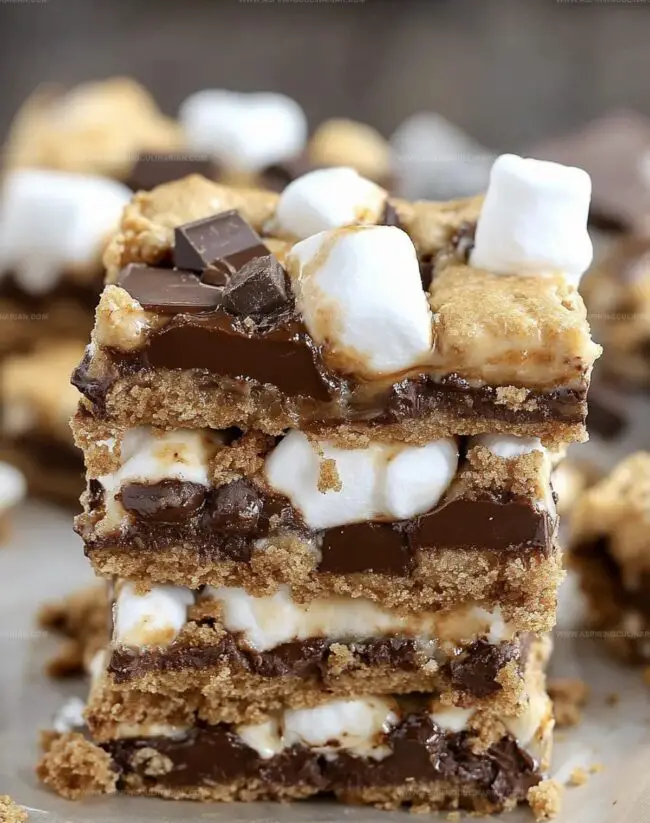
The chocolate chips and graham cracker base provide a rich foundation for this irresistible dessert.
Marshmallows add a gooey, golden touch that elevates every single bite.
You’ll want to share these bars with everyone who loves a classic campfire-inspired dessert.
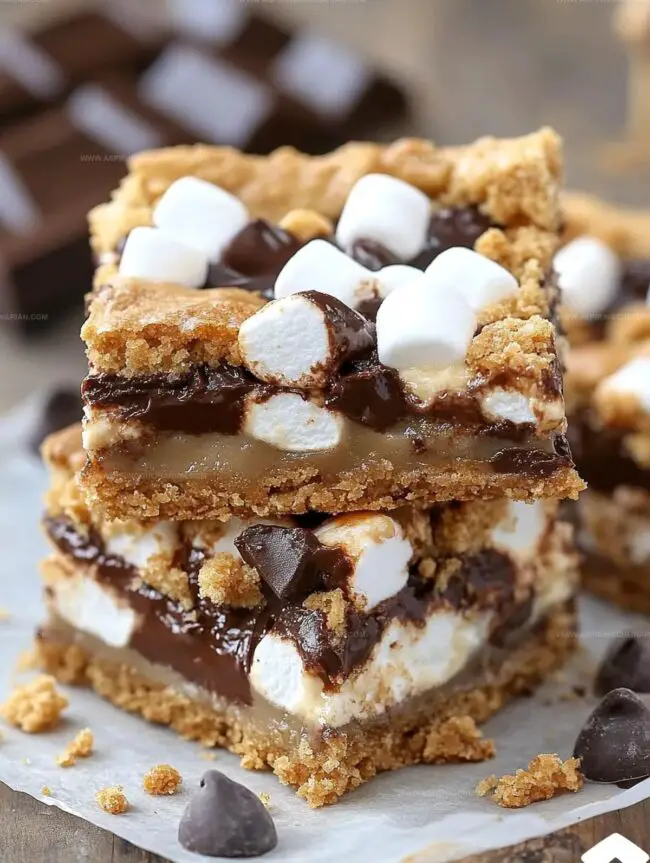
S’mores Seven Layer Bars Always Get Devoured Fast
S’mores Seven Layer Bars Everything You’ll Need For Baking
Base:Filling Layers:Topping:S’mores Seven Layer Bars Stepwise Directions For Beginners
Step 1: Prep Your Baking Stage
Warm up your oven to a cozy 350F.
Grab your 9×13 inch baking dish and give it a quick spray with non-stick cooking spray or line it with parchment paper for super easy bar removal later.
Step 2: Craft the Crumbly Foundation
Blend graham cracker crumbs with melted butter in a mixing bowl until they become best friends.
Press this mixture firmly into the bottom of your baking dish, creating a solid, delicious base that’ll make your taste buds dance.
Step 3: Drench with Sweet Goodness
Pour the sweetened condensed milk generously across the graham cracker crust.
Make sure every inch gets a creamy bath, setting the stage for pure deliciousness.
Step 4: Build Delectable Layers
Sprinkle your layers with love:Distribute these goodies evenly across the condensed milk landscape.
Step 5: First Baking Adventure
Pop the dish into the oven and bake for 15 minutes.
Watch as the edges bubble and marshmallows start to puff up and turn a gorgeous golden color.
Step 6: Marshmallow Encore
Pull out the dish and shower the top with remaining mini marshmallows, covering any naked spots for maximum gooey goodness.
Step 7: Final Baking Transformation
Return to the oven for another 10-15 minutes.
You’re looking for marshmallows to turn a beautiful toasty brown and edges to set perfectly.
Step 8: Chocolate Drama
Fresh out of the oven, immediately scatter broken chocolate bar pieces across the hot marshmallows.
Let them start melting into pure decadence.
Step 9: Patience Pays Off
Let your masterpiece cool on a wire rack.
Wait at least 15 minutes before cutting, though waiting until completely cool will give cleaner slices.
Either way, prepare for an epic dessert experience!
S’mores Seven Layer Bars Clever Tips From Experts Shared
S’mores Seven Layer Bars Twists Worth Trying This Year
Serve S’mores Seven Layer Bars On Any Occasion
S’mores Seven Layer Bars Storage Made Easy For All
FAQs
Yes, you can swap chocolate chips or bars with milk, dark, or semi-sweet chocolate based on your preference. Just ensure they’re similar in quantity.
Use parchment paper or non-stick spray in the baking dish. Let the bars cool completely before cutting to help layers set properly.
You can substitute with crushed digestive biscuits or shortbread cookies. The texture and flavor will be slightly different but still delicious.
Look for golden brown marshmallows, bubbling edges, and a set appearance. The bars should look slightly puffy and not liquid in the center.
Print
Smores Seven Layer Bars Recipe
- Total Time: 45 minutes
- Yield: 12 1x
Description
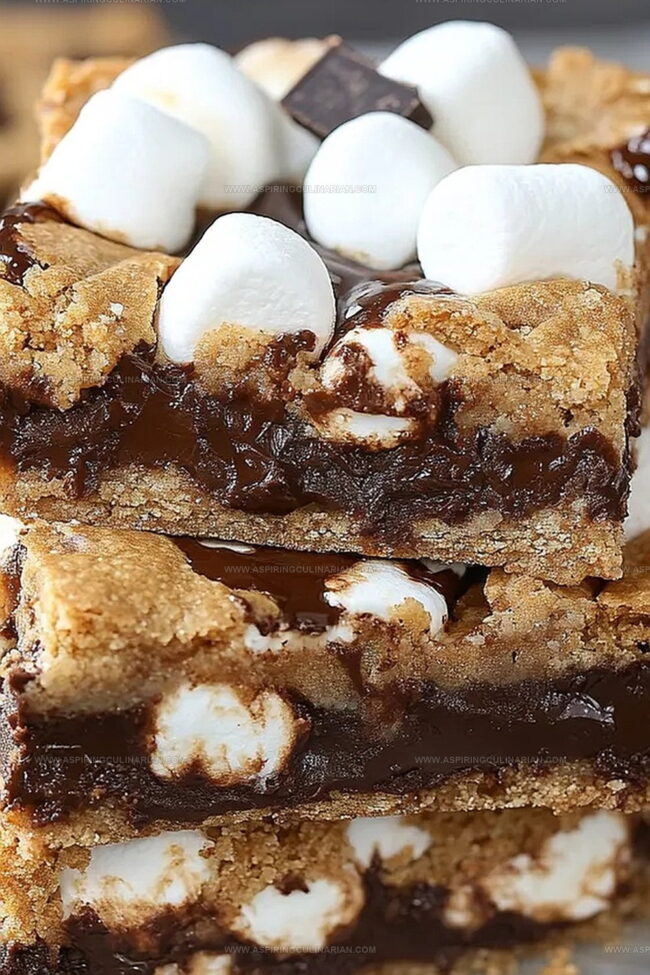
Indulgent s’mores seven layer bars blend campfire nostalgia with rich chocolate, graham cracker, and marshmallow layers. Gooey textures and sweet memories collide in this irresistible dessert you’ll crave after every meal.
Ingredients
Base and Filling:
- 2 1/2 cups graham cracker crumbs
- 3/4 cup (170 grams) melted butter
- 1 can (14 ounces / 396 grams) sweetened condensed milk
- 2 cups mini marshmallows
- 1 cup semi-sweet chocolate chips
- 1 cup broken graham cracker pieces
Chocolate and Topping:
- 2 chocolate bars (1.55 ounces / 44 grams each), broken into pieces
- 1 cup mini marshmallows (for topping)
Instructions
- Prepare the baking environment by heating the oven to 350°F and coating a 9×13 inch pan with non-stick spray or parchment paper for effortless bar removal.
- Combine graham cracker crumbs with melted butter, then firmly press the mixture into the pan’s base to create a solid foundation.
- Drizzle sweetened condensed milk uniformly across the graham cracker crust, ensuring complete coverage.
- Distribute half the mini marshmallows, all chocolate chips, and graham cracker pieces evenly over the condensed milk layer.
- Bake for 15 minutes until edges bubble and marshmallows start puffing and turning golden.
- Remove from oven and scatter remaining mini marshmallows across the surface, covering any exposed areas.
- Return to oven and continue baking 10-15 minutes until marshmallows toast to a golden brown and bar edges set firmly.
- Extract from oven and immediately garnish with broken chocolate bar pieces, allowing them to melt slightly from residual heat.
- Cool on a wire rack for minimum 15 minutes before slicing. For precise cuts, wait until completely cooled, though bars remain deliciously soft and gooey.
Notes
- Prevent Sticking Spray the baking dish with non-stick cooking spray or use parchment paper for effortless bar removal and easy cleanup.
- Compact Crust Press graham cracker mixture firmly and evenly to create a solid base that holds together when cutting and serving.
- Marshmallow Melting Watch marshmallows carefully during second bake to achieve golden-brown toasting without burning.
- Make Ahead Friendly These bars can be prepared a day in advance and stored at room temperature in an airtight container for maximum convenience.
- Prep Time: 15 minutes
- Cook Time: 30 minutes
- Category: Desserts, Snacks
- Method: Baking
- Cuisine: American
Nutrition
- Serving Size: 12
- Calories: 290
- Sugar: 21 g
- Sodium: 120 mg
- Fat: 15 g
- Saturated Fat: 9 g
- Unsaturated Fat: 6 g
- Trans Fat: 0 g
- Carbohydrates: 37 g
- Fiber: 1 g
- Protein: 2 g
- Cholesterol: 30 mg
Lena Martinez
Contributing Writer & Culinary Educator
Expertise
Southwestern and Latin American cuisines, Vegetarian and plant-based recipe development, Culinary education and community outreach
Education
Santa Fe Community College, Santa Fe, NM
Certificate in Culinary Arts
Emphasized Southwestern cuisine and sustainable cooking practices
Lena grew up surrounded by the colors, spices, and traditions of the Southwest – flavors that sparked her love for bold, honest cooking. After earning her Culinary Arts certificate at Santa Fe Community College, she made it her mission to teach home cooks how to create flavorful, plant-powered meals without the fuss.
Her recipes are packed with vibrant ingredients, simple steps, and the kind of heart that turns a regular meal into something you’ll want to share. Outside the kitchen, Lena spends her time wandering farmers’ markets, trading family recipes, and helping young chefs find their voice through food.