
The Fluffiest Sno Ball Brownies Recipe for Sweet Tooth Joy
Chocolate lovers rejoice as these sno ball brownies bring a nostalgic twist to classic desserts.
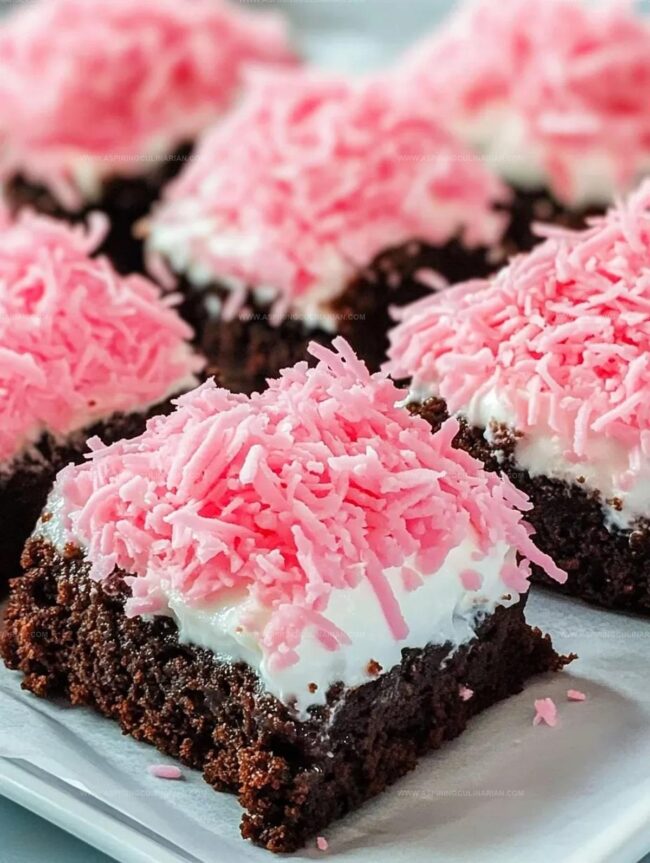
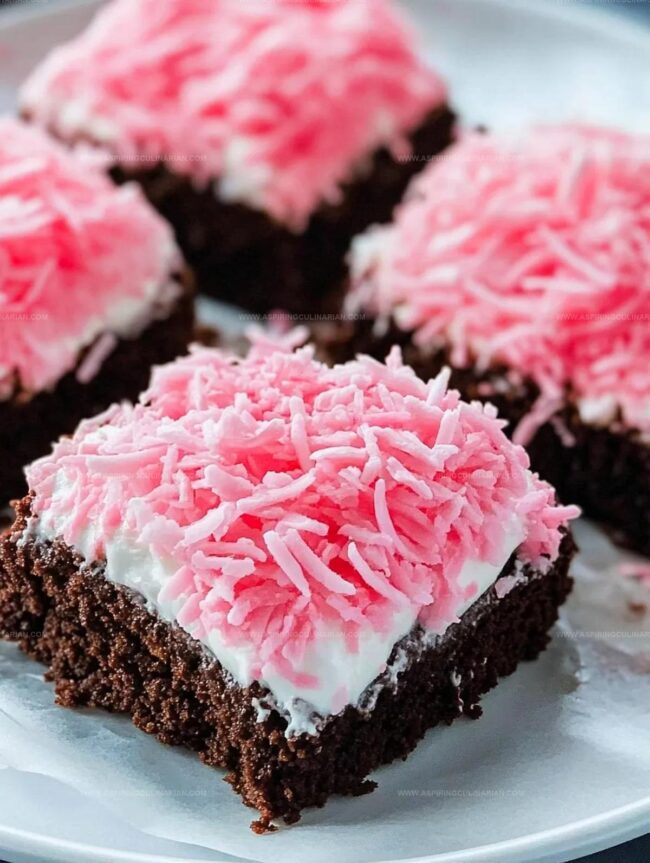
The rich, fudgy base creates the perfect canvas for a marshmallow and coconut explosion.
Decadent layers meld together in a sweet symphony of textures and flavors.
Each bite promises a delightful journey through creamy, chocolatey goodness.
The homemade treat combines childhood memories with gourmet indulgence.
Coconut enthusiasts and brownie fans will find this recipe irresistibly tempting.
Prepare to elevate your dessert game with this crowd-pleasing confection that’s sure to impress at any gathering.
Sno Ball Brownies Every Chocolate Lover’s Dream Dessert
All Items Needed For Sno Ball Brownies Listed
Main Ingredients:Dry Ingredients:Topping Ingredients:Make Sno Ball Brownies With These Simple Steps
Step 1: Prepare Baking Space
Warm up your oven to 325 degrees Fahrenheit.
Line an 8×8-inch baking pan with aluminum foil, ensuring some extra hangs over the edges for easy brownie removal.
Give the foil a light spray of cooking oil to prevent sticking.
Step 2: Create Chocolate Base
In a medium saucepan, combine:Melt these ingredients over medium-low heat, stirring constantly until smooth and completely blended.
Remove from heat once melted.
Step 3: Sweeten the Mixture
Whisk sugar into the chocolate blend until everything is perfectly combined and looks glossy.
Step 4: Incorporate Wet Ingredients
Add eggs and vanilla extract to the chocolate mixture.
Whisk until the batter becomes silky smooth and has a beautiful sheen.
Step 5: Mix in Dry Components
Gently fold flour and salt into the batter.
Stir just until ingredients are incorporated.
Avoid overmixing to keep the brownies tender.
Step 6: Bake the Brownies
Spread the batter evenly in the prepared pan.
Slide into the preheated oven and bake for about 40 minutes.
The brownies are done when a toothpick inserted in the center comes out with a few moist crumbs.
Step 7: Add Marshmallow Layer
While brownies are still warm, spread marshmallow fluff across the top.
The residual heat will help make spreading easier and smoother.
Step 8: Prepare Coconut Topping
Combine in a food processor:Pulse several times until coconut is slightly chopped and pink color is evenly distributed.
Step 9: Decorate with Coconut
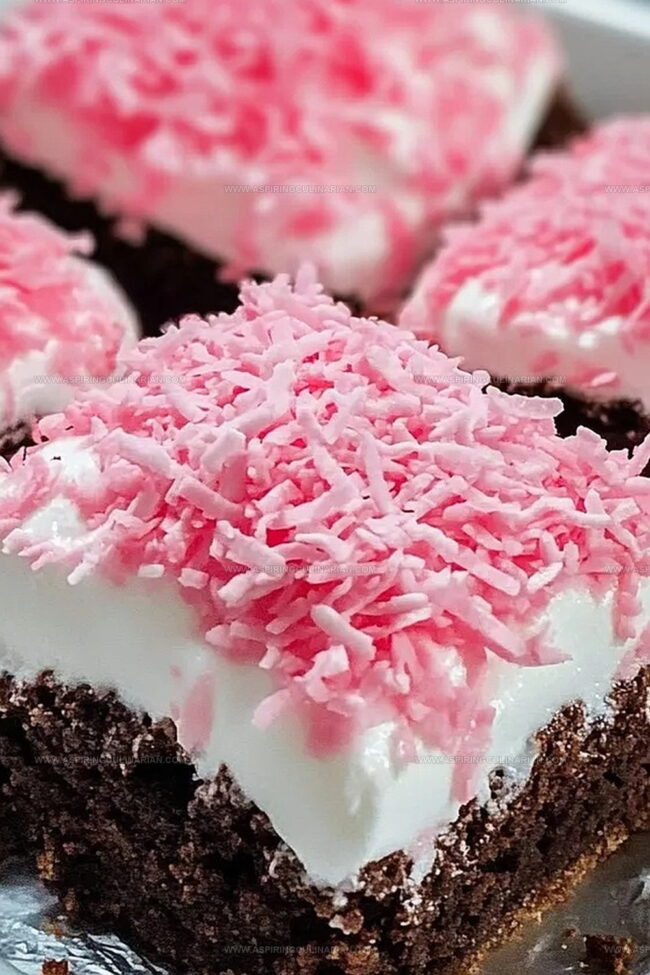
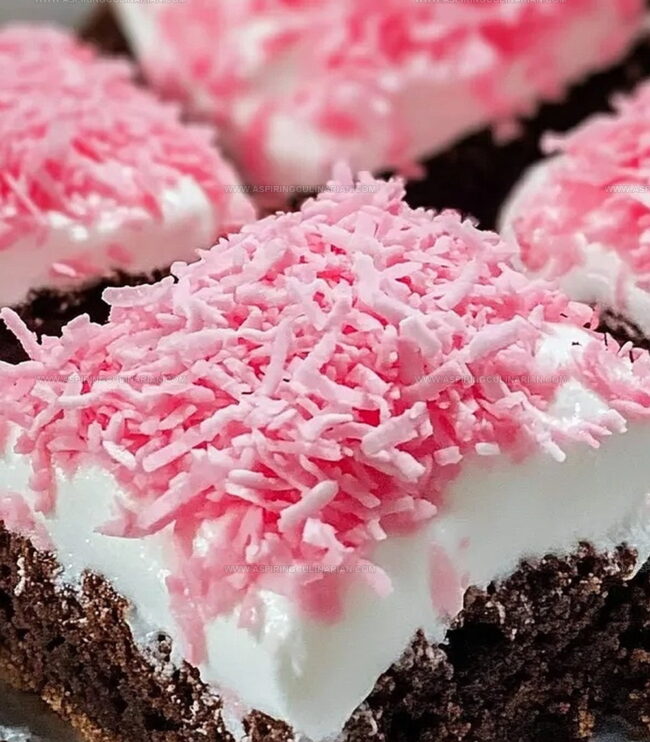
Sprinkle the pink coconut mixture over the marshmallow layer.
Gently press the coconut into the marshmallow to ensure it sticks.
Step 10: Final Touches
Let the brownies cool completely.
Use the foil overhang to lift brownies out of the pan.
Cut into 9 perfect squares using a sharp knife.
Wipe the blade clean between cuts for crisp, neat edges.
Sno Ball Brownies Tips Passed Down From Grandmas
Exciting Ways To Change Sno Ball Brownies Style
Bring Sno Ball Brownies Out At Every Gathering
Sno Ball Brownies Storage For Days Of Enjoyment
FAQs
Unsweetened chocolate provides a deep, rich chocolate flavor without added sweetness, allowing you to control the overall sugar level and create a more intense chocolate base for the brownies.
No, natural cocoa powder won’t provide the same texture and depth of flavor. Unsweetened chocolate contains cocoa butter which helps create a fudgy, smooth brownie consistency that cocoa powder cannot replicate.
Look for a toothpick with a few moist crumbs when inserted in the center. The edges should be set and slightly pulling away from the pan, while the middle remains slightly soft. This ensures a fudgy, moist brownie texture.
Print
Sno Ball Brownies Recipe
- Total Time: 1 hour
- Yield: 12 1x
Description
Indulgent Sno Ball Brownies blend chocolatey richness with marshmallow coconut magic, creating a nostalgic dessert that brings childhood memories to life. Coconut-covered clouds crown fudgy chocolate bases, promising a delightful escape for dessert enthusiasts craving sweet comfort.
Ingredients
Brownies:
- 1 cup sugar
- 2 large eggs
- 1/2 cup (1 stick) butter
- 2 ounces (56 grams) unsweetened chocolate, chopped
- 1/2 teaspoon vanilla extract
- 1/4 cup all-purpose flour
- 1/4 teaspoon salt
Topping:
- 1 (7-ounce/198 grams) jar marshmallow fluff or creme
- 1 cup sweetened shredded coconut
- 1 tablespoon cornstarch
- 3 to 5 drops pink food coloring
Instructions
- Prepare the baking environment at 325°F. Arrange aluminum foil in an 8×8-inch pan with extended edges, applying a light cooking spray coating.
- Combine butter and unsweetened chocolate in a medium saucepan over medium-low heat. Continuously stir until fully melted and achieve a uniform consistency. Remove from heat source.
- Incorporate sugar into the molten chocolate mixture, whisking thoroughly until well integrated.
- Introduce eggs and vanilla extract, blending until the mixture develops a glossy, smooth texture.
- Gently fold flour and salt into the batter, maintaining minimal mixing to prevent toughening.
- Distribute batter evenly across the prepared pan. Bake approximately 40 minutes until a toothpick reveals minimal moist crumbs when inserted centrally.
- While brownies remain warm, smoothly spread marshmallow fluff across the surface, utilizing residual heat to facilitate even distribution.
- Blend shredded coconut, cornstarch, and pink food coloring in a food processor. Pulse several times to create a finely chopped, uniformly tinted coconut mixture.
- Delicately scatter the pink coconut blend over the marshmallow layer, applying gentle pressure to ensure adherence.
- Allow brownies to cool completely. Extract from pan using foil edges. Slice into nine precise squares, cleaning knife between cuts for pristine presentation.
Notes
- Swap chocolate types for different flavor profiles by using dark, milk, or white chocolate depending on personal preference.
- Ensure even baking by rotating the pan halfway through to prevent uneven browning or hot spots in the oven.
- Reduce sugar content by using alternative sweeteners like stevia or monk fruit for a lower-calorie version.
- Create gluten-free brownies by substituting all-purpose flour with almond flour or a gluten-free baking blend for those with dietary restrictions.
- Prep Time: 20 minutes
- Cook Time: 40 minutes
- Category: Desserts, Snacks
- Method: Baking
- Cuisine: American
Nutrition
- Serving Size: 12
- Calories: 210
- Sugar: 21 g
- Sodium: 85 mg
- Fat: 10 g
- Saturated Fat: 6 g
- Unsaturated Fat: 4 g
- Trans Fat: 0 g
- Carbohydrates: 30 g
- Fiber: 1 g
- Protein: 2 g
- Cholesterol: 40 mg
Lena Martinez
Contributing Writer & Culinary Educator
Expertise
Southwestern and Latin American cuisines, Vegetarian and plant-based recipe development, Culinary education and community outreach
Education
Santa Fe Community College, Santa Fe, NM
Certificate in Culinary Arts
Emphasized Southwestern cuisine and sustainable cooking practices
Lena grew up surrounded by the colors, spices, and traditions of the Southwest – flavors that sparked her love for bold, honest cooking. After earning her Culinary Arts certificate at Santa Fe Community College, she made it her mission to teach home cooks how to create flavorful, plant-powered meals without the fuss.
Her recipes are packed with vibrant ingredients, simple steps, and the kind of heart that turns a regular meal into something you’ll want to share. Outside the kitchen, Lena spends her time wandering farmers’ markets, trading family recipes, and helping young chefs find their voice through food.