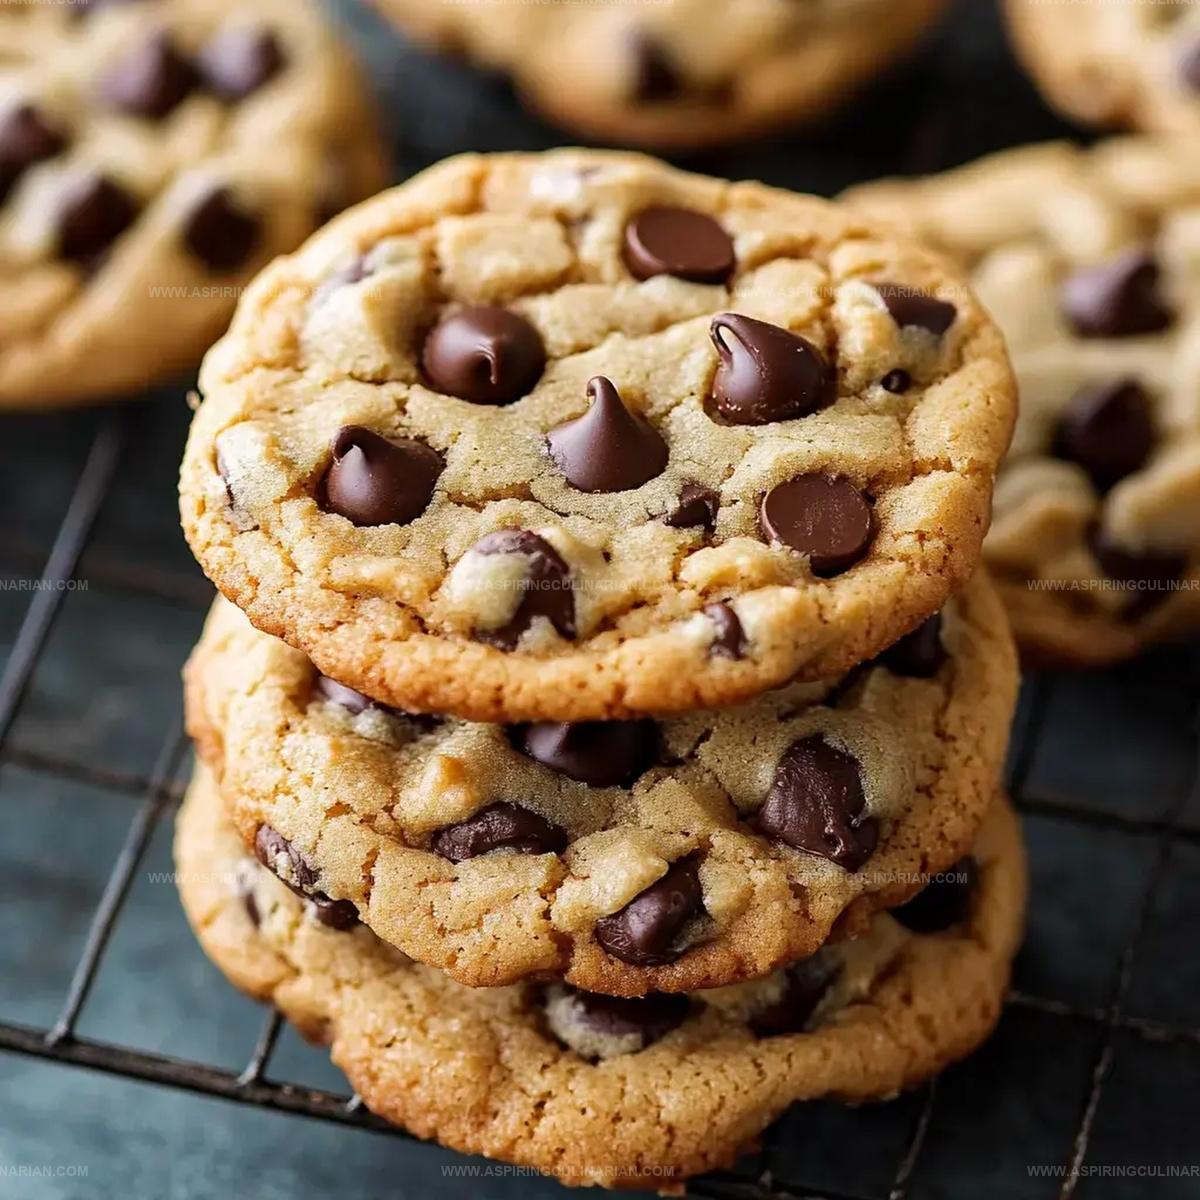
Soft Chocolate Chip Cookies Recipe: Irresistibly Chewy Treats
Crafting the perfect soft chocolate chip cookies challenges every home baker seeking that melt-in-your-mouth texture.
Passionate bakers know the secret lies in balancing ingredients with precision and care.
Crumbly yet tender, these cookies promise a delightful experience that transports you back to childhood kitchens.
Butter plays a crucial role in creating the signature softness we all adore.
Mixing techniques can make or break the final result, so paying attention to each step matters.
Each bite promises a rich, comforting embrace of sweet chocolate and buttery goodness.
You’ll want to savor every delectable morsel of these irresistible treats.
Perfect Cookie Classic: Classic Perks
Ingredient List for Classic Cookies
Main Ingredients:Flavor Enhancers:Baking Essentials:How to Bake Perfect Cookie Classics
Step 1: Warm Up The Oven
Crank your oven to a cozy 350°F.
Grab a baking sheet and line it with parchment paper for easy cleanup.
Step 2: Cream Butter And Sugars
Grab your mixer and whip butter and sugars together until they transform into a fluffy, cloud-like mixture.
This should take about 5 minutes of mixing magic.
Step 3: Introduce Eggs And Vanilla
Crack eggs one by one into the creamy mixture, adding vanilla between each.
Mix thoroughly after each addition to create a smooth, silky base.
Step 4: Prepare Dry Ingredients
In a separate bowl, combine:Sift these ingredients together to eliminate any pesky lumps.
Step 5: Marry Wet And Dry Ingredients
Gradually fold the dry ingredients into the butter mixture.
Add in three separate portions, mixing gently but completely each time.
Step 6: Sprinkle Chocolate Magic
Tenderly fold chocolate chips into the cookie dough, ensuring even distribution of deliciousness.
Step 7: Shape Cookie Dreams
Use a scoop or spoon to create perfectly rounded dough balls, each about 3 tablespoons.
Place them generously on the baking sheet, leaving 2 inches between each cookie.
Step 8: Add Extra Chocolate Topping
Dot the top of each cookie with a few extra chocolate chips for that picture-perfect look.
Step 9: Bake To Golden Perfection
Slide the cookies into the oven and bake for 12-15 minutes.
Look for golden edges with centers that still appear slightly soft.
Step 10: Cool And Enjoy
Let cookies rest on the baking sheet for 5 minutes, then transfer to a cooling rack.
Prepare for the most delightful cookie experience!
Classic Cookie Tips to Know
Twists on a Perfect Cookie
Presenting Cookie Classics
Cookie Classic Storage Know-How
FAQs
Beating butter and sugars for 5 minutes creates air pockets that make cookies lighter, fluffier, and more tender. This technique helps develop a better texture and richer flavor in your cookies.
While you can use salted butter, unsalted butter gives you more control over the salt content. If using salted butter, reduce added salt in the recipe to prevent cookies from becoming too salty.
Look for golden edges and slightly underdone centers. The cookies will continue cooking on the hot baking sheet after removing from oven, which helps achieve a soft, chewy texture.
Print
Soft Chocolate Chip Cookies Recipe
- Total Time: 35 minutes
- Yield: 24 1x
Description
Indulgent Soft Chocolate Chip Cookies bring comfort and nostalgia to classic dessert lovers. Warm from the oven, these buttery delights melt in your mouth with rich chocolate chunks and a perfectly tender crumb that promises pure baking satisfaction.
Ingredients
Primary Ingredients:
- 3 cups all-purpose flour
- 2 cups semi-sweet chocolate chips
- 1 cup (16 tablespoons) unsalted butter, softened
- 2 large eggs, room temperature
Sugars:
- 1 cup light brown sugar, packed
- 1/2 cup granulated sugar
Leavening and Seasoning:
- 1 teaspoon baking soda, sifted
- 1 teaspoon salt
- 2 teaspoons vanilla extract
Instructions
- Prepare the oven by heating to 350°F and lining baking sheets with parchment paper for even cooking and easy removal.
- Cream butter and sugars using a paddle attachment for 5 minutes until the mixture becomes light and fluffy, creating a smooth base.
- Incorporate eggs individually, adding vanilla after each egg, ensuring thorough mixing and a uniform texture.
- Separately combine dry ingredients: sift flour, salt, and baking soda to eliminate potential lumps and ensure even distribution.
- Gradually add dry ingredient mixture to butter mixture in three portions, mixing gently to prevent overmixing and maintain cookie tenderness.
- Gently fold most of the chocolate chips into the dough, reserving a small portion for topping.
- Using a 3-tablespoon scoop, portion dough balls onto prepared baking sheets, spacing them 2 inches apart to allow spreading.
- Strategically place remaining chocolate chips on top of each dough ball for enhanced visual appeal and chocolate distribution.
- Bake cookies for 12-15 minutes, watching for golden edges while centers remain slightly underdone for optimal softness.
- Allow cookies to rest on baking sheet for 5 minutes to set, then transfer to a wire rack for complete cooling and crisp edges.
Notes
- Refrigerate the cookie dough for at least 30 minutes to prevent spreading and enhance flavor complexity.
- Use exact measurements for flour by spooning into the measuring cup and leveling with a knife for consistent texture.
- Reserve some chocolate chips to press on top of each cookie just before baking for a picture-perfect bakery-style appearance.
- Let butter soften naturally at room temperature for 30-45 minutes instead of microwaving to ensure proper creaming with sugar.
- Prep Time: 20 minutes
- Cook Time: 15 minutes
- Category: Desserts, Snacks
- Method: Baking
- Cuisine: American
Nutrition
- Serving Size: 24
- Calories: 250
- Sugar: 18 g
- Sodium: 140 mg
- Fat: 13 g
- Saturated Fat: 8 g
- Unsaturated Fat: 5 g
- Trans Fat: 0.2 g
- Carbohydrates: 33 g
- Fiber: 2 g
- Protein: 3 g
- Cholesterol: 30 mg


Nathaniel Brooks
Founder & Recipe Developer
Expertise
Farm-to-table cuisine, Seasonal recipe development, Culinary storytelling
Education
Ivy Tech Community College – Indianapolis, IN
Culinary Arts / Hospitality Administration & Events
Focused on hands-on training in classical and modern culinary techniques.
Nathaniel’s story starts in the foothills of the Appalachian Mountains, where farm stands, backyard gardens, and old family recipes shaped his love for real food. After graduating from Ivy Tech Community College in Indianapolis, he spent years working in farm-to-table kitchens, learning how to turn local, seasonal ingredients into something memorable.
Today, Nathaniel pours that same spirit into every single recipe on Aspiring Culinarian – recipes that feel real, comforting, and connected to the land. When he’s not in the kitchen, you’ll find him foraging wild herbs, chasing sunsets with his camera, or writing about the flavors that shaped his roots.