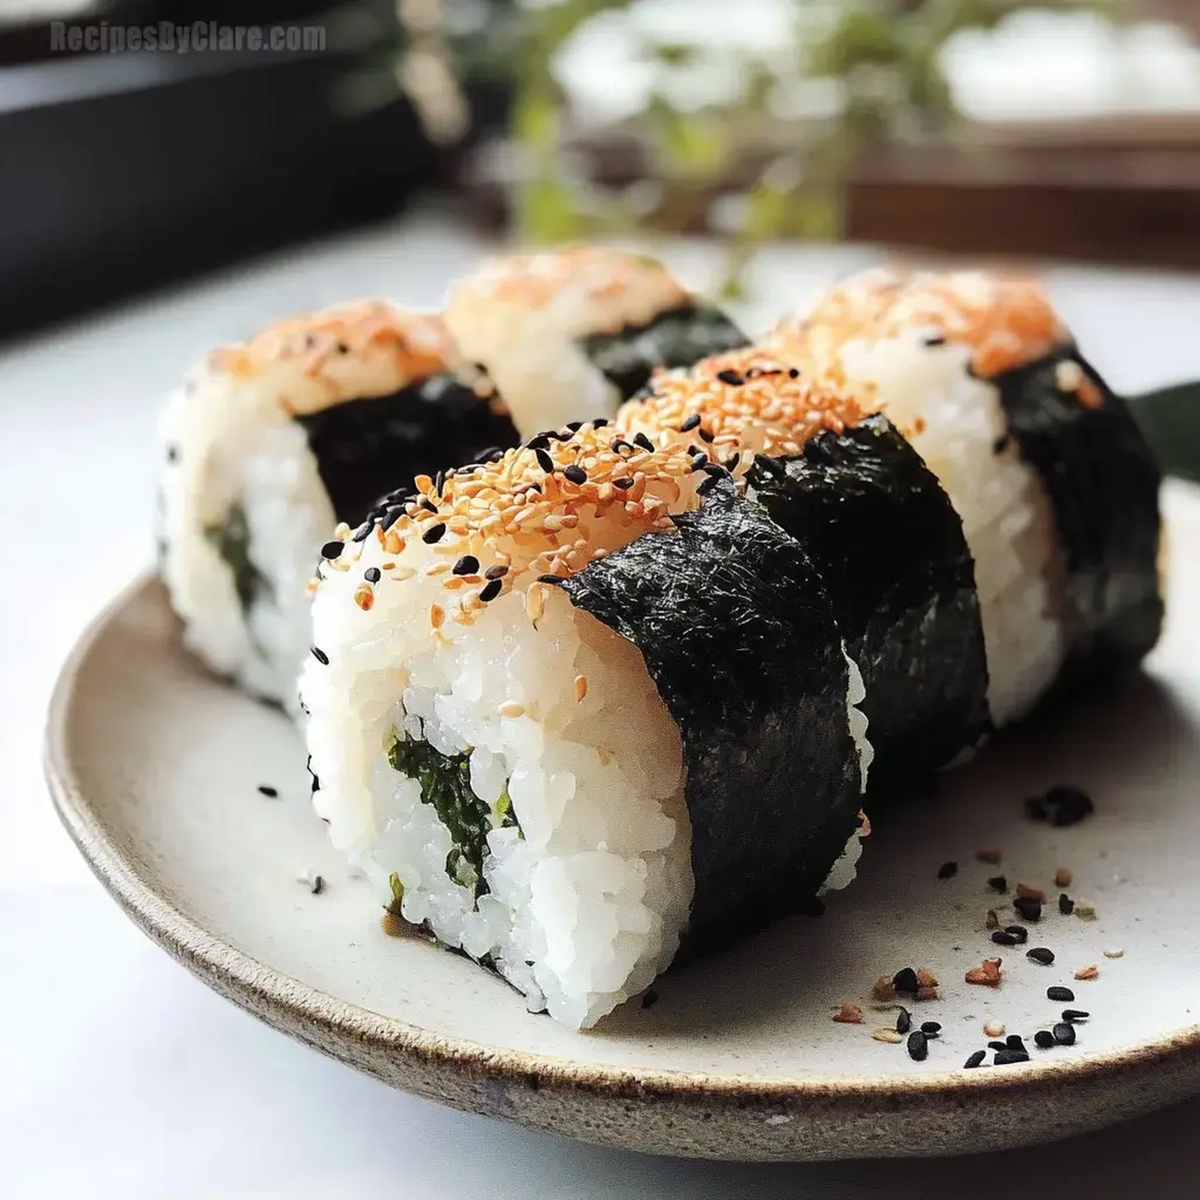
Zesty Spicy Tuna Onigiri Recipe – Handheld Japanese Delight
Crafting delectable spicy tuna onigiri brings culinary magic right into your kitchen.
Japanese rice balls burst with vibrant flavors and delightful textures.
Succulent tuna mingles with zesty seasonings, creating an irresistible handheld treat.
Compact and portable, these snacks work perfectly for lunch boxes or afternoon cravings.
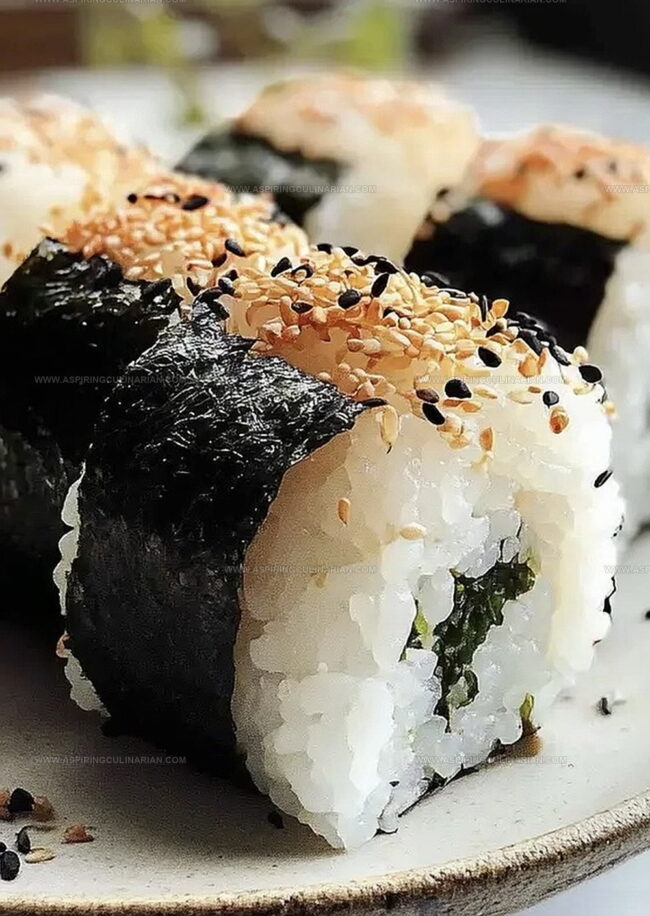
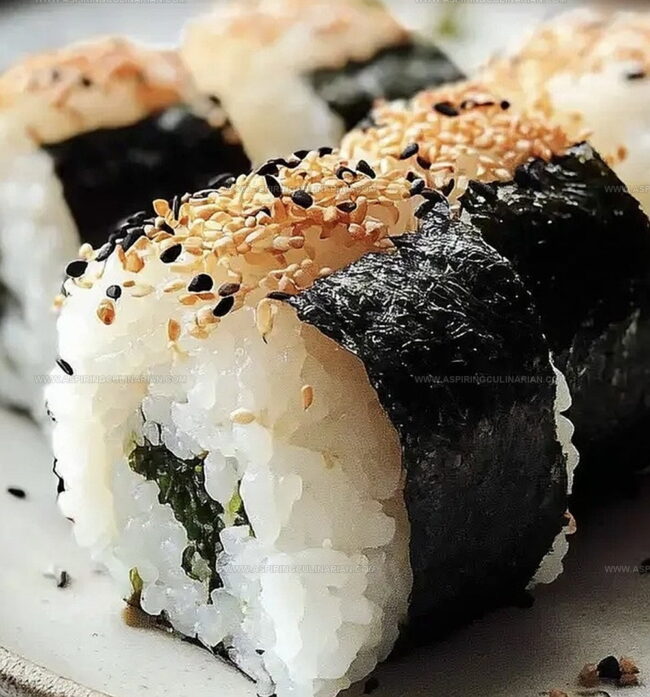
Crisp nori wraps each morsel, adding an authentic touch to this classic street food.
Minimal ingredients combine for maximum satisfaction, promising a quick and delicious adventure.
You’ll want to master this recipe and impress everyone with your newfound skill.
Spicy Tuna Onigiri Bliss for Bold Rice Snacks
Ingredients for Spicy Tuna Onigiri Rice Balls
Main Ingredients:Filling Ingredients:Wrapping and Garnish:Additional Ingredients:Steps for Building Spicy Tuna Onigiri at Home
Step 1: Sprinkle Salt On Rice
Grab your freshly cooked or warmed rice and gently sprinkle salt throughout.
Stir carefully to distribute the seasoning evenly.
Cover the bowl to keep the rice warm and soft.
Step 2: Create Fiery Tuna Mixture
Open your tuna can and drain all excess liquid completely.
In a mixing bowl, combine:Blend these ingredients until the tuna is coated with a spicy, smooth texture.
Step 3: Prepare Rice Base
Lay out a clean plastic wrap sheet on your countertop.
Scoop a generous portion of seasoned rice onto the center.
Use your hands to gently flatten the rice into a circular shape, creating an even surface about half an inch thick.
Step 4: Nestle Spicy Filling
Place a hearty dollop of your spicy tuna mixture right in the center of the rice circle.
Carefully gather the plastic wrap around the rice, using gentle pressing motions to encase the filling completely.
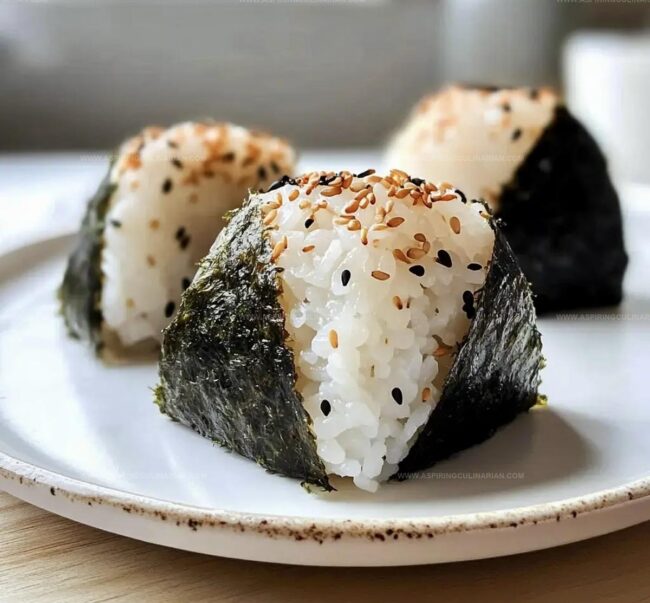
Step 5: Craft Triangle Shape
Release the wrapped rice ball from the plastic.
Use the side of your thumb and index finger to delicately shape the ball into a classic triangle.
Apply light, consistent pressure to maintain the shape.
Step 6: Wrap With Crispy Nori
Cut nori sheets into convenient strips or use half a sheet per onigiri.
Wrap the dark seaweed around the base of your rice ball, creating a beautiful and tasty border.
Step 7: Final Flourish
Sprinkle toasted sesame seeds over the top for an extra crunch if desired.
Serve these delightful onigiri immediately to enjoy maximum flavor and texture.
Onigiri Rolling Tips for the Best Results
New Fillings and Flavors for Spicy Onigiri Fans
Plating Spicy Tuna Onigiri
How to Store Onigiri for Freshness and Convenience
FAQs
Onigiri is a traditional Japanese rice ball that’s a popular snack or light meal, typically filled with savory ingredients and often wrapped in nori seaweed.
Not mandatory. You can adjust the spice level or replace sriracha with other hot sauces like chili garlic sauce or wasabi for different flavor profiles.
Yes! While tuna is classic, you can substitute with canned salmon, cooked shredded chicken, or even create a vegetarian version with mashed tofu or roasted vegetables.
No special equipment required. A sheet of plastic wrap and your hands are sufficient to shape these rice balls perfectly.
Print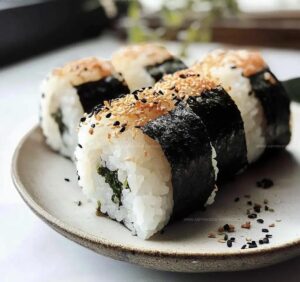
Spicy Tuna Onigiri Bliss Recipe
- Total Time: 20 minutes
- Yield: 2 1x
Description
Craving Japanese comfort? Spicy Tuna Onigiri Bliss brings ocean-fresh flavors and bold spices into perfectly shaped rice triangles. Delicate seaweed wraps these handheld delights, promising a quick, satisfying bite you’ll absolutely adore.
Ingredients
Main Ingredients:
- 3 cups cooked short-grain rice (sushi rice)
- 5.29 ounces (150 grams) canned tuna (in oil preferred)
- 1/2 sheet nori
Seasoning and Flavor Enhancers:
- 2 tablespoons mayonnaise (Japanese or regular)
- 1 tablespoon sriracha sauce (or preferred hot sauce)
- 1/2 teaspoon salt
- 1/2 teaspoon black sesame seeds (optional)
Preparation Aid:
- Water (for moistening hands and utensils)
Instructions
- Gently warm freshly cooked rice and season with salt, ensuring even distribution throughout the grains. Keep covered to maintain temperature.
- Thoroughly drain canned tuna, removing excess liquid. Combine tuna with creamy mayonnaise and fiery sriracha, mixing until the filling achieves a uniform, vibrant consistency.
- Lay a clean plastic wrap sheet on a flat surface. Carefully transfer rice onto the center, using gentle pressure to spread into a uniform circular shape approximately 1/2 inch thick.
- Strategically position the spicy tuna mixture in the rice’s center. Carefully gather the plastic wrap’s edges, creating a compact ball while expertly encasing the filling within the rice.
- Delicately manipulate the rice ball, using thumb and index finger to transform it into a precise triangular shape with smooth, defined edges.
- Cut nori into appropriate strips or halves. Securely wrap the nori around the rice ball’s base, ensuring a snug and elegant presentation.
- Optional: Sprinkle toasted sesame seeds for additional texture and visual appeal. Serve immediately to experience optimal flavor and temperature.
Notes
- Pat the tuna dry completely to prevent soggy onigiri and ensure a perfect texture.
- Use warm rice for easier shaping and better binding of ingredients, which helps prevent falling apart.
- Adjust sriracha amount to match personal heat preference, from mild to fiery hot.
- Best consumed fresh, but can be refrigerated for up to 24 hours wrapped tightly in plastic wrap to maintain moisture.
- Prep Time: 15 minutes
- Cook Time: 5 minutes
- Category: Lunch, Snacks, Appetizer
- Method: Rolling
- Cuisine: Japanese
Nutrition
- Serving Size: 2
- Calories: 544 kcal
- Sugar: 2 g
- Sodium: 650 mg
- Fat: 32 g
- Saturated Fat: 5 g
- Unsaturated Fat: 25 g
- Trans Fat: 0 g
- Carbohydrates: 54 g
- Fiber: 2 g
- Protein: 30 g
- Cholesterol: 50 mg
Nathaniel Brooks
Founder & Recipe Developer
Expertise
Farm-to-table cuisine, Seasonal recipe development, Culinary storytelling
Education
Ivy Tech Community College – Indianapolis, IN
Culinary Arts / Hospitality Administration & Events
Focused on hands-on training in classical and modern culinary techniques.
Nathaniel’s story starts in the foothills of the Appalachian Mountains, where farm stands, backyard gardens, and old family recipes shaped his love for real food. After graduating from Ivy Tech Community College in Indianapolis, he spent years working in farm-to-table kitchens, learning how to turn local, seasonal ingredients into something memorable.
Today, Nathaniel pours that same spirit into every single recipe on Aspiring Culinarian – recipes that feel real, comforting, and connected to the land. When he’s not in the kitchen, you’ll find him foraging wild herbs, chasing sunsets with his camera, or writing about the flavors that shaped his roots.