
The Perfect Sugar Cookies Recipe for Sweet Baking Success
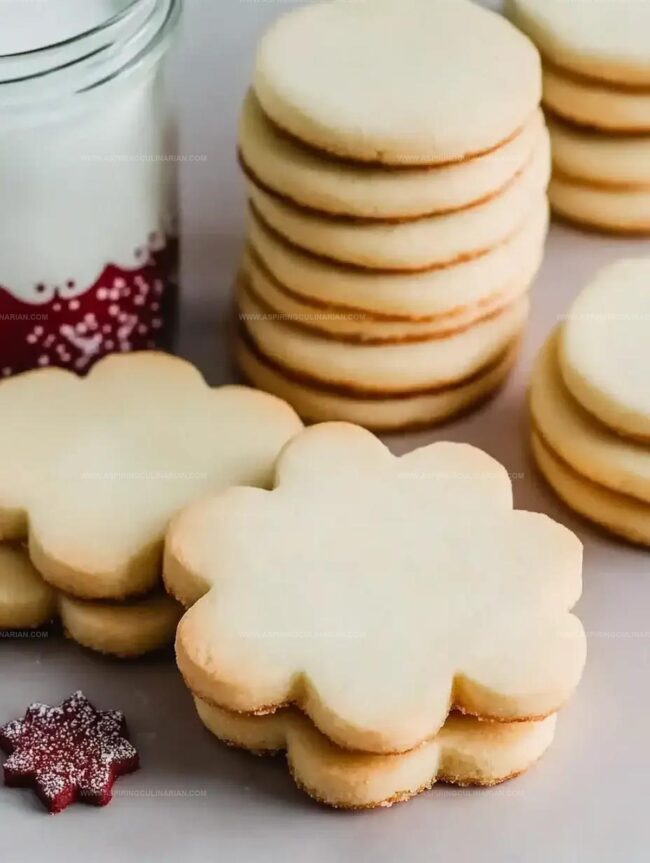
Sweet and buttery sugar cookies bring pure joy to every kitchen, with this classic sugar cookies recipe delivering melt-in-your-mouth deliciousness.
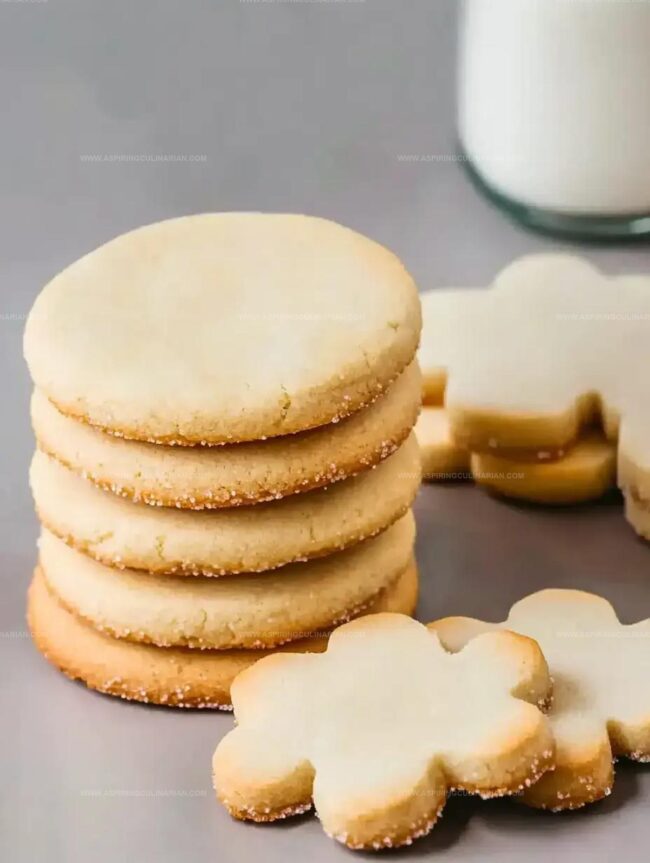
Crisp edges and soft centers make these treats irresistible for all ages.
Each carefully measured ingredient promises a perfect batch of golden-brown cookies that shine with simple elegance.
Bakers love how quickly these come together with basic pantry staples.
The delicate vanilla notes and tender crumb create a nostalgic flavor that transports you back to childhood memories.
Warm from the oven, these sugar cookies will have everyone gathering around for a delightful bite of happiness.
Perfect Cut-Out Cookies Baking Joys
Ingredients in Perfect Cut-Out Cookies
Base Ingredients:Dry Ingredients:Optional Decoration Ingredients:Steps for the Perfect Cookie Cut-Outs
Step 1: Whip Butter and Sugar
Grab your mixer and cream butter and sugar together until they become smooth and fluffy.
Add egg and vanilla, blending until everything is beautifully combined.
Step 2: Create Dough Base
Gradually add dry ingredients:Mix gently just until ingredients are uniformly incorporated.
Gather dough into a soft ball.
Step 3: Initial Chilling
Wrap dough completely in plastic wrap.
Slide into refrigerator and let it rest for half an hour, allowing flavors to meld and dough to firm up.
Step 4: Prepare Cookie Shapes
Roll dough to a thin 3mm thickness.
Quick-freeze for 10 minutes to stabilize.
Cut out desired shapes using cookie cutters.
Return cut shapes to freezer for 15-30 minutes to maintain crisp edges.
Step 5: Bake to Golden Perfection
Preheat oven to 340 degrees Fahrenheit.
Bake cookies for 8-10 minutes.
Watch for golden edges while centers remain soft and tender.
Step 6: Cool and Decorate
Transfer cookies first to baking sheet, then to cooling rack.
Wait until cookies are completely cool before adding decorative frosting or sprinkles.
Tips for Great Cut-Out Cookies
Cookie Cut-Out Variations to Try
Serving Ideas for Cut-Out Cookies
Storage Advice for Cut-Out Cookies
FAQs
Chilling helps prevent spreading during baking, keeps the cookie shape crisp and defined, and makes the dough easier to handle and roll out without sticking.
Yes, but reduce or eliminate added salt in the recipe to prevent the cookies from becoming too salty. Unsalted butter gives you more control over the salt content.
Roll the dough to approximately 3mm (1/8 inch) thickness for ideal cut-out cookies that bake evenly and maintain a consistent shape and texture.
Print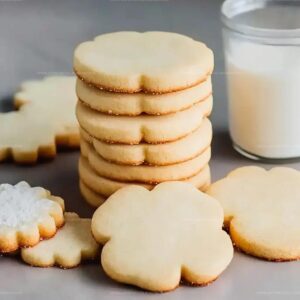
Sugar Cookies Recipe
- Total Time: 1 hour 20 minutes
- Yield: 24 1x
Description
Delightful Sugar Cookies from grandma’s kitchen bring sweet memories to life with buttery, melt-in-your-mouth perfection. Crisp edges and tender centers invite you to savor each delectable bite of these classic American treats.
Ingredients
Main Ingredients:
- 200 g (1 1/2 cups) all-purpose flour
- 100 g (1/2 cup) unsalted butter, softened
- 1 egg, room temperature
Sweeteners:
- 80 g (2/3 cup) powdered sugar
Flavor Enhancers and Leavening Agents:
- 1/2 teaspoon vanilla extract
- 1 pinch salt
- 1/2 teaspoon baking powder (optional)
Instructions
- In a mixing bowl, whip butter and sugar until creamy and well-blended, approximately 1-2 minutes. Incorporate egg and vanilla extract, mixing thoroughly.
- Gently fold in flour, salt, and baking powder, stirring until ingredients are evenly distributed. Shape dough into a compact sphere.
- Encase dough in plastic wrap, then refrigerate for half an hour to firm up the mixture and enhance flavor development.
- Roll out chilled dough to a precise 3mm thickness. Place rolled dough in freezer for 10 minutes to stabilize. Cut desired cookie shapes, then return cut shapes to freezer for 15-30 minutes to maintain crisp edges.
- Preheat oven to 340°F. Transfer frozen cookie shapes directly to baking sheet. Bake for 8-10 minutes, watching for golden-brown edges while maintaining soft centers.
- Remove cookies from oven and let rest on baking sheet momentarily. Transfer to wire cooling rack to reach room temperature completely.
- Once cookies are entirely cooled, apply decorative icing or embellishments as desired.
Notes
- Soften butter at room temperature for smooth, easy creaming that prevents lumpy dough.
- Use powdered sugar for extra-smooth texture and lighter cookie consistency.
- Chill dough thoroughly to prevent spreading and maintain precise cookie shape during baking.
- Freeze cut-out shapes before baking to guarantee clean, crisp edges and minimal spreading.
- Replace wheat flour with gluten-free blend for celiac or gluten-sensitive diets without compromising texture.
- Roll dough between parchment papers to prevent sticking and ensure even thickness.
- Rotate baking sheet midway for uniform golden edges and consistent color across cookies.
- Prep Time: 1 hour 10 minutes
- Cook Time: 10 minutes
- Category: Desserts, Snacks
- Method: Baking
- Cuisine: American
Nutrition
- Serving Size: 24
- Calories: 132
- Sugar: 4.5g
- Sodium: 10mg
- Fat: 6g
- Saturated Fat: 3.8g
- Unsaturated Fat: 1.5g
- Trans Fat: 0g
- Carbohydrates: 18g
- Fiber: 0.2g
- Protein: 1.4g
- Cholesterol: 20mg
Lena Martinez
Contributing Writer & Culinary Educator
Expertise
Southwestern and Latin American cuisines, Vegetarian and plant-based recipe development, Culinary education and community outreach
Education
Santa Fe Community College, Santa Fe, NM
Certificate in Culinary Arts
Emphasized Southwestern cuisine and sustainable cooking practices
Lena grew up surrounded by the colors, spices, and traditions of the Southwest – flavors that sparked her love for bold, honest cooking. After earning her Culinary Arts certificate at Santa Fe Community College, she made it her mission to teach home cooks how to create flavorful, plant-powered meals without the fuss.
Her recipes are packed with vibrant ingredients, simple steps, and the kind of heart that turns a regular meal into something you’ll want to share. Outside the kitchen, Lena spends her time wandering farmers’ markets, trading family recipes, and helping young chefs find their voice through food.