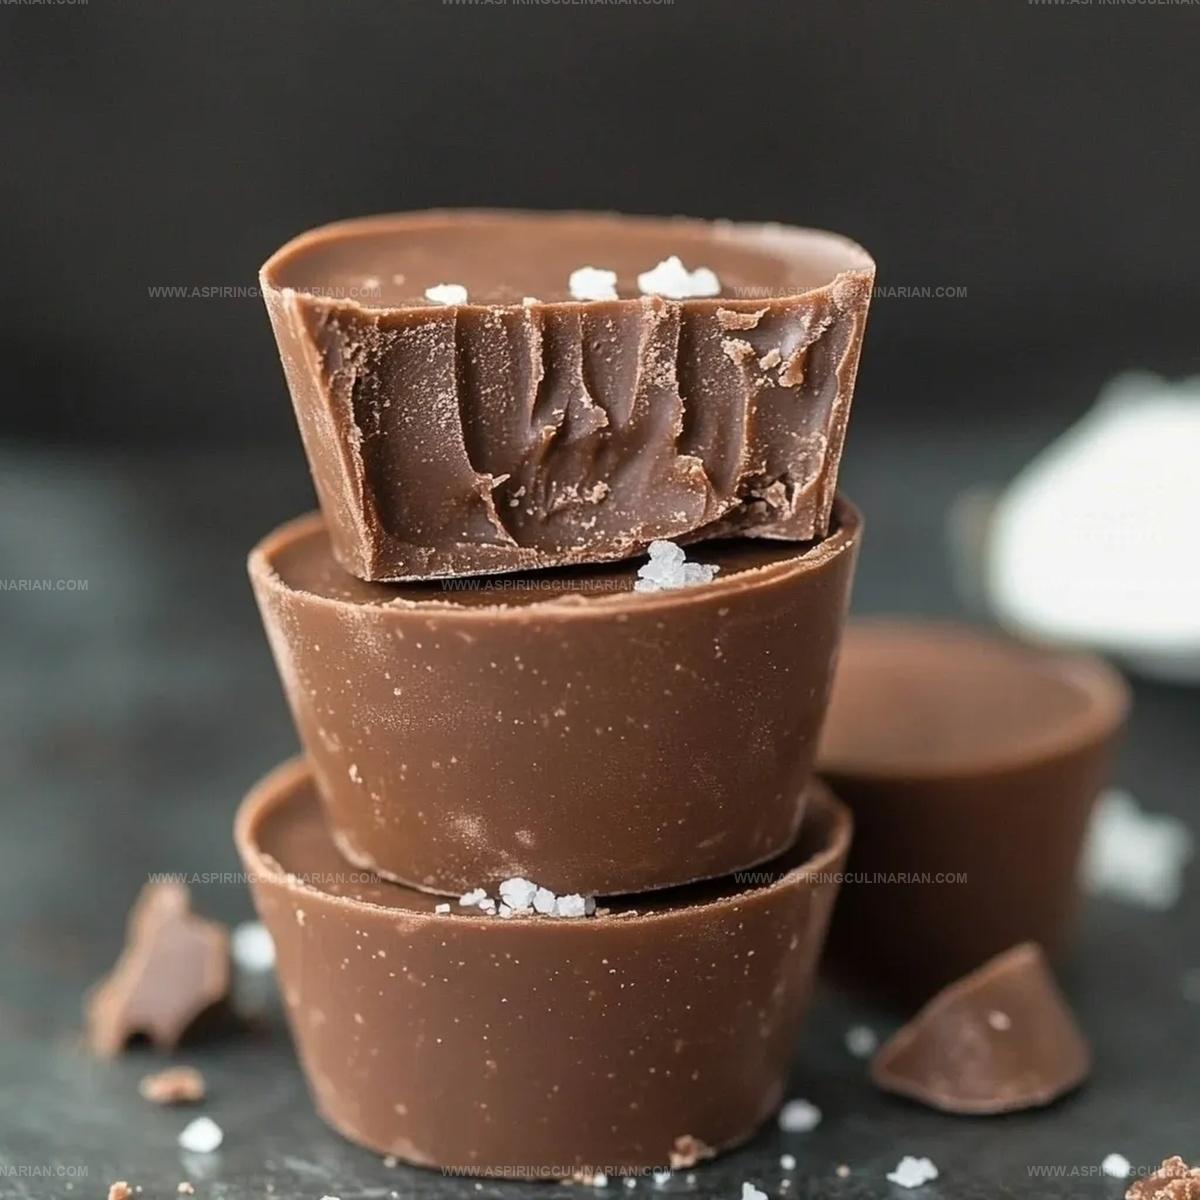
The Creamiest Sugar Free Fudge Recipe You’ll Ever Make
Chocolate lovers rejoice as this sugar free fudge recipe delivers pure decadence without the guilt.
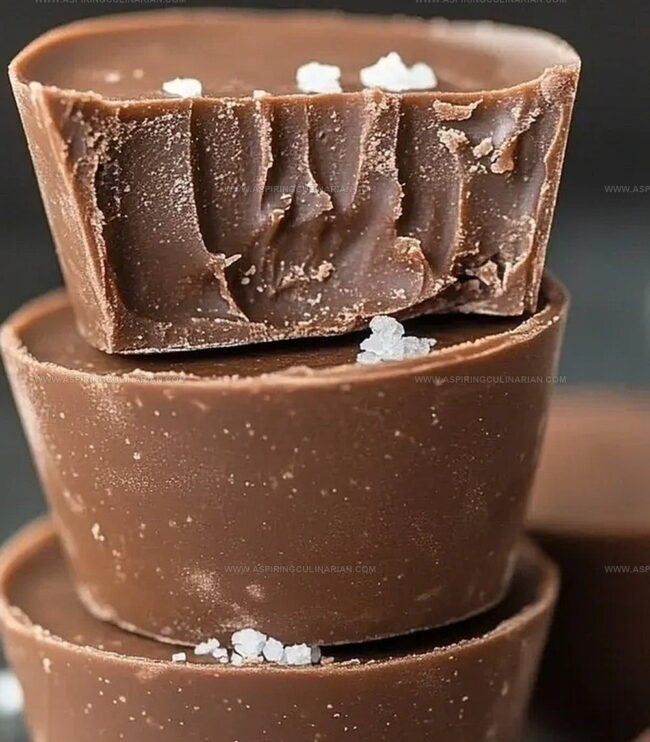
Rich, creamy textures melt seamlessly on your palate with every single bite.
Crafting this delightful treat requires minimal ingredients and simple techniques.
Decadence meets health consciousness in this remarkably smooth dessert.
Chocolate enthusiasts will savor the intense flavor profile that satisfies sweet cravings instantly.
The recipe promises a guilt-free indulgence that feels completely luxurious.
You won’t believe how easy it is to create such a sumptuous chocolate experience at home.
Sugar Free Fudge Why It’s the Sweetest Choice
Sugar Free Fudge Ingredients to Have on Hand
Main Ingredients:Flavor Enhancers:Preparation Essentials:Making Sugar Free Fudge Is Simple with These Steps
Step 1: Prepare Baking Pan
Line a deep 10 x 10-inch pan with parchment paper, ensuring complete coverage of bottom and sides.
Press paper gently to create smooth edges for easy removal later.
Step 2: Melt Chocolate Base
Combine sugar free chocolate chips and almond butter in a microwave-safe bowl.
Heat in 30-second intervals, stirring between each interval until mixture becomes completely smooth and glossy.
Avoid overheating to prevent chocolate from burning.
Step 3: Enhance Flavor Profile
Introduce vanilla extract into the melted chocolate mixture.
Whisk thoroughly to distribute flavor evenly, creating a rich and aromatic base for the fudge.
Step 4: Transfer and Spread
Carefully pour the chocolate mixture into the prepared pan.
Use a spatula to spread the mixture uniformly, ensuring an even thickness across the entire surface for consistent texture.
Step 5: Chill and Set
Place the pan in the refrigerator or freezer.
Allow the fudge to firm up completely, which typically takes about 1-2 hours depending on your cooling method.
Freezing will speed up the process.
Step 6: Slice and Serve
Remove the fudge from the refrigerator or freezer.
Let it sit at room temperature for a few minutes to soften slightly.
Cut into 24 equal pieces using a sharp knife.
Serve and enjoy your sugar free treat.
Sugar Free Fudge Tips from Candy Lovers
Sugar Free Fudge Options for Every Craving
Serving Sugar Free Fudge for Special Moments
Storage Tricks for Sugar Free Fudge Lovers
FAQs
Yes, the recipe uses sugar free chocolate chips, making it a diabetic-friendly and low-carb dessert option that doesn’t compromise on taste.
Absolutely! You can use peanut butter, cashew butter, or sunflower seed butter as alternatives, which will slightly change the flavor profile but maintain the creamy texture.
When stored in an airtight container in the refrigerator, this sugar free fudge can last up to 2 weeks, maintaining its rich and smooth consistency.
No, you only need a microwave or stovetop to melt the chocolate, a mixing bowl, parchment paper, and a pan to create this simple dessert.
Print
Sugar Free Fudge Recipe
- Total Time: 15 minutes
- Yield: 12 1x
Description
Creamy chocolate fudge without sugar delights dessert enthusiasts seeking guilt-free indulgence. Smooth, rich squares melt perfectly on taste buds, offering a delectable treat you’ll savor with pure chocolate pleasure.
Ingredients
Chocolate Base:
- 2 cups sugar free chocolate chips
- 1 cup almond butter
Flavor Enhancer:
- 1 teaspoon vanilla extract
Instructions Category:
(No additional ingredients needed for instructions)
Instructions
- Prepare a deep 10 x 10-inch pan by lining it completely with parchment paper, ensuring smooth edges for easy removal.
- Use a microwave-safe bowl or double boiler to gently melt sugar free chocolate chips and almond butter, stirring frequently until the mixture becomes completely smooth and glossy at medium heat.
- Remove the melted chocolate mixture from heat and immediately incorporate vanilla extract, whisking thoroughly to create a uniform consistency.
- Transfer the liquid fudge mixture into the prepared pan, using a spatula to spread evenly and create a level surface with uniform thickness.
- Place the pan in the refrigerator for approximately 2-3 hours or freezer for 45-60 minutes until the fudge becomes completely solid and firm to the touch.
- Once fully chilled, lift the parchment paper to remove the fudge from the pan and place on a cutting board.
- Using a sharp knife, slice the fudge into 24 equal-sized squares, wiping the blade clean between cuts for precise edges.
- Allow the fudge to sit at room temperature for 5-10 minutes before serving to soften slightly, enhancing its creamy texture.
Notes
- Opt for high-quality sugar-free chocolate chips to ensure rich, decadent flavor without compromising on taste.
- Try different nut butters like cashew or sunflower seed butter for unique flavor variations and potential allergy-friendly alternatives.
- Use a silicone spatula for smooth spreading and easy cleanup, preventing any mixture from sticking to the pan’s edges.
- Store the fudge in an airtight container in the refrigerator for up to two weeks, allowing you to enjoy a sweet treat anytime without guilt.
- Prep Time: 15 minutes
- Cook Time: 0 minutes
- Category: Desserts, Snacks
- Method: Chilling
- Cuisine: American
Nutrition
- Serving Size: 12
- Calories: 164
- Sugar: 1g
- Sodium: 0mg
- Fat: 14g
- Saturated Fat: 2g
- Unsaturated Fat: 12g
- Trans Fat: 0g
- Carbohydrates: 8g
- Fiber: 3g
- Protein: 5g
- Cholesterol: 0mg
Lena Martinez
Contributing Writer & Culinary Educator
Expertise
Southwestern and Latin American cuisines, Vegetarian and plant-based recipe development, Culinary education and community outreach
Education
Santa Fe Community College, Santa Fe, NM
Certificate in Culinary Arts
Emphasized Southwestern cuisine and sustainable cooking practices
Lena grew up surrounded by the colors, spices, and traditions of the Southwest – flavors that sparked her love for bold, honest cooking. After earning her Culinary Arts certificate at Santa Fe Community College, she made it her mission to teach home cooks how to create flavorful, plant-powered meals without the fuss.
Her recipes are packed with vibrant ingredients, simple steps, and the kind of heart that turns a regular meal into something you’ll want to share. Outside the kitchen, Lena spends her time wandering farmers’ markets, trading family recipes, and helping young chefs find their voice through food.