The Perfect Valentine Peanut Butter Blondies Recipe for Sweethearts
Sweet moments call for delectable treats that melt Valentine peanut butter blondies recipe right into your heart.
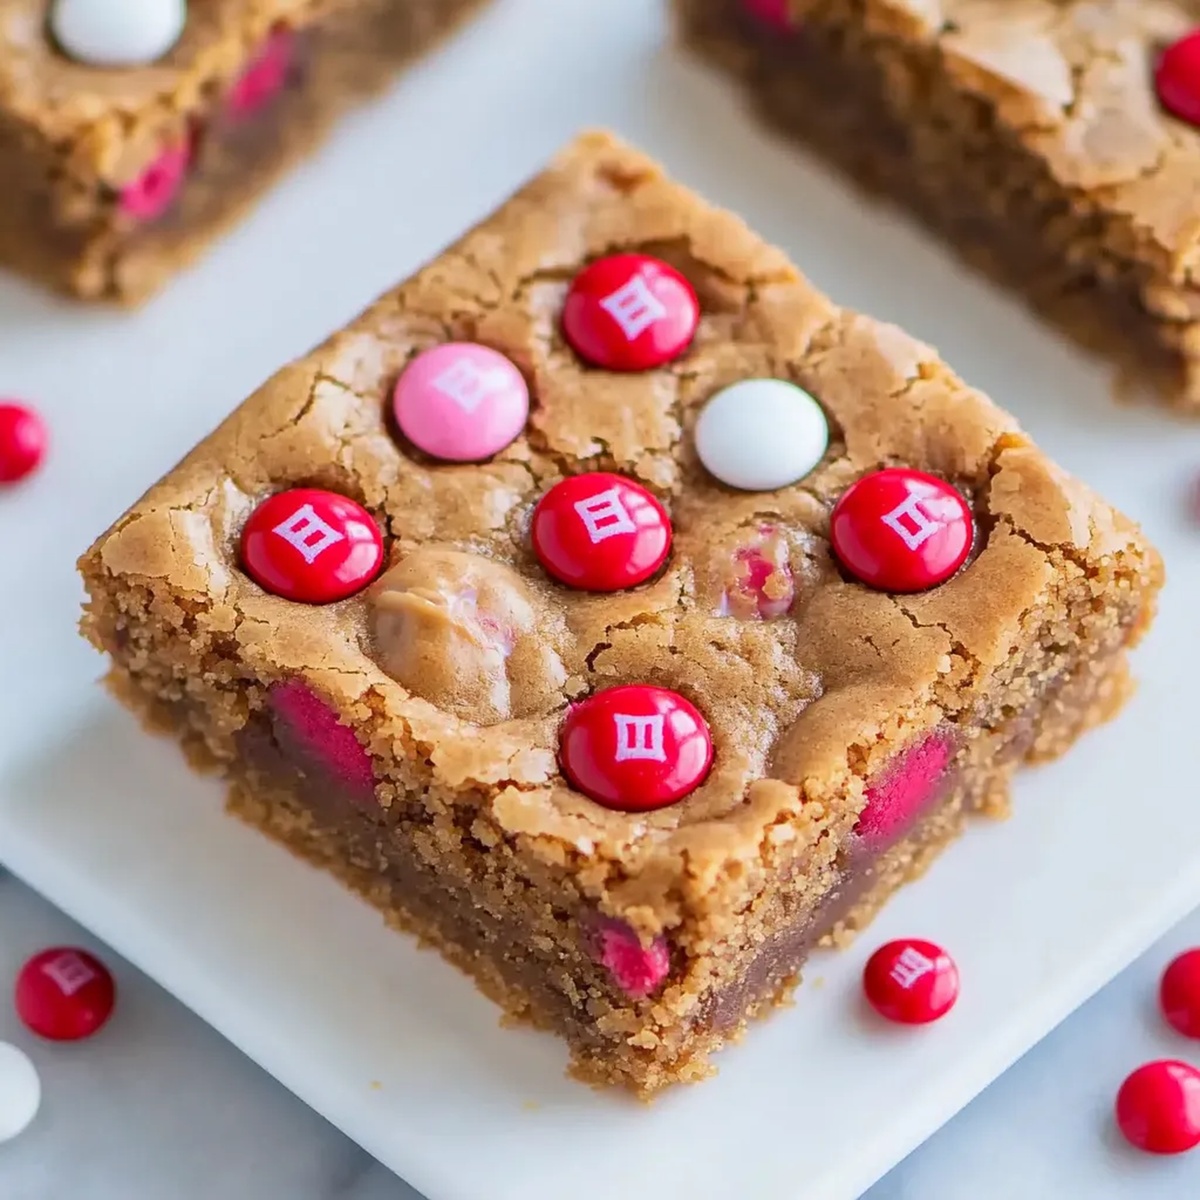
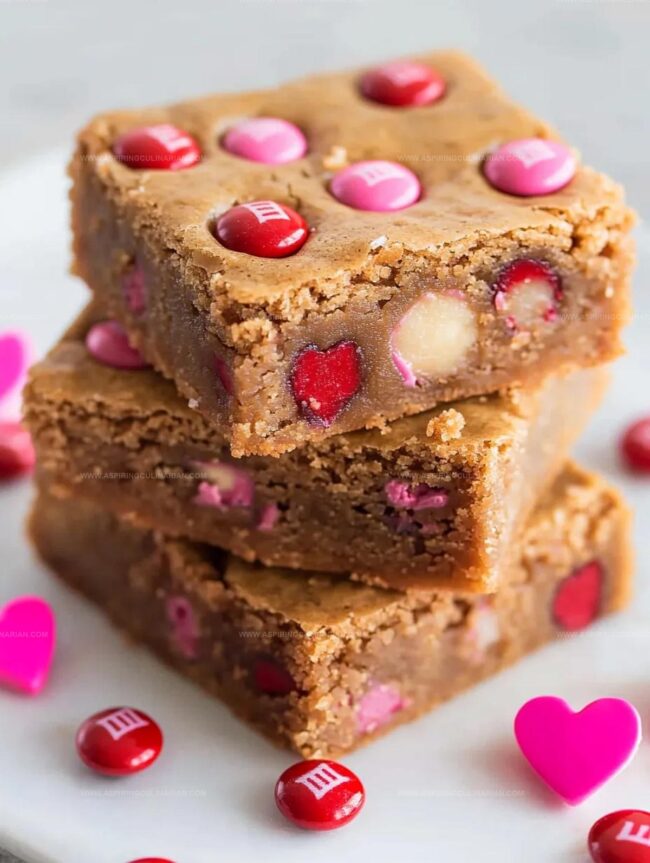
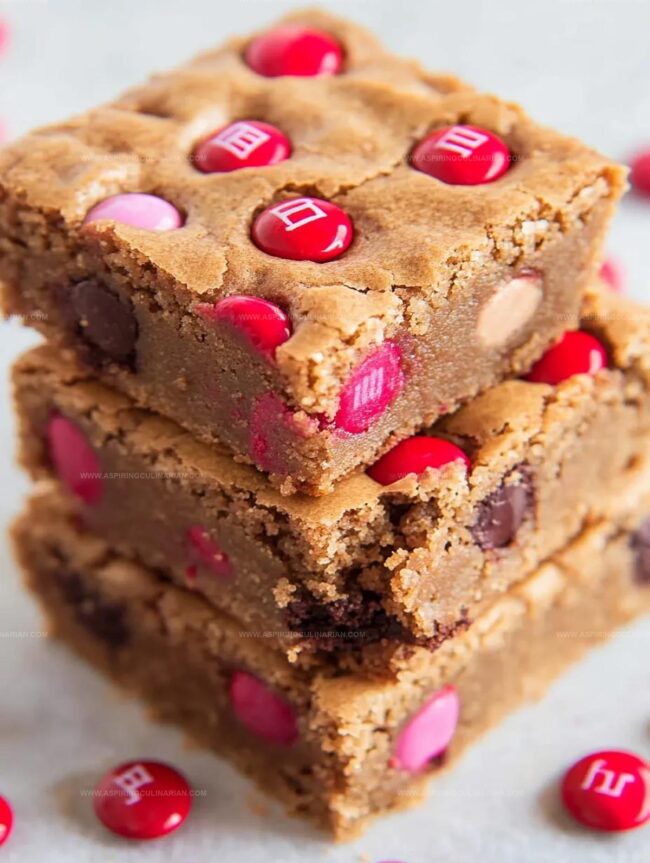
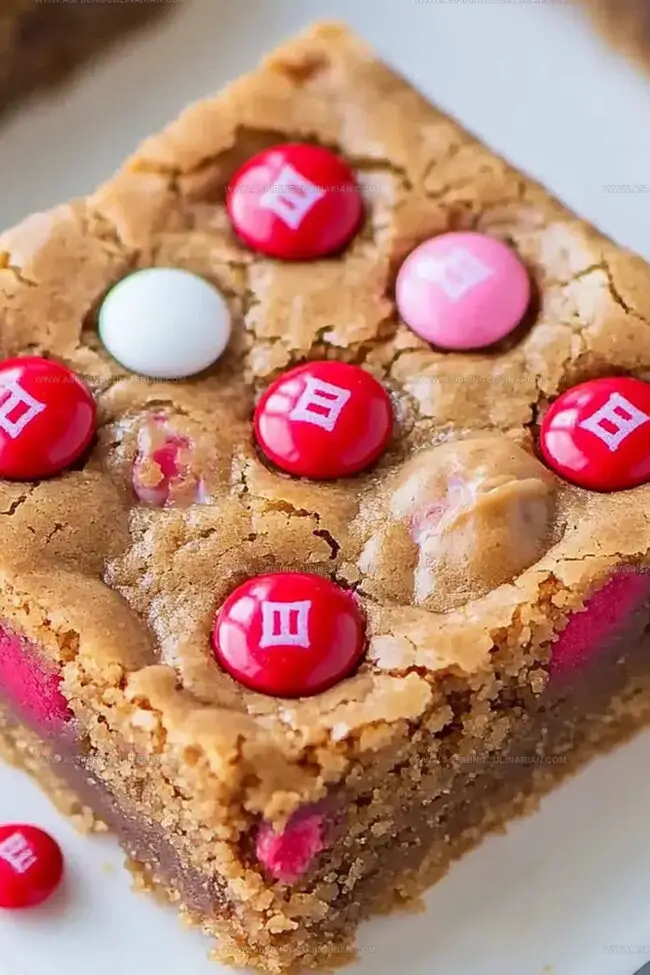
These irresistible bars burst with rich, creamy flavors that dance across your taste buds.
Chocolate chips peek through a golden, buttery base, creating a symphony of textures.
Each bite promises a decadent experience that whispers romance and comfort.
Soft, chewy, and packed with love, these blondies transform an ordinary dessert into something extraordinary.
The aroma alone will draw everyone to the kitchen, eager to savor this delightful creation.
Prepare to fall in love with a dessert that celebrates sweet connections and indulgent pleasures.
Valentine Peanut Butter Blondies: Sweet Details
Blondie Ingredient Checklist
Main Ingredients:Sweet and Binding Ingredients:Decorative and Flavor Ingredients:Baking Preparation Ingredients:Steps to Bake Peanut Butter Blondies
Step 1: Warm Up the Oven
Crank your oven to a toasty 350F.
Grab an 8×8-inch baking pan and line it with aluminum foil.
Give the foil a quick spray of cooking spray to prevent any sticky situations.
Step 2: Melt the Butter
Toss your butter into a microwave-safe bowl and zap it until it’s completely melted.
Let it cool down for a few moments so it’s not scorching hot.
Step 3: Create a Creamy Base
Combine these goodies into the melted butter:Whisk everything together until the mixture looks smooth and inviting.
Step 4: Introduce the Flour
Gently fold in the flour, being super careful not to overmix.
You want the batter to be just combined, keeping it light and tender.
Step 5: Colorful Mix-In
Time to add some Valentine’s charm!
Fold in half of the M&M’s into the batter, distributing them evenly.
Step 6: Pan Preparation
Pour the batter into your prepared pan and smooth the top with a spatula.
Sprinkle the remaining M&M’s across the surface, giving them a gentle press to nestle them into the batter.
Step 7: Baking Magic
Slide the pan into the preheated oven and bake for 22-26 minutes.
You’ll know they’re done when a toothpick comes out clean or with just a few moist crumbs.
Step 8: Patience is Key
Let the blondies cool in the pan for at least an hour.
This waiting time allows them to set and makes cutting easier.
Once cooled, slice and serve your Valentine’s treat!
Tips for Chewy, Festive Blondies
Blondie Variations for Valentine’s Day
Serving Peanut Butter Blondies at Parties
Storing Valentine Blondies for Treat Time
FAQs
Yes, you can substitute almond butter or cashew butter for a different flavor profile.
Insert a toothpick into the center – it should come out with a few moist crumbs, but not wet batter. The edges will also look slightly golden.
You can use chocolate chips, chopped candy bars, or other colorful sprinkles as a replacement.
Yes, letting the melted butter cool slightly prevents the egg from cooking and helps create a smoother batter texture.
Print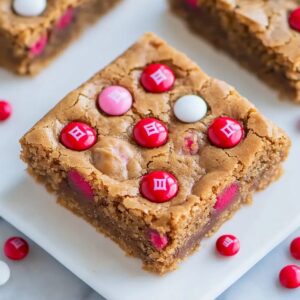
Valentine Peanut Butter Blondies Recipe
- Total Time: 40 minutes
- Yield: 12 1x
Description
Romantic chocolate-swirled peanut butter blondies bring passion to dessert tables with their rich, creamy texture. Sweet layers of indulgence will melt hearts and create memorable moments for valentine celebrations.
Ingredients
Main Ingredients:
- 1 cup all-purpose flour
- 1 cup light brown sugar, packed
- 1/2 cup peanut butter (Jif, Skippy or similar)
- 1/2 cup (1 stick) unsalted butter, melted
Wet Ingredients:
- 1 large egg
- 1 tablespoon vanilla extract
Decorative Mix-ins:
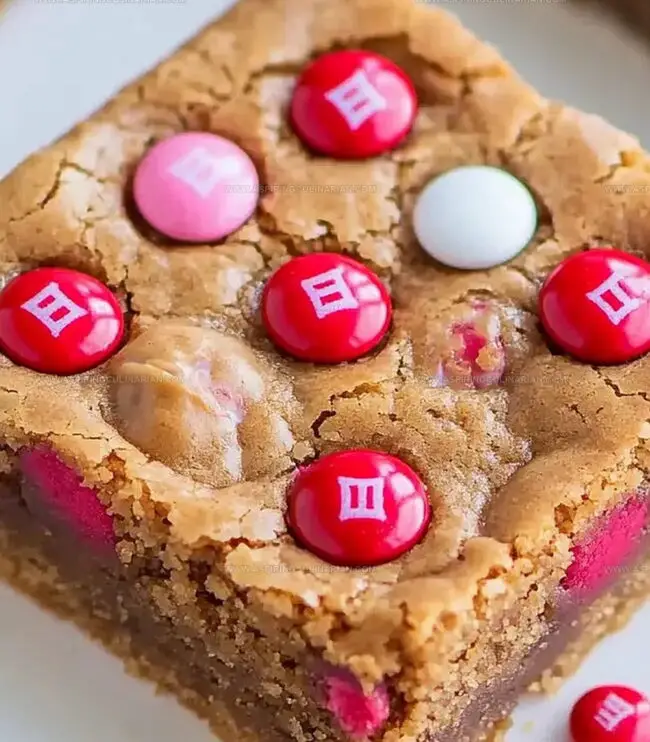
- 3/4 cup M&M’s, divided (1/2 cup for batter, 1/4 cup for topping)
Instructions
- Prepare the baking vessel by preheating the oven to 350°F and lining an 8×8-inch pan with aluminum foil, then generously coat with cooking spray to prevent sticking.
- Melt the butter in a microwave-safe bowl, allowing it to cool slightly to prevent scrambling the egg.
- Combine the melted butter with peanut butter, egg, brown sugar, and vanilla, whisking vigorously until the mixture achieves a uniform, silky consistency.
- Gently incorporate the flour into the wet ingredients, stirring minimally to avoid developing excess gluten and maintaining a tender texture.
- Carefully fold half of the M&M’s into the batter, distributing them evenly throughout the mixture.
- Transfer the batter to the prepared pan, using a spatula to create an even surface. Scatter the remaining M&M’s across the top, pressing them lightly to ensure they adhere.
- Slide the pan into the preheated oven and bake for 22-26 minutes, watching for a toothpick that emerges with minimal moist crumbs when inserted into the center.
- Allow the blondies to cool completely within the pan for at least one hour, which helps them set and makes cutting cleaner and more precise.
Notes
- Choose high-quality peanut butter for richer, more intense flavor that elevates the entire dessert.
- Soften butter slightly before melting to ensure smooth, even incorporation with other ingredients.
- Prevent overmixing when adding flour to maintain a tender, delicate blondie texture that melts in your mouth.
- Try different chocolate candies like Reese’s Pieces or chocolate chips for unique flavor variations that match different preferences.
- Prep Time: 15 minutes
- Cook Time: 25 minutes
- Category: Desserts, Snacks
- Method: Baking
- Cuisine: American
Nutrition
- Serving Size: 12
- Calories: 245
- Sugar: 14 g
- Sodium: 120 mg
- Fat: 12 g
- Saturated Fat: 5 g
- Unsaturated Fat: 6 g
- Trans Fat: 0 g
- Carbohydrates: 31 g
- Fiber: 1 g
- Protein: 4 g
- Cholesterol: 20 mg
Lena Martinez
Contributing Writer & Culinary Educator
Expertise
Southwestern and Latin American cuisines, Vegetarian and plant-based recipe development, Culinary education and community outreach
Education
Santa Fe Community College, Santa Fe, NM
Certificate in Culinary Arts
Emphasized Southwestern cuisine and sustainable cooking practices
Lena grew up surrounded by the colors, spices, and traditions of the Southwest – flavors that sparked her love for bold, honest cooking. After earning her Culinary Arts certificate at Santa Fe Community College, she made it her mission to teach home cooks how to create flavorful, plant-powered meals without the fuss.
Her recipes are packed with vibrant ingredients, simple steps, and the kind of heart that turns a regular meal into something you’ll want to share. Outside the kitchen, Lena spends her time wandering farmers’ markets, trading family recipes, and helping young chefs find their voice through food.