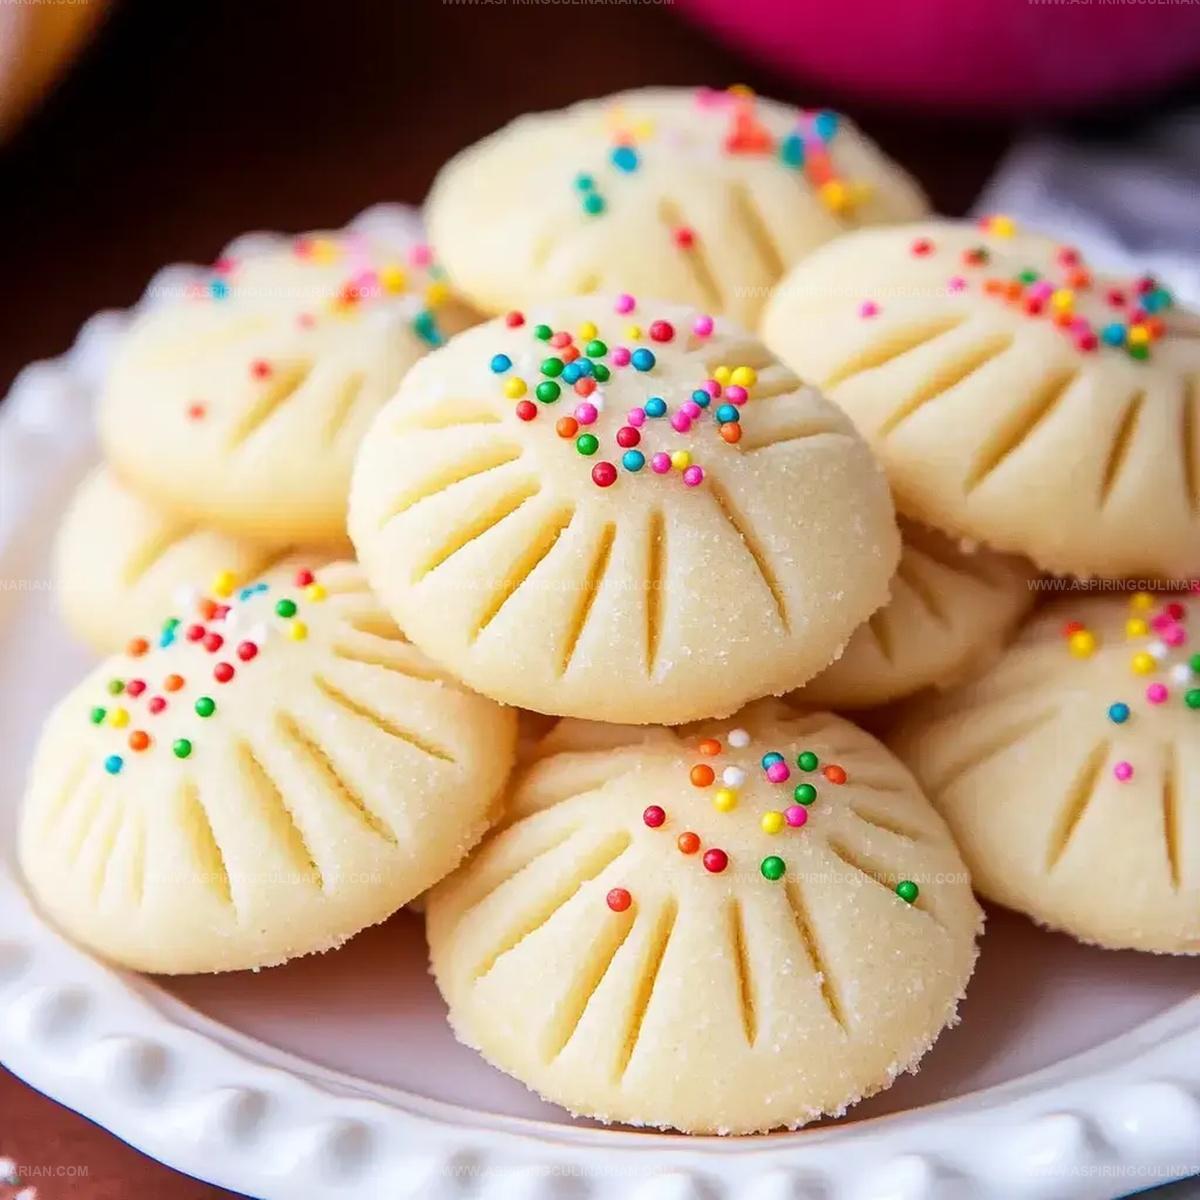
Heavenly Melt-in-Your-Mouth Whipped Shortbread Recipe
Buttery, melt-in-your-mouth whipped shortbread captures the essence of classic baking with a delightful twist.
These delicate cookies require just a few simple ingredients to create a heavenly treat that melts instantly on your tongue.
The whipped shortbread technique creates an incredibly light and airy texture that sets these cookies apart from traditional recipes.
Each bite delivers a rich, delicate crumb that practically dissolves with gentle sweetness.
Bakers love how quickly these cookies come together, making them perfect for holiday gatherings or spontaneous sweet cravings.
The magic happens when you whip the butter and sugar to create an ethereal, cloud-like dough that transforms into the most tender shortbread.
Treat yourself to these irresistible morsels that promise to become your new favorite cookie indulgence.
Melt Away Cookies: Reasons to Try
Ingredient Rundown for Melt Away Cookies
Cream Base:Dry Ingredients:Decorative Touches:How to Prepare Melt Away Cookies
Step 1: Prepare Creamy Base
Grab your mixer and whip butter and sugar together until they transform into a fluffy, cloud-like mixture.
This process creates a smooth foundation for your delicate cookies.
If you want an extra flavor boost, splash in your favorite extract during this stage.
Step 2: Incorporate Dry Elements
Gently fold sifted flour and cornstarch into your creamy mixture.
Use a light touch to mix, stopping just as the ingredients blend together.
Overmixing can make your cookies tough, so be gentle and precise.
Step 3: Shape Delicate Rounds
Roll the dough into 36 perfect little spheres.
Place these tender balls on a parchment-lined baking sheet.
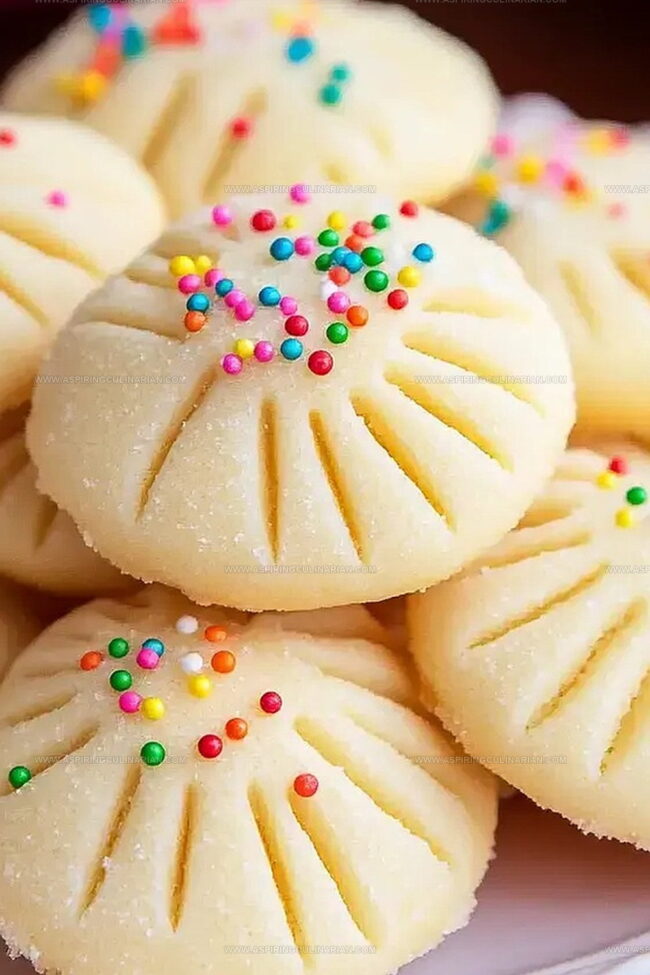
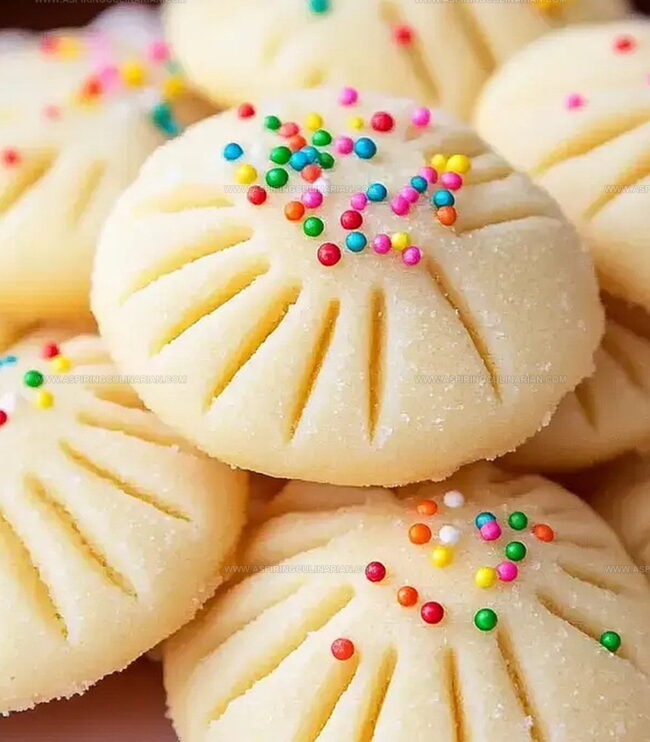
Use a fork to create gentle indentations on top of each cookie.
For a festive touch, sprinkle colorful decorations over the tops.
Step 4: Chill and Firm
Slide your cookie tray into the refrigerator and let the dough rest for 2 hours.
Alternatively, pop them in the freezer to speed up the firming process.
This crucial step helps the cookies maintain their delicate shape during baking.
Step 5: Bake to Perfection
Warm your oven to 300°F.
Slide the tray inside and bake for 19-20 minutes.
Watch for the tops to look set and slightly firm, but not browned.
The goal is a pale, tender cookie that practically melts in your mouth.
Step 6: Allow Gentle Cooling
Remove the tray from the oven and let the cookies rest completely on the baking sheet.
This final step ensures they set properly and develop their signature melt-in-your-mouth texture.
Melt Away Cookies – Smart Baking Tips
Melt Away Cookie Recipe Variations
Serving Melt Away Cookies Creatively
Storing Melt Away Cookies
FAQs
Chilling helps prevent spreading and maintains the cookie’s shape, ensuring a perfect texture and preventing cookies from becoming too flat during baking.
While you can use salted butter, unsalted butter allows better control of the overall salt content in the recipe and provides a more consistent flavor profile.
The cookies are ready when the tops look set and edges are very lightly golden, typically after 19-20 minutes at 300F. They will continue to firm up as they cool.
Print
Whipped Shortbread Recipe
- Total Time: 2 hours 30 minutes
- Yield: 24 1x
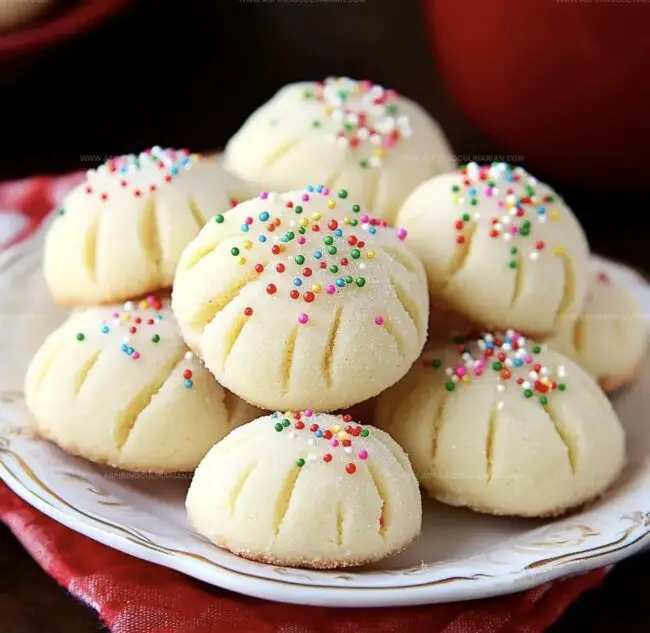
Description
Melt-in-your-mouth whipped shortbread cookies bring classic Scottish comfort to holiday tables. Delicate, buttery rounds provide sweet nostalgia that connects generations of bakers through simple, elegant ingredients.
Ingredients
Main Ingredients:
- 1 1/2 cups (340 grams) butter, room temperature, salted
- 2 1/4 cups (270 grams) all-purpose flour
- 3/4 cup (90 grams) cornstarch
- 3/4 cup (85 grams) confectioners’ sugar
Flavor Enhancers:
- 2 teaspoons extract (vanilla, lemon, or orange)
Optional Decorative Ingredient:
- 1/4 cup (40 grams) sprinkles of choice
Instructions
- Whip butter and sugar in a mixing bowl for 3-4 minutes until fluffy and pale, incorporating vanilla extract for enhanced flavor profile.
- Gently fold sifted flour and cornstarch into creamed mixture, stirring minimally to maintain delicate texture.
- Roll dough into uniform spheres approximately 1-inch in diameter, positioning them evenly on parchment-lined baking sheet.
- Create gentle indentations on cookie tops using fork tines, optionally sprinkling decorative elements across surface.
- Transfer shaped cookies to refrigerator, allowing dough to chill and solidify for 2 hours or until completely firm.
- Preheat oven to 300°F, ensuring precise temperature for optimal results.
- Position chilled cookies in preheated oven, baking 18-22 minutes until edges appear delicately set and surfaces maintain pristine appearance.
- Remove from oven and allow cookies to rest on baking sheet, enabling complete cooling and structural stabilization before transferring.
Notes
- Ensure butter is softened at room temperature for smooth, consistent creaming.
- Use high-quality vanilla extract or experiment with almond or lemon extract for unique flavor variations.
- Sift flour and cornstarch together to prevent lumps and create delicate, tender cookie texture.
- Roll dough balls gently to maintain a light, airy consistency without compressing the mixture.
- Chilling dough helps prevent spreading and intensifies the buttery, melt-in-your-mouth quality.
- Create gluten-free version by substituting all-purpose flour with a 1:1 gluten-free baking blend.
- Line baking sheet with parchment paper for easy removal and even browning of cookies.
- Prep Time: 2 hours 10 minutes
- Cook Time: 20 minutes
- Category: Desserts, Snacks
- Method: Baking
- Cuisine: Canadian
Nutrition
- Serving Size: 24
- Calories: 151
- Sugar: 3.1 g
- Sodium: 70 mg
- Fat: 10.6 g
- Saturated Fat: 6.3 g
- Unsaturated Fat: 4.3 g
- Trans Fat: 0 g
- Carbohydrates: 14.5 g
- Fiber: 0.2 g
- Protein: 1.4 g
- Cholesterol: 30 mg
Nathaniel Brooks
Founder & Recipe Developer
Expertise
Farm-to-table cuisine, Seasonal recipe development, Culinary storytelling
Education
Ivy Tech Community College – Indianapolis, IN
Culinary Arts / Hospitality Administration & Events
Focused on hands-on training in classical and modern culinary techniques.
Nathaniel’s story starts in the foothills of the Appalachian Mountains, where farm stands, backyard gardens, and old family recipes shaped his love for real food. After graduating from Ivy Tech Community College in Indianapolis, he spent years working in farm-to-table kitchens, learning how to turn local, seasonal ingredients into something memorable.
Today, Nathaniel pours that same spirit into every single recipe on Aspiring Culinarian – recipes that feel real, comforting, and connected to the land. When he’s not in the kitchen, you’ll find him foraging wild herbs, chasing sunsets with his camera, or writing about the flavors that shaped his roots.