Crispy Zucchini Cheese Breadsticks Recipe: Garden-Fresh Delight
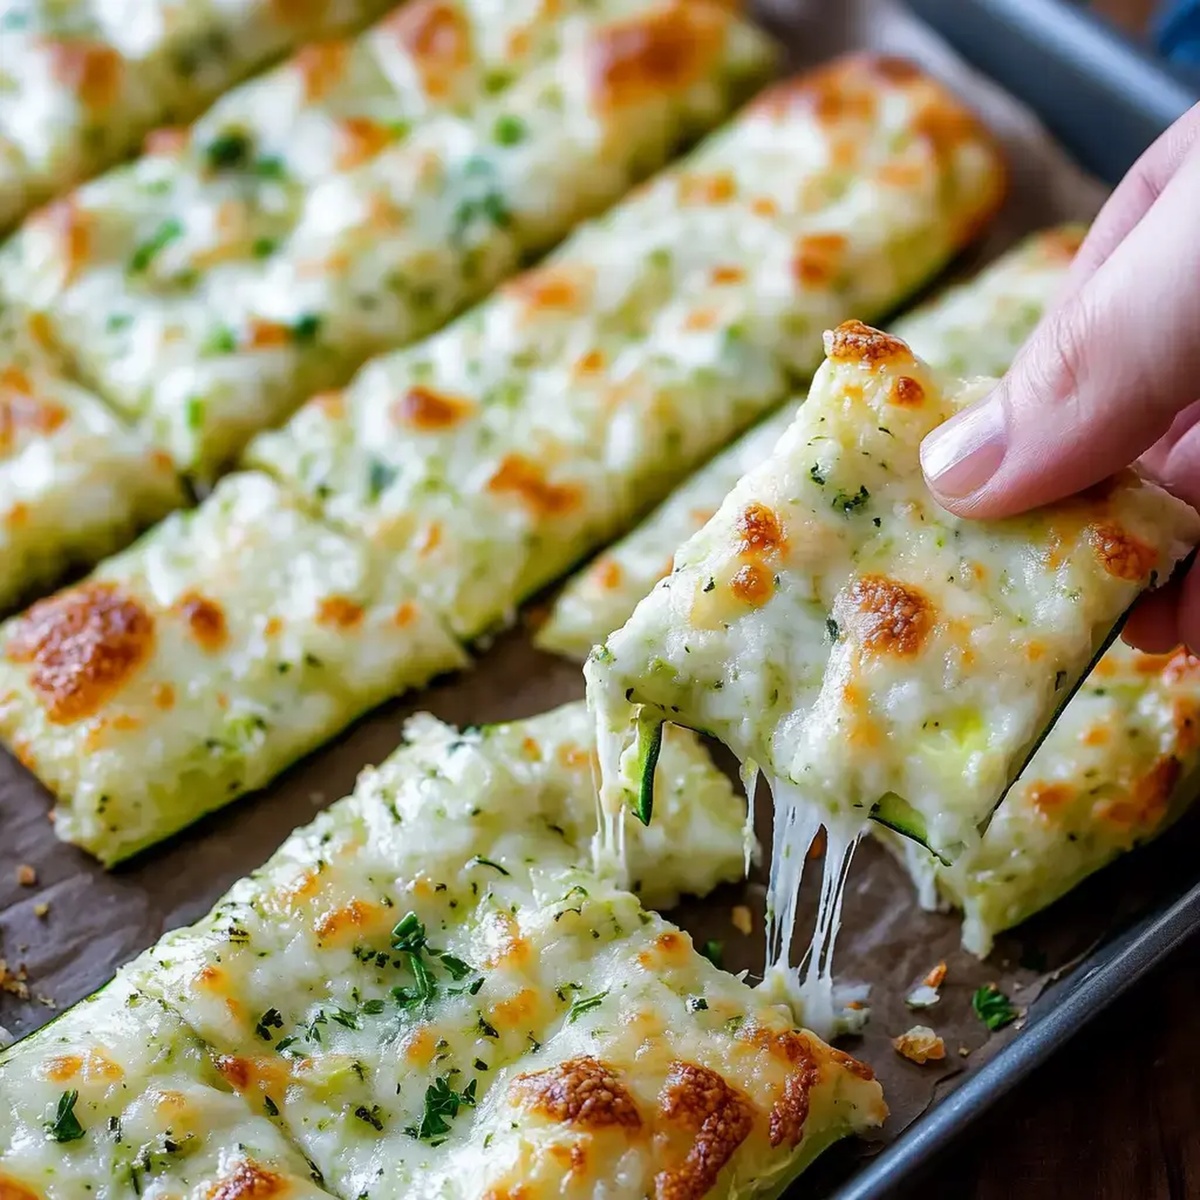
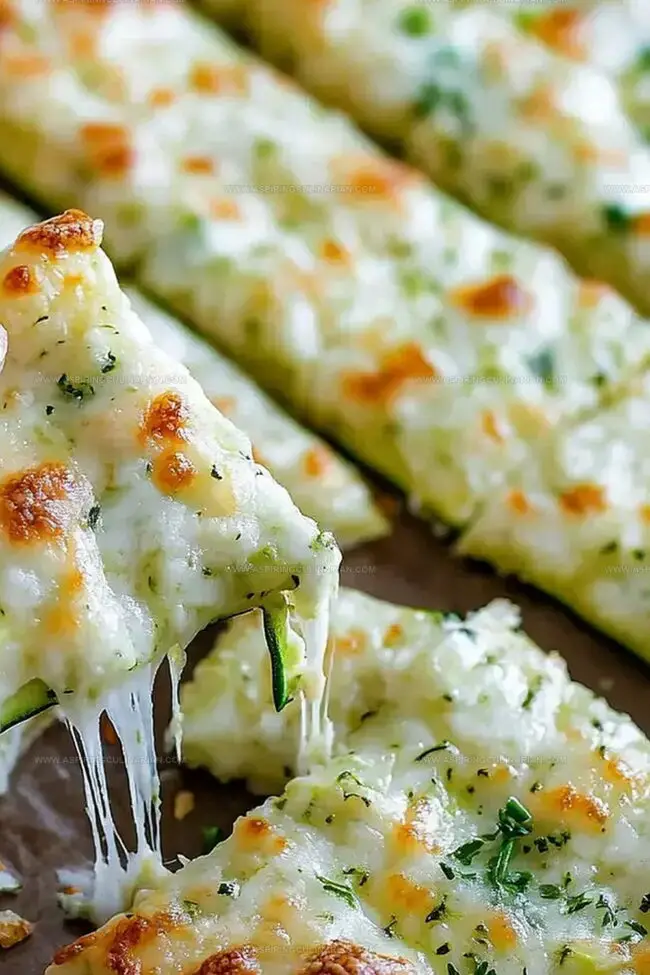
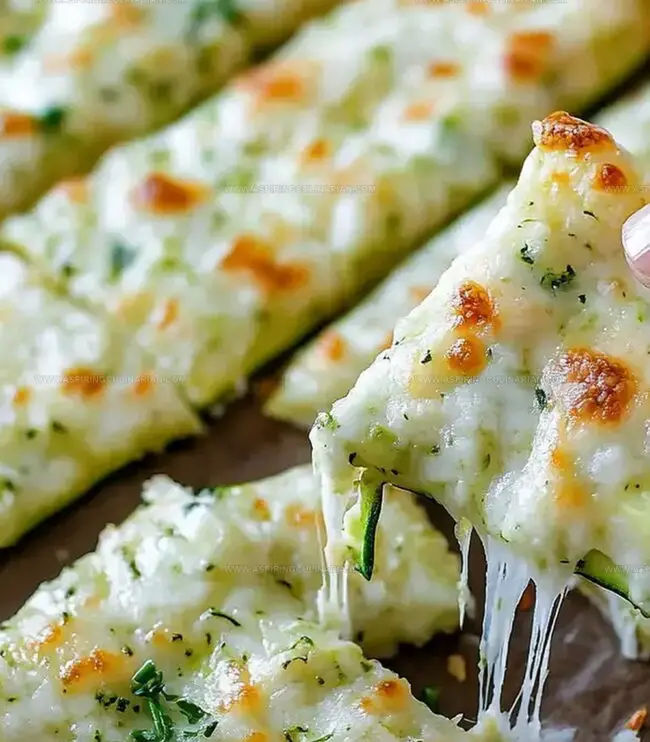
Crispy and golden, these zucchini cheese breadsticks offer a fresh take on classic appetizers.
Packed with garden-fresh zucchini and melted cheese, they bring a satisfying crunch and savory flavor to any meal.
Herbs and spices infuse every bite with mouthwatering aroma and taste.
Easy to prepare with simple ingredients, these breadsticks quickly become a crowd favorite.
Serve them warm and watch them disappear before you can say “more, please!” They make a perfect appetizer or snack.
Everyone will want seconds at the table.
Cheesy Zucchini Breadsticks Flavor Features
Ingredients for Cheesy Zucchini Breadsticks
Main Ingredients:Seasoning:Topping Cheese:How to Make Zucchini Breadsticks Easily
Step 1: Prep Zucchini
Grab your fresh zucchini and grate it using a box grater.
Once grated, place the zucchini in a clean kitchen towel or cheesecloth.
Squeeze out every single drop of moisture – the drier the zucchini, the crispier your breadsticks will be!
Step 2: Create Flavor Base
In a mixing bowl, combine the well-drained zucchini with:Mix everything thoroughly until the ingredients are evenly distributed and form a cohesive mixture.
Step 3: Initial Baking
Prepare a baking sheet with parchment paper or silicone mat.
Spread the zucchini mixture into a thin, even layer.
This will help create a crispy base for your breadsticks.
Pop the baking sheet into a preheated oven at 425°F and bake for 15 minutes until the edges start turning golden.
Step 4: Cheese Topping
Pull out the partially baked zucchini base and sprinkle your favorite cheese over the top.
You can use cheddar, additional mozzarella, or a blend of cheeses for extra flavor complexity.
Step 5: Final Crisp and Melt
Return the baking sheet to the oven and bake for an additional 2-5 minutes.
Watch carefully until the cheese melts completely and develops a beautiful golden-brown color.
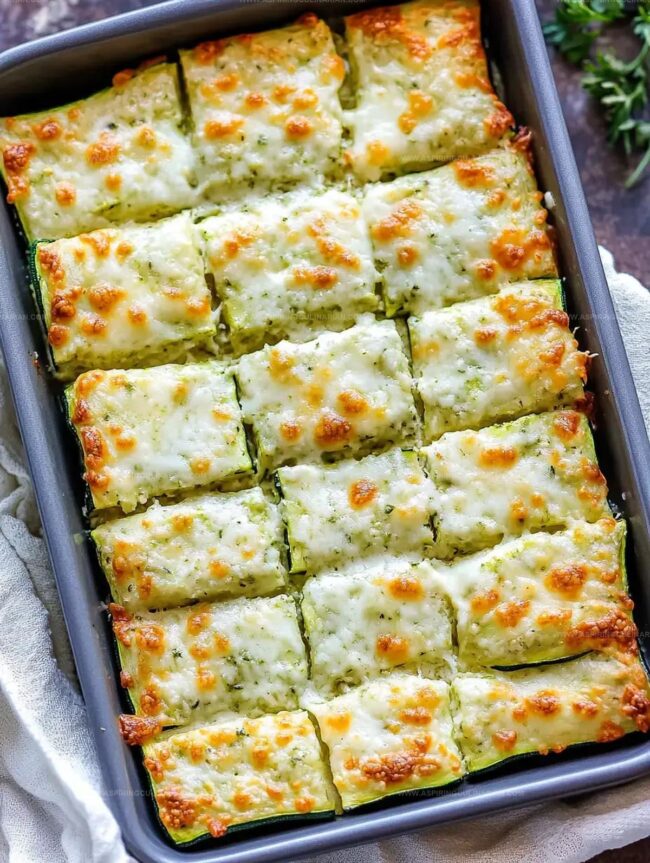
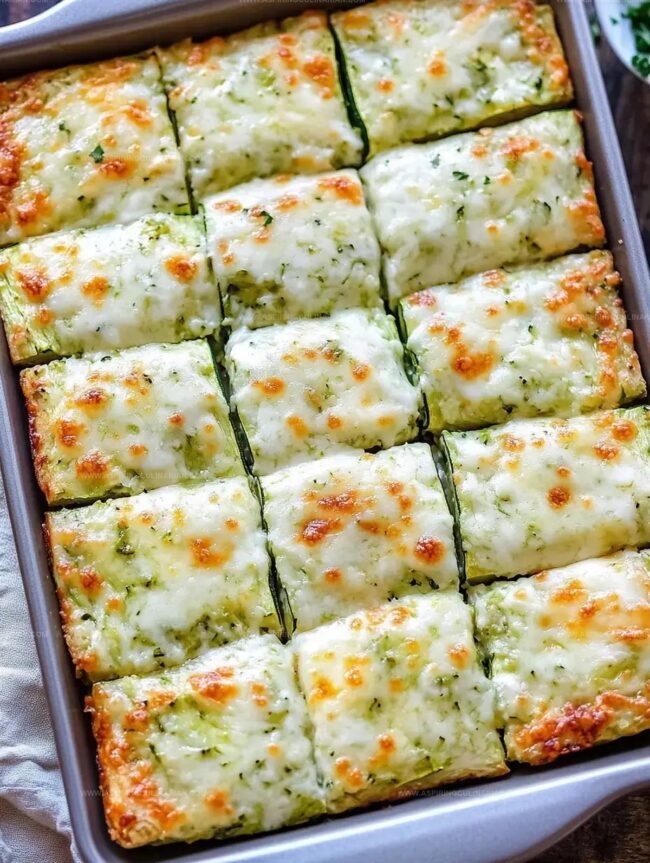
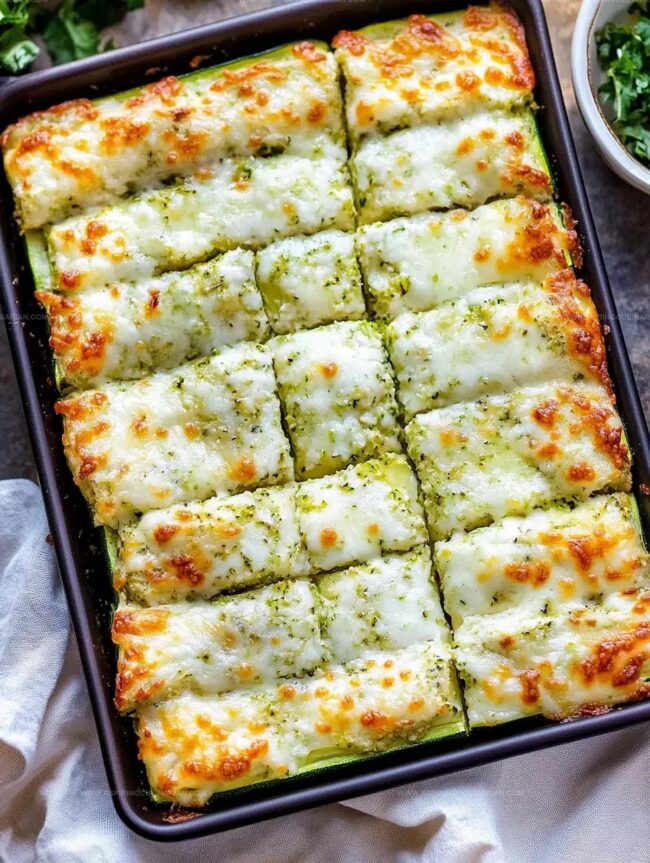
Remove from the oven and let cool for a few minutes before slicing into breadstick-shaped pieces.
Tips for Cheesy Zucchini Breadstick Success
Breadstick Twists for Zucchini Lovers
Serving Cheesy Zucchini Breadsticks
Storage for Cheesy Zucchini Breadsticks

FAQs
Removing excess moisture prevents soggy breadsticks and helps achieve a crispy texture that holds together well.
Yes, you can substitute mozzarella with other melting cheeses like cheddar or provolone for varied flavor profiles.
The basic recipe uses no flour, making it naturally gluten-free, but always check individual cheese and ingredient labels to confirm.
Look for golden-brown edges and a firm texture that holds its shape when lifted – this indicates the zucchini moisture has evaporated and the cheese is melted.
Print
Zucchini Cheese Breadsticks Recipe
- Total Time: 35 minutes
- Yield: 6 1x
Description
Irresistible zucchini cheese breadsticks bring Italian comfort straight to your kitchen, blending garden-fresh vegetables with melted cheese. Crispy edges and gooey centers make these breadsticks a perfect snack you’ll crave again and again.
Ingredients
Main Ingredients:
- 4 cups (946 ml) grated zucchini
- 1/2 cup (120 ml) mozzarella cheese
- 1/3 cup (80 ml) parmesan cheese
- 1 cup (240 ml) grated cheese for topping
Binding Ingredient:
- 1 egg
Seasoning:
- 1 teaspoon garlic parsley salt
Instructions
- Grate zucchini and meticulously extract excess moisture using a clean kitchen towel or cheesecloth, pressing firmly to remove all liquid.
- In a mixing bowl, blend the drained zucchini with shredded mozzarella, grated parmesan, beaten egg, and garlic salt until thoroughly combined.
- Spread the zucchini mixture evenly onto a parchment-lined baking sheet, creating a thin, uniform layer approximately 1/4 inch thick.
- Roast in a preheated oven at 425°F for 15 minutes, allowing the base to become golden and slightly crisp around the edges.
- Generously sprinkle additional cheese varieties across the surface, ensuring complete coverage.
- Return to the oven for 2-5 minutes, monitoring closely until the cheese melts completely and develops a rich, golden-brown color.
- Remove from oven and let cool for 2-3 minutes to allow the breadsticks to set and become easier to slice into strips.
Notes
- Squeeze zucchini completely dry to prevent soggy breadsticks and ensure crispy texture.
- Use a clean kitchen towel or cheesecloth to remove maximum moisture from grated zucchini.
- Consider adding herbs like basil or oregano for extra flavor boost to the base mixture.
- Swap mozzarella with dairy-free cheese alternatives for a vegan-friendly version of the recipe.
- Prep Time: 15 minutes
- Cook Time: 20 minutes
- Category: Snacks, Appetizer, Dinner
- Method: Baking
- Cuisine: Italian
Nutrition
- Serving Size: 6
- Calories: 150
- Sugar: 2 g
- Sodium: 320 mg
- Fat: 9 g
- Saturated Fat: 4 g
- Unsaturated Fat: 3 g
- Trans Fat: 0 g
- Carbohydrates: 10 g
- Fiber: 1 g
- Protein: 8 g
- Cholesterol: 30 mg
Lena Martinez
Contributing Writer & Culinary Educator
Expertise
Southwestern and Latin American cuisines, Vegetarian and plant-based recipe development, Culinary education and community outreach
Education
Santa Fe Community College, Santa Fe, NM
Certificate in Culinary Arts
Emphasized Southwestern cuisine and sustainable cooking practices
Lena grew up surrounded by the colors, spices, and traditions of the Southwest – flavors that sparked her love for bold, honest cooking. After earning her Culinary Arts certificate at Santa Fe Community College, she made it her mission to teach home cooks how to create flavorful, plant-powered meals without the fuss.
Her recipes are packed with vibrant ingredients, simple steps, and the kind of heart that turns a regular meal into something you’ll want to share. Outside the kitchen, Lena spends her time wandering farmers’ markets, trading family recipes, and helping young chefs find their voice through food.